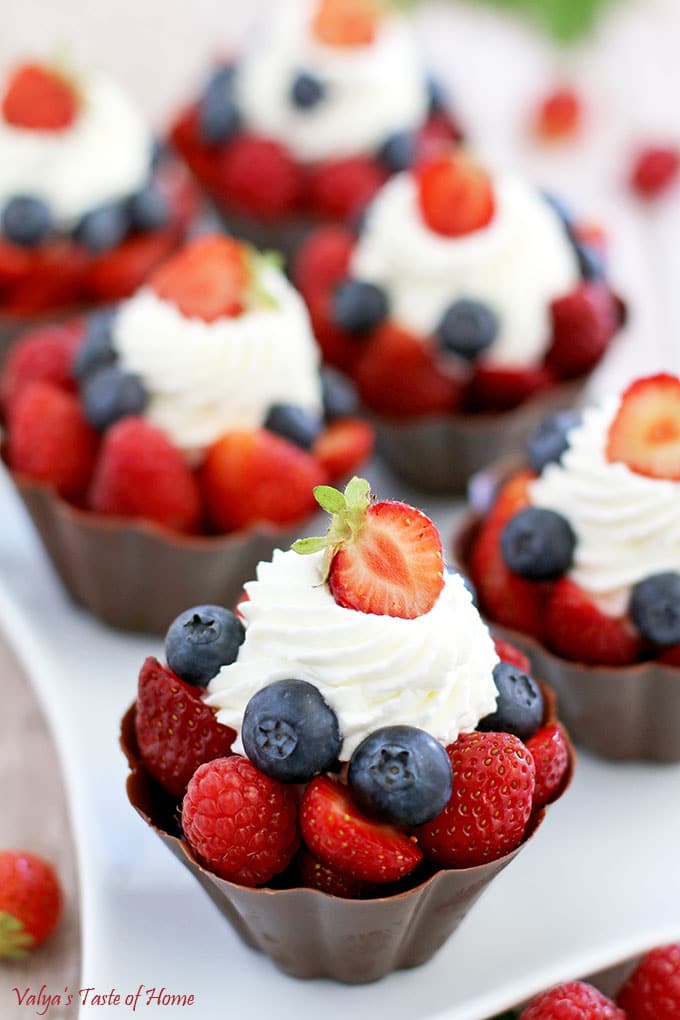
These Fruit Chocolate Cups with fresh berries, chocolate pudding, and cream are incredible little desserts that not only look elegant but taste delicious too!
They’re super versatile, and you can customize them according to any special occasion by changing up the fruits you use or the filling. Regardless of what you choose to add, you’ll always get delicious Fruit Chocolate Cups!
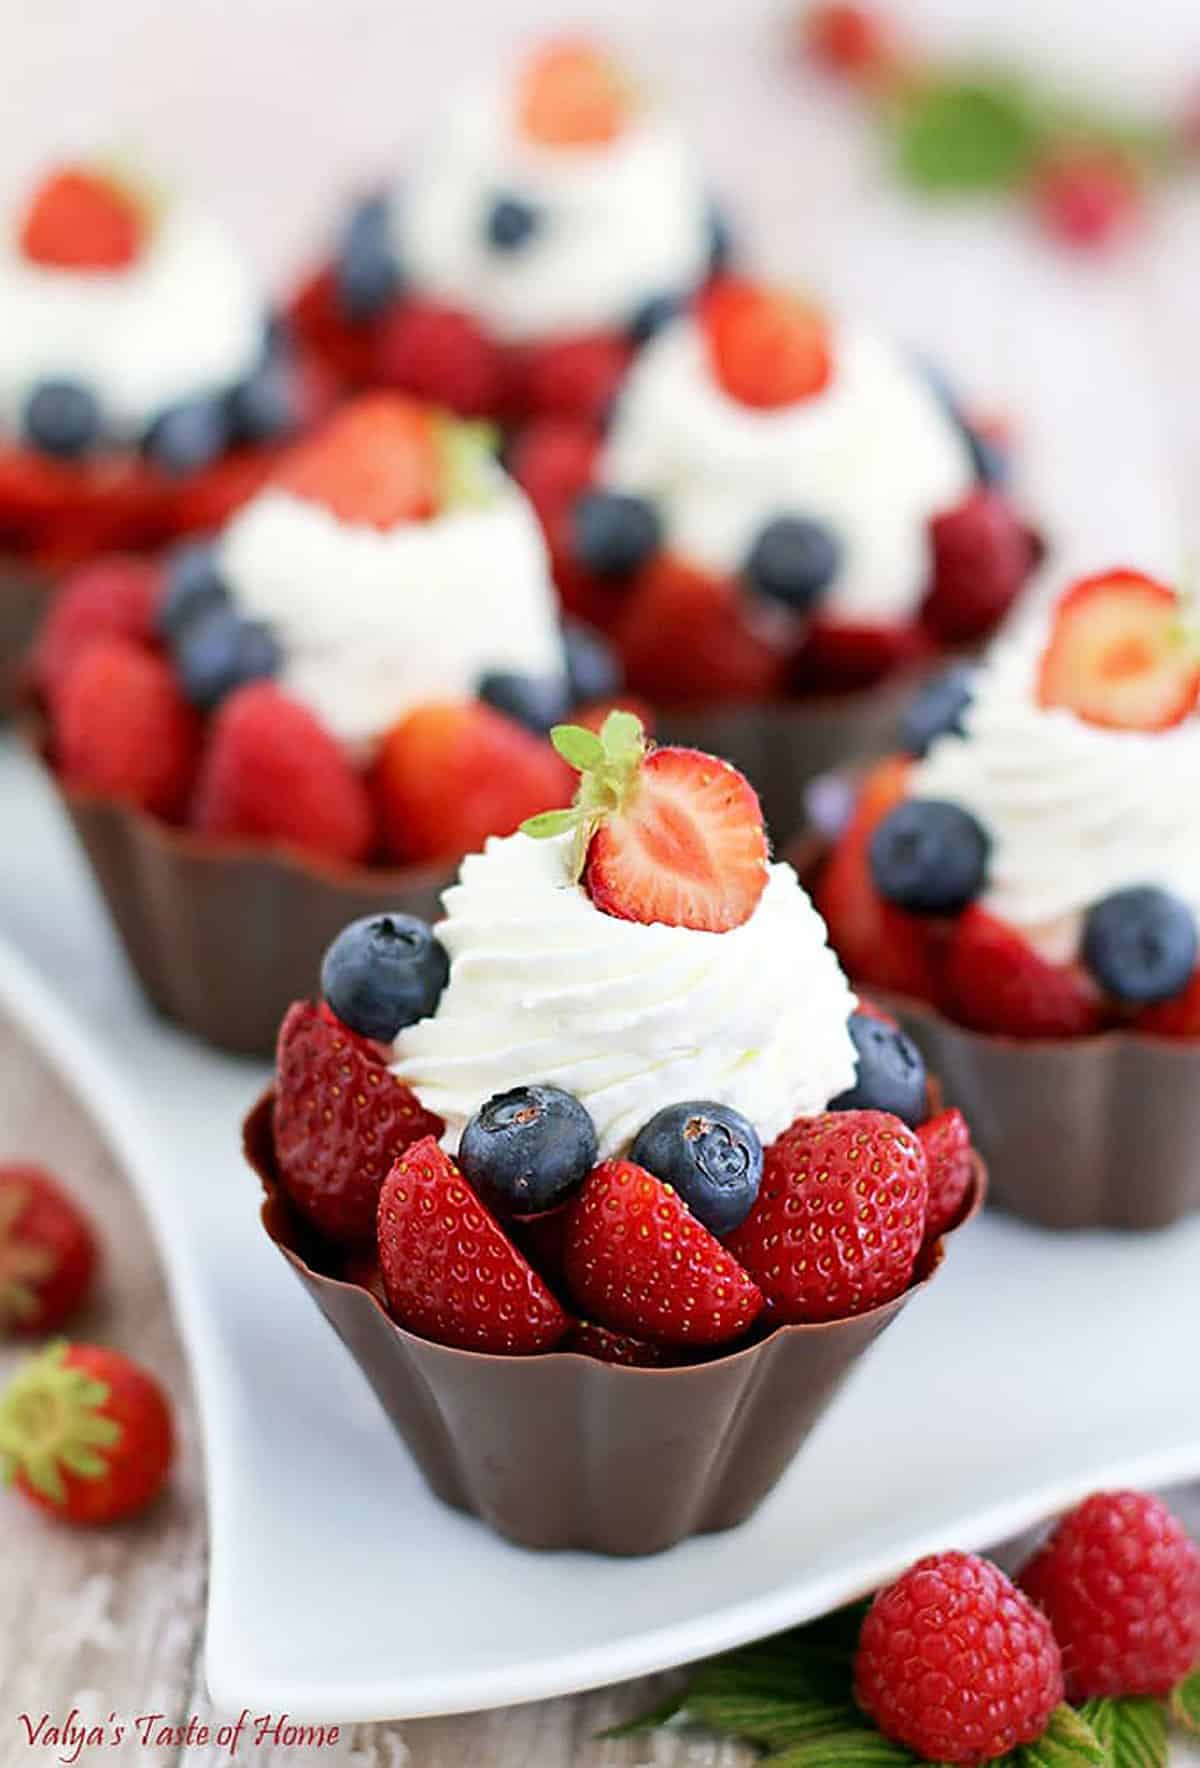
While looking pretty fancy, they're actually quite simple to make and disappear just as quickly. It is loved by most, but this chocolaty, creamy, and fruity treat is every chocolate lover's dream!
Kids and adults both love it so it’s a great choice for anything from a birthday party to an anniversary or baby shower.
Even though they look pretty fancy, they're actually quite simple to make and disappear just as quickly. I’m sure you’re going to fall in love with this recipe!
Want to learn how to make these Fruit Chocolate Cups? Then keep on reading!
Table of Contents
- What are Fruit Chocolate Cups with Berries?
- What Makes This Fruit Chocolate Cup Recipe So Special?
- Can I Make These Fruit Chocolate Cups Bigger or Smaller in Size?
- How Do I Fill the Molds with Chocolate?
- What Type of Chocolate Can I Use?
- What You Need to Make Fruit Chocolate Cups with Pudding and Berries
- How to Make Pudding Chocolate Cups with Berries (Step-by-Step)
- Other Filling Ideas for Fruit Chocolate Cups
- How to Store Fruit Chocolate Cups
- Similar Recipes
- Recipe Card
- Easy Fruit Chocolate Cups with Pudding + Fresh Berries
- Comments
What are Fruit Chocolate Cups with Berries?
Fruit Chocolate Cups with berries are delicious cups made of chocolate, then filled with berries. They are an elegant and delicious base to serve desserts such as puddings, fruits, and cream to make an appetizing dessert that can impress your guests.
They’re super simple to make and are no-bake desserts that can be ready in minutes! Plus, they’re versatile enough for you to fill them with your favorite ingredients and desserts for different occasions such as birthdays to graduation parties, or baby showers.
Fruit Chocolate Cups are perfect for dessert bars and always manage to stand out from the crowd!
What Makes This Fruit Chocolate Cup Recipe So Special?
This is, by far, the best recipe for Fruit Chocolate Cups that you’ll come across!
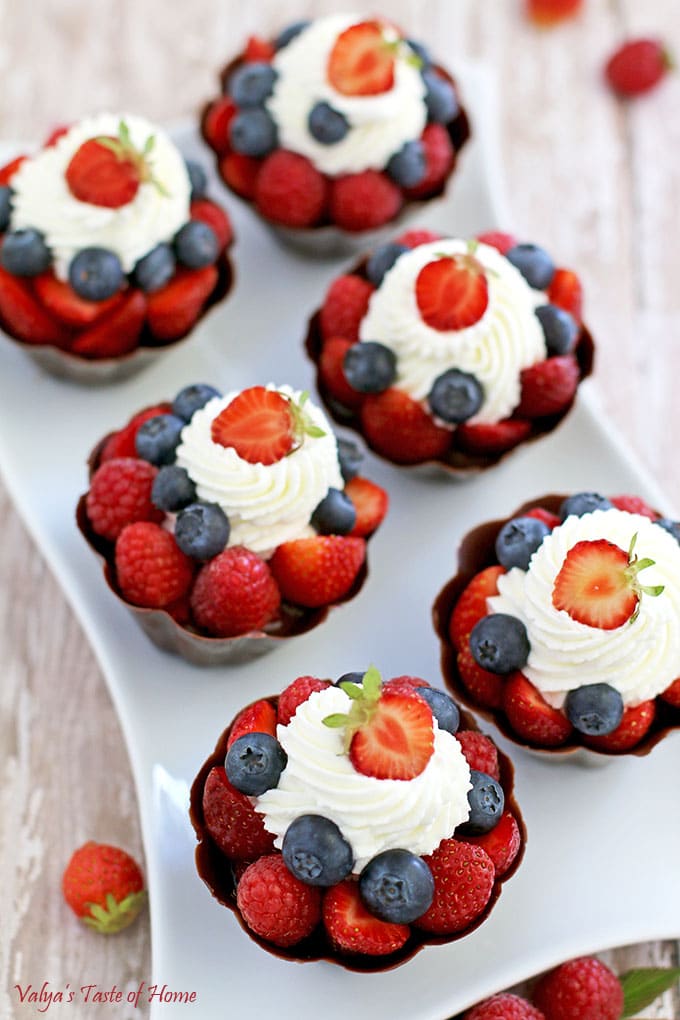
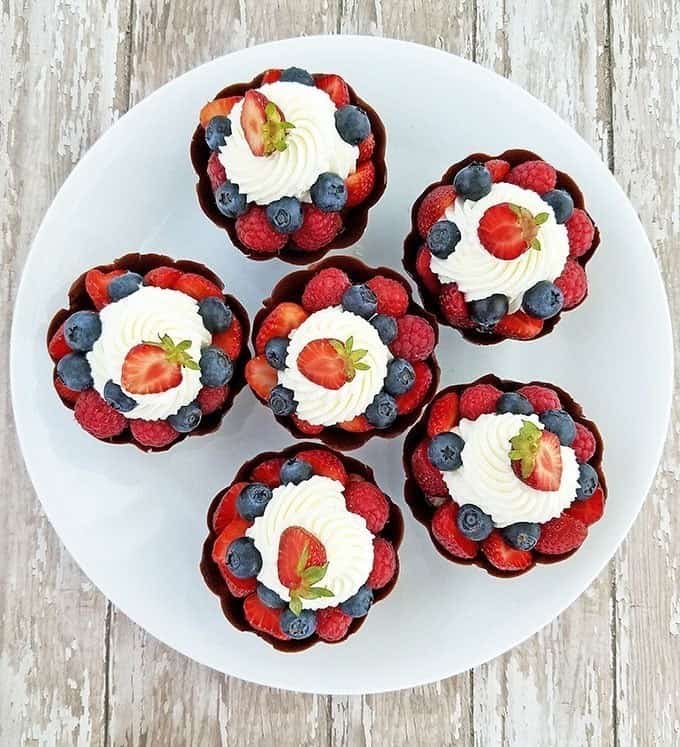
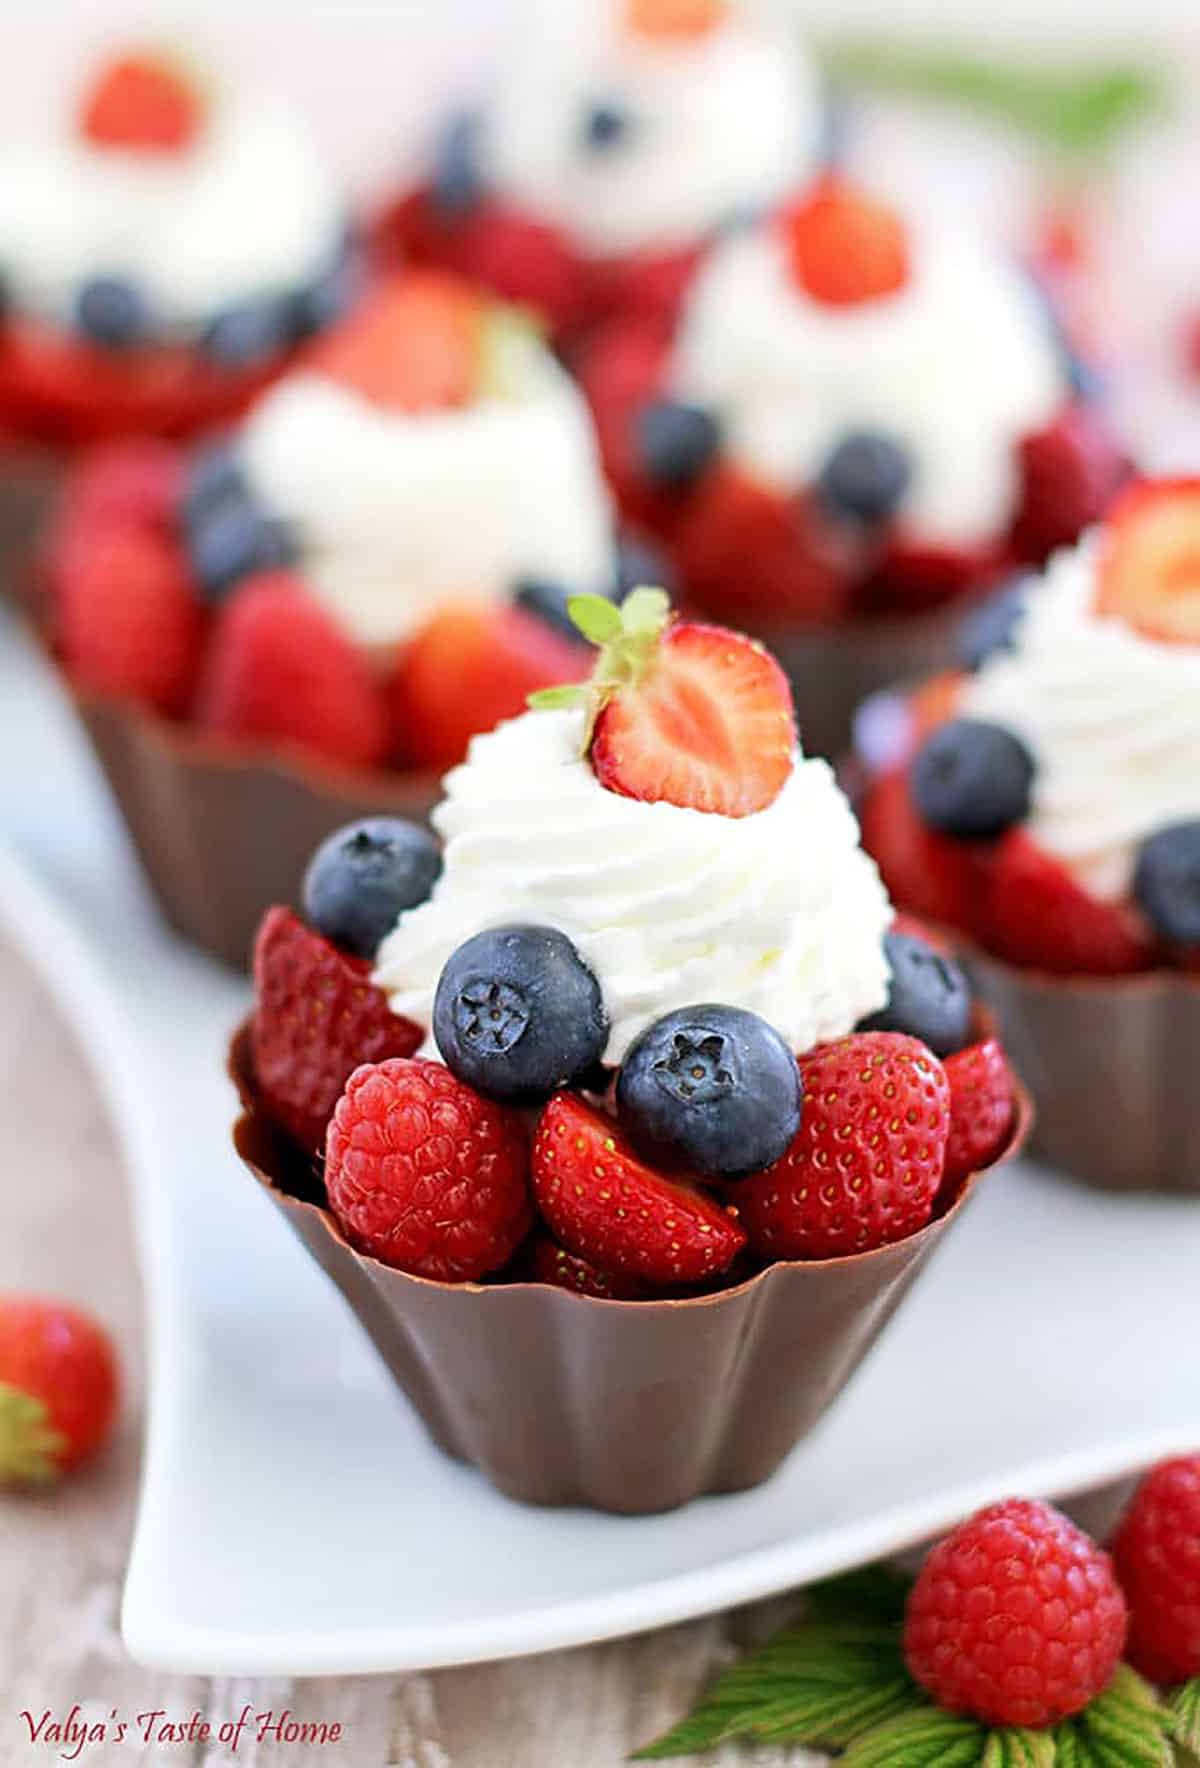
My recipe has a chocolate cup base, with chocolate pudding topped with fresh raspberries and strawberries, then filled with a delicious cream and topped with blueberries.
Kids love putting them together so it can be a great cool indoor project for them during the summers. I definitely recommend getting them to join in when you’re making these Fruit Chocolate Cups as I’m sure they’ll have a great time.
Plus, this recipe is so versatile that you can switch around the fruits you pick to the flavor of the cream you want to customize it to however you like.
Add some chocolate to your cream for chocolate cream, or some essence like almond extract to switch up the flavors.
I’ve used fresh berries that give these fruit chocolate cups a beautiful fourth of July theme, but you can switch it around to whatever you love best. I’m sure regardless of what you choose, you’ll fall in love with these!
Can I Make These Fruit Chocolate Cups Bigger or Smaller in Size?
Yes, you absolutely can! These fruit chocolate cups can be made as big or as small as you would like them to be! They can be as big as cupcake liners, to as small as a candy cup.
I personally suggest they would be small to medium in size so that they can be handled easily once filled and served. Small to medium sizes also look more elegant on a dessert bar!
How Do I Fill the Molds with Chocolate?
There are two main ways to fill the molds with chocolate, and I recommend one more than the other.
The first way is to fill the mold with chocolate and then swirl it around and invert the mold so that the extra chocolate falls out. It can then be refrigerated.
The second way is to add a dollop of chocolate into each mold one by one, and then spread around using the back of a spoon.
I recommend the second method in my recipe since it doesn’t waste chocolate. For the first method, you’ll need more chocolate and some of it might be wasted. But it’s a good method if you have a lot of molds to fill in less amount of time.
What Type of Chocolate Can I Use?
Make sure you’re using chocolate that is classified as melting chocolate. This will harden up perfectly in the fridge and will stay shiny. You also won’t have trouble with it melting all over you since it will stay sturdy.
The brand I use every time is Bakers Dipping Chocolate. It works every time and tastes absolutely delicious! They’re melting discs that do the job quite well. In case you can’t find it in stores, look for melting chocolate in the supermarket aisles.
What You Need to Make Fruit Chocolate Cups with Pudding and Berries
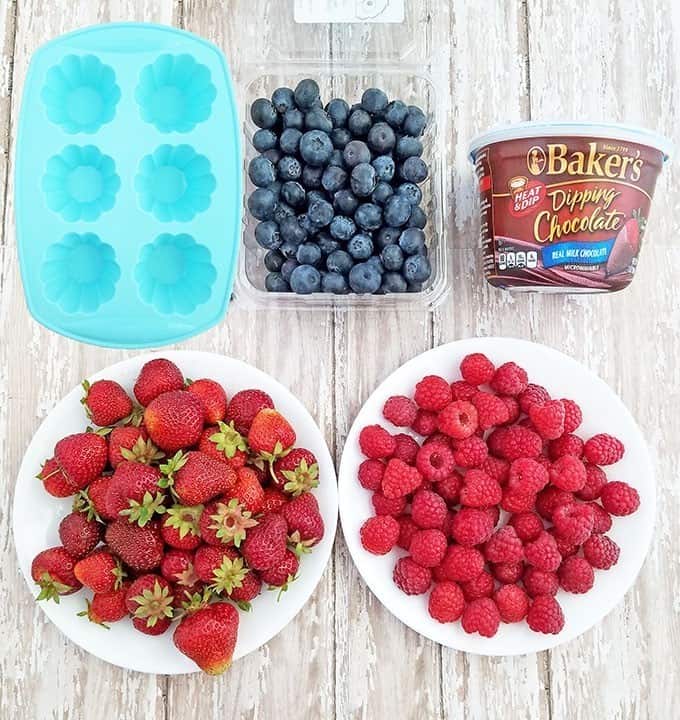
- Chocolate: We’ll be using some melting chocolate to make the chocolate cups. I’ve used Bakers Dipping Chocolate which are melting discs that work perfectly every single time!
- Fruits: You can use whichever fruit is your favorite! I’m using fresh raspberries, strawberries, and blueberries for my Fruit Chocolate Cups.
- Mold: I recommend going for a silicone mold or a silicone cupcake mold for this recipe as not only are they reusable, but they’re also really easy when it comes to unmolding the chocolate cups.
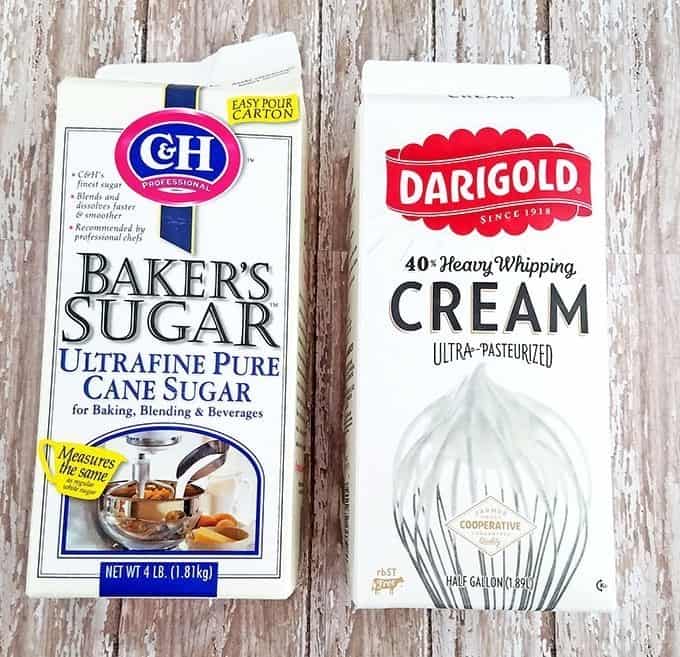
- Heavy cream: We’ll be using some heavy whipping cream to make the delicious cream filling for our fruit cups. I recommend going for 40% fat as it’ll give the filling a deliciously smooth and creamy texture.
- Sugar: You’ll need some fine granulated sugar to whip the filling and add the right level of sweetness to it.
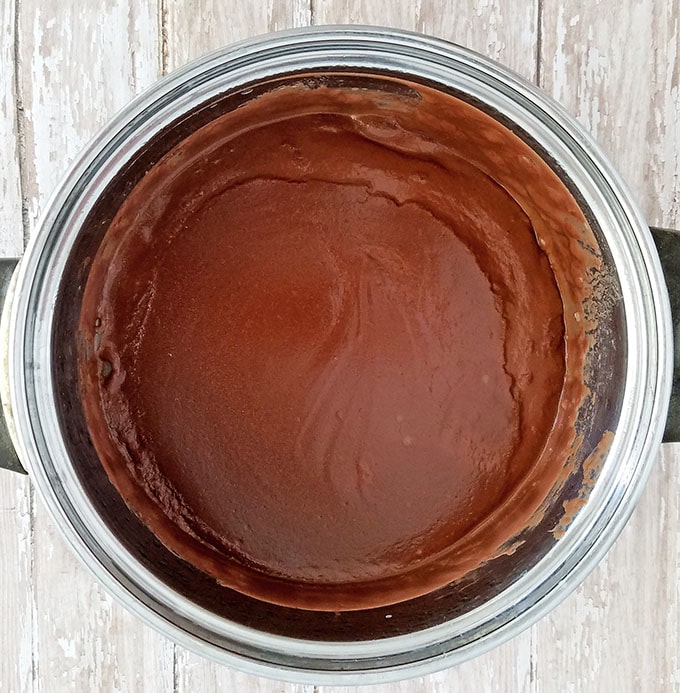
Chocolate pudding: I recommend getting some store-bought organic chocolate pudding for this recipe. It tastes delicious and the thicker consistency of it makes sure that they’re not too messy while eating the fruit chocolate cups.
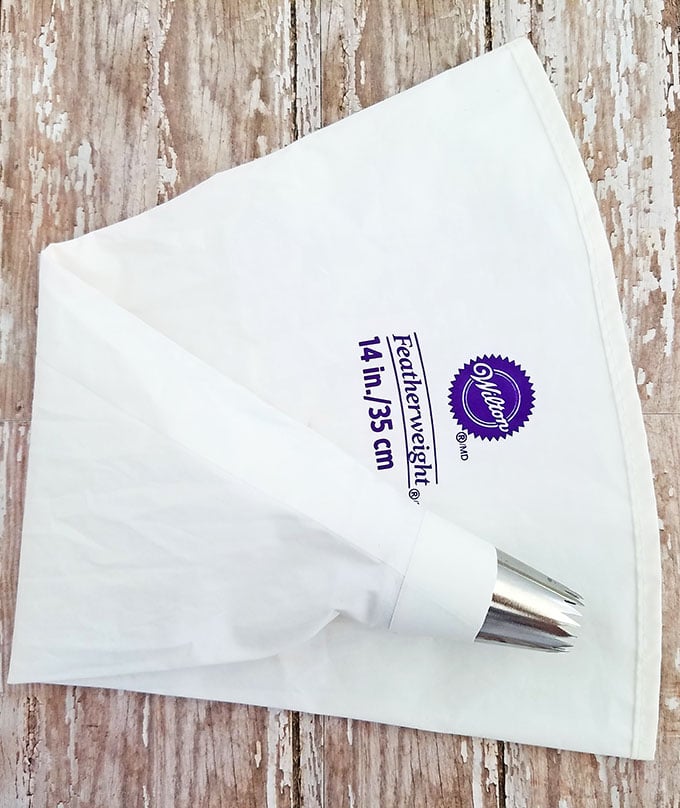
- Piping bag: You’ll need a piping bag and tip to pipe the delicious cream filling onto your fruit chocolate cups so that they look beautiful and ready for a special occasion.
How to Make Pudding Chocolate Cups with Berries (Step-by-Step)
This is a super easy recipe to make Fruit Chocolate Cups to the point that you’ll be surprised by its simplicity. Here’s how to make these elegant Fruit Chocolate Cups step by step:
How to Make Chocolate Cups
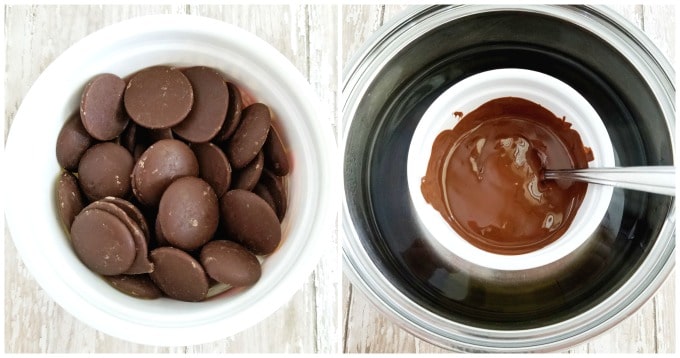
Let's start by making the chocolate cups. Melt the Baker’s chocolate in a double boiler or in a bowl resting on a saucepan of simmering hot water.
You can also just put the Baker’s container into the saucepan instead of first transferring them into a separate bowl. Next, cool the melted chocolate till it's warm.
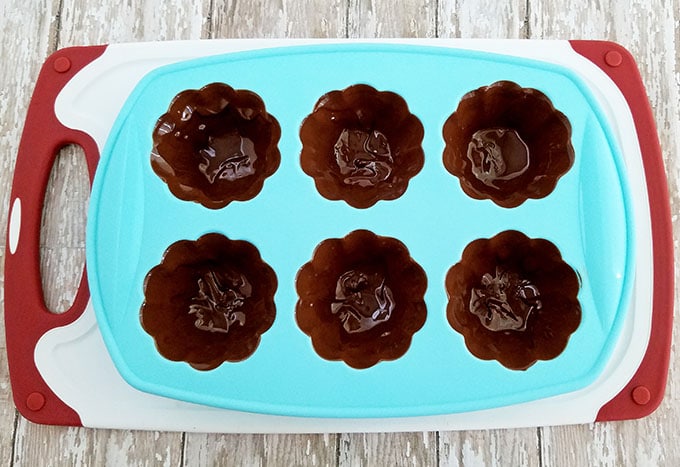
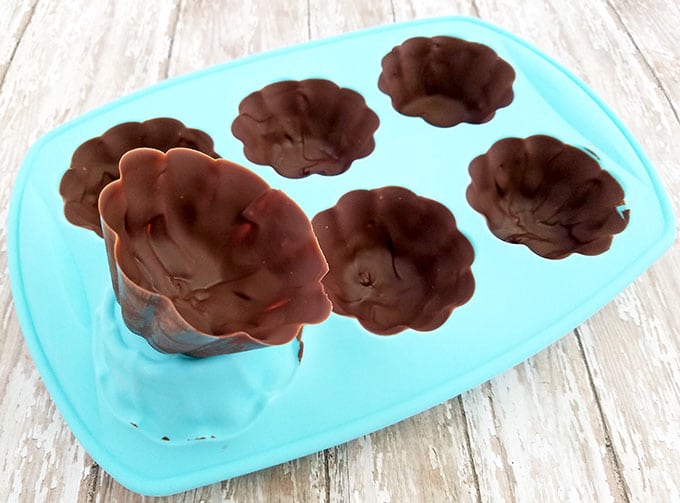
Now using a teaspoon, coat the inside of each mold with warm chocolate.
Next, place the molds into the fridge for 30 minutes and then the freezer for an additional 5 minutes.
Let’s get the chocolate cups out of the molds now. Remove the mold from the freezer and remove chocolate cups from the molds one by one, careful not to break them.
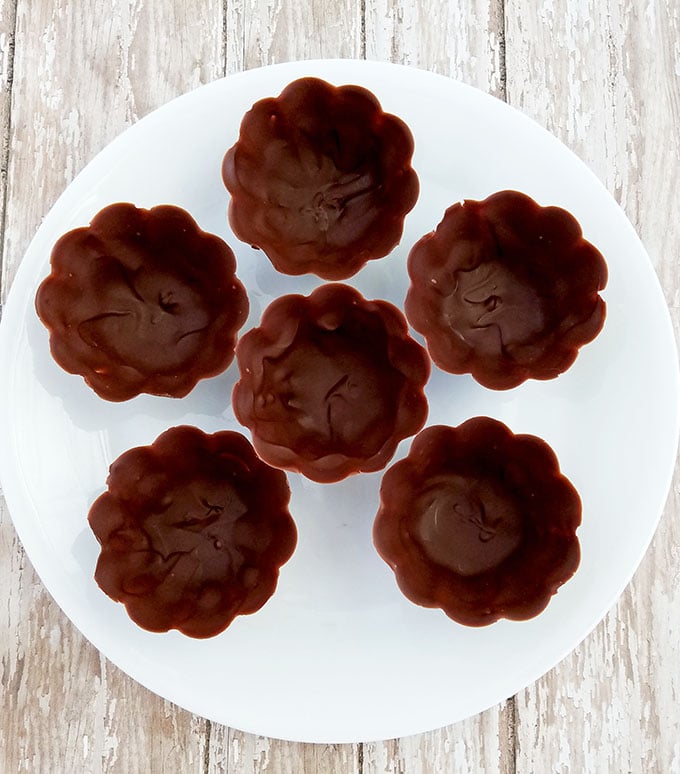
Place them onto a serving plate so that we can begin filling them.
How to Make Cream Filling
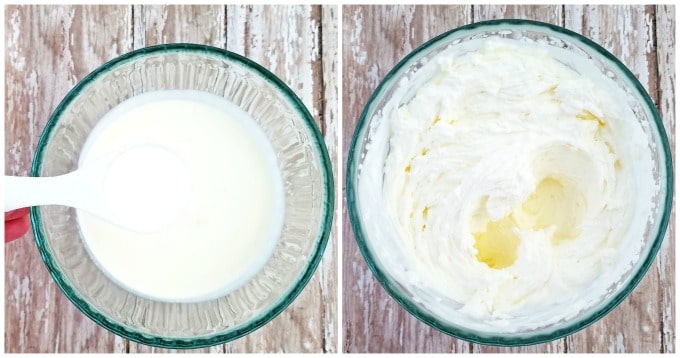
Time to make the cream filling! Add cream, and fine granulated sugar into a small bowl, and beat until it just thickens. Set it aside to pipe onto the chocolate cups.
How to Assemble Fruit Chocolate Cups
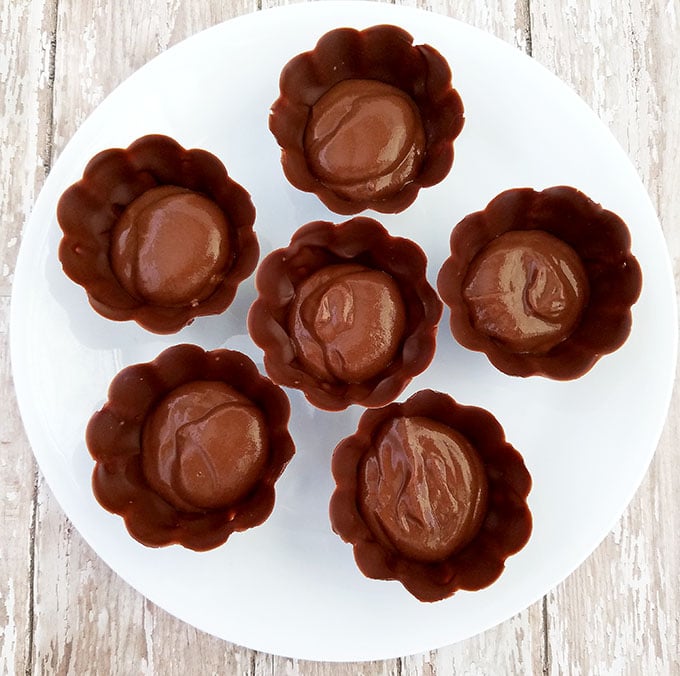
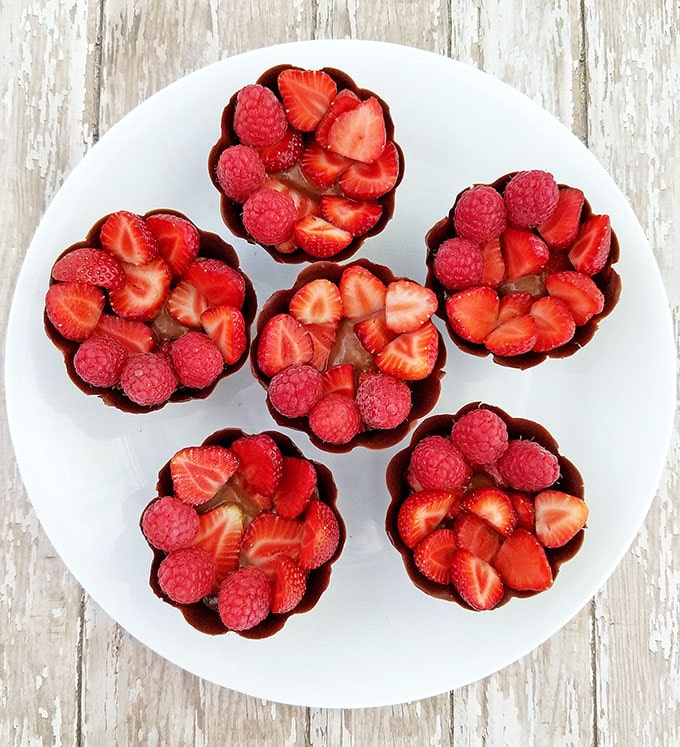
Let's put it all together for some delicious Fruit Chocolate Cups! Start by filling the chocolate cups by adding ¼ cup of chocolate pudding to the bottom of each chocolate cup.
Next, place rinsed and cut strawberries and whole raspberries. For the best taste, I prefer to use homegrown berries. Dry your berries well with a kitchen towel or let them air dry so that the excess moisture doesn’t ruin the chocolate.
For the finishing touches, pipe cream filling and top with fresh blueberries. Place chocolate cups back into the fridge for a final set for about an hour before serving. For optimal freshness, assemble them within four hours of serving.
Your Fruit Chocolate Cups are ready to be served!
Other Filling Ideas for Fruit Chocolate Cups
I’ve used chocolate pudding and cream to fill these Fruit Chocolate Cups, but here are some other filling ideas you can try:
Mousse: Instead of some pudding, you can add your favorite mousse to these cups and then fill them with cream and fruits for some chocolate mousse cups!
Cookie dough: Edible cookie dough is another option that will go great in these chocolate cups. It will perfectly complement the flavor of the chocolate and fruits for a delicious variation!
Cake: You can also add small pieces of vanilla or chocolate cake by cutting them using a cookie cutter. Try my chocolate sponge cake recipe for a delicious cake that’s light and fluffy.
Toppings: There are many different things you can add as toppings to these chocolate cups apart from fruit. Try milk chocolate chips or chocolate sprinkles for a double chocolate flavor, or you can even add some chopped nuts as they’re incredible with the fruit and chocolate.
How to Store Fruit Chocolate Cups
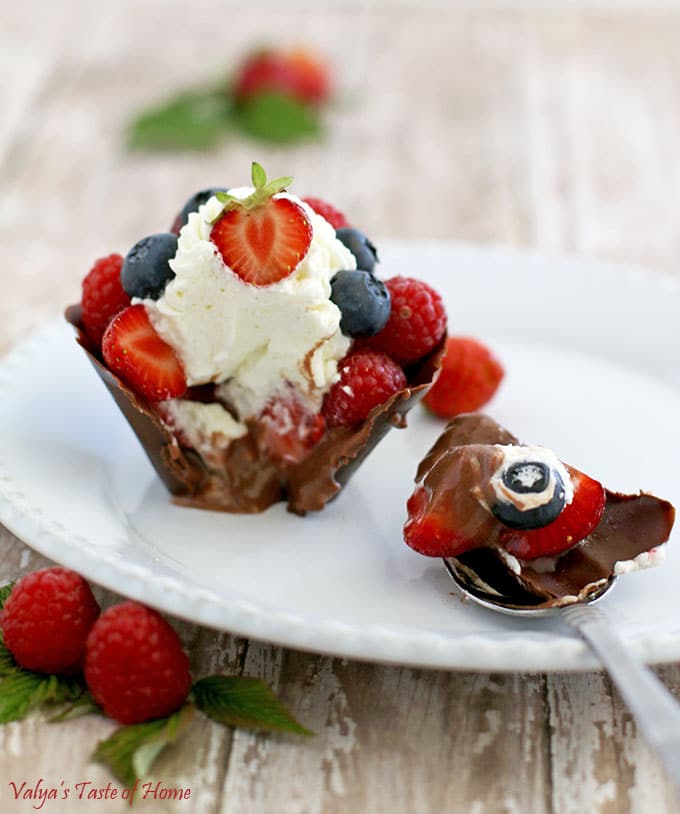
Once you remove the Fruit Chocolate Cups from their molds, you can store them at room temperature or fridge in a clean airtight container. If you store them at room temperature, make sure the room isn’t too hot or they will melt.
They should last up to 2 to 3 weeks, but I recommend checking occasionally to make sure no moisture is inside the container since this can ruin them.
I don’t recommend storing filled chocolate cups that have cream and fruits in them already for more than a day. The fruits won’t be as fresh after a while.
When it comes to chocolate, one important thing to keep in mind is the temperature. When making them during the summer, this treat would probably be best enjoyed in cooler indoors.
And although it's possible to freeze these chocolate cups, I don’t recommend doing it as sometimes they can crack if the cups are too thin, or the chocolate can start discoloring from the change in temperature.
Similar Recipes
- S'Mores Dessert Pizza
- Greek Yogurt Raspberry Jello-O Mousse Dessert
- No-Bake Farmers Cheese Cheesecake Dessert
Check all dessert recipes HERE.
Recipe Card
Easy Fruit Chocolate Cups with Pudding + Fresh Berries
Ingredients
Pudding Chocolate Cups with Berries and Cream Ingredients
- 1 - 7 oz. container – Baker’s dipping chocolate
- blueberries, strawberries, and raspberries
- 1 cup – heavy whipping cream
- 2 tbsp. – sugar
- Chocolate pudding or store-bought organic chocolate pudding
- Wilton piping bag and tip
Instructions
How to Make Chocolate Cups
- Let's start by making the chocolate cups. Melt the Baker’s chocolate in a double boiler or in a bowl resting on a saucepan of simmering hot water.
- You can also just put the Baker’s container into the saucepan instead of first transferring them into a separate bowl. Next, cool the melted chocolate till it's warm.
- Now using a teaspoon, coat the inside of each mold with warm chocolate.
- Next, place the molds into the fridge for 30 minutes and then the freezer for an additional 5 minutes.
- Let’s get the chocolate cups out of the molds now. Remove the mold from the freezer and remove chocolate cups from the molds one by one, careful not to break them.
- Place them onto a serving plate so that we can begin filling them.
How to Make Cream Filling
- Time to make the cream filling! Add cream, and fine granulated sugar into a small bowl, and beat until it just thickens. Set it aside to pipe onto the chocolate cups.
How to Assemble Fruit Chocolate Cups
- Let's put it all together for some delicious Fruit Chocolate Cups! Start by filling the chocolate cups by adding ¼ cup of chocolate pudding to the bottom of each chocolate cup.
- Next, place rinsed and cut strawberries and whole raspberries. For the best taste, I prefer to use homegrown berries. Dry your berries well with a kitchen towel or let them air dry so that the excess moisture doesn’t ruin the chocolate.
- For the finishing touches, pipe cream filling and top with fresh blueberries. Place chocolate cups back into the fridge for a final set for about an hour before serving. For optimal freshness, assemble them within four hours of serving.
- Your Fruit Chocolate Cups are ready to be served!
Thank you for following me on Instagram, Facebook, and Pinterest!



Karina says
Valya, These look so good and tasty! Haven’t made em yet but saving this recipe 👍
Valya of Valya's Taste of Home says
Thank you! Enjoy!
Angela L Tichenor says
how much chocolate do you use to make chocolate cups? how do you know if you have it thick enough or to thick to make the chocolate cups?
Valya @ Valya's Taste of Home says
Hi Angela! I used entire cup of Bakers Dipping Chocolate. You may also use x-large (about 7 oz.) melted chocolate bar and that should be enough to fill all 6 cups. Each cup is about the size of a regular muffin liner. I hope this helps.
Olga says
where can I buy the mold for these cups? is there a link?
www.valyastasteofhome.com says
Hi, Olga! Yes, if you scroll all the way down the post, there is a picture of the same molds I used. I prefer using the individual cup molds (like on the Amazon store picture) because it's easier to remove cooled chocolate from the molds. If you click on the picture it will take you to the Amazon online store where you can purchase the molds or here is the link to the same product for your convenience.
Kristina says
I had another question.. how long do they stay at room temperature before they start melting? The chocolate baskets.
www.valyastasteofhome.com says
I wouldn't let them stand in the room temperature for longer than an hour. They will not melt after an hour, but will be pretty soft. I hope this clarifies a little bit more and thank you for trying out my recipes. 🙂
Larissa says
How do you take the chocolate out of the mold without breaking the walls? We used silicon cupcake cups and all of the chocolate cups broke when we tried to get them out. 🙁
Valya of Valya's Taste of Home says
Oh no! Silicon cupcake cups are much softer and should be so much easier to remove the chocolate cups without breaking them compare the mold I use. Sounds like you didn't apply/coated enough chocolate if they were that fragile. They should be very firm, and if you hold them in your hand they shouldn't break at all. Try coat the molds with more (multiple layers) of chocolate next time you make them. Practice makes perfect, give it another try!
Kristina says
can i make the chocolate baskets ahead of time keep in freezer until ready to be filled?
www.valyastasteofhome.com says
Sure, I don't see why not. Just prevent them from touching, so they don't get stuck to each other.
Nataliya Voskaya says
These are soooo cute! too cute to eat. will have to make it for a party.
valya'stasteofhome.com says
Aren't they adorable? They are perfect for parties! Thank you for sweet words Nataliya! 🙂
Tonya says
Wow! They are so pretty!!! I will be making them with my kiddos. Thank you Valya!
valya'stasteofhome.com says
That's awesome! Have fun making and eating these! Thank you for your comment! 🙂
Nellie says
They are absolutely stunning! Have to make it for this 4th! Thank you for delicious recipes!
valya'stasteofhome.com says
Thank you! They taste so good as well! Enjoy!