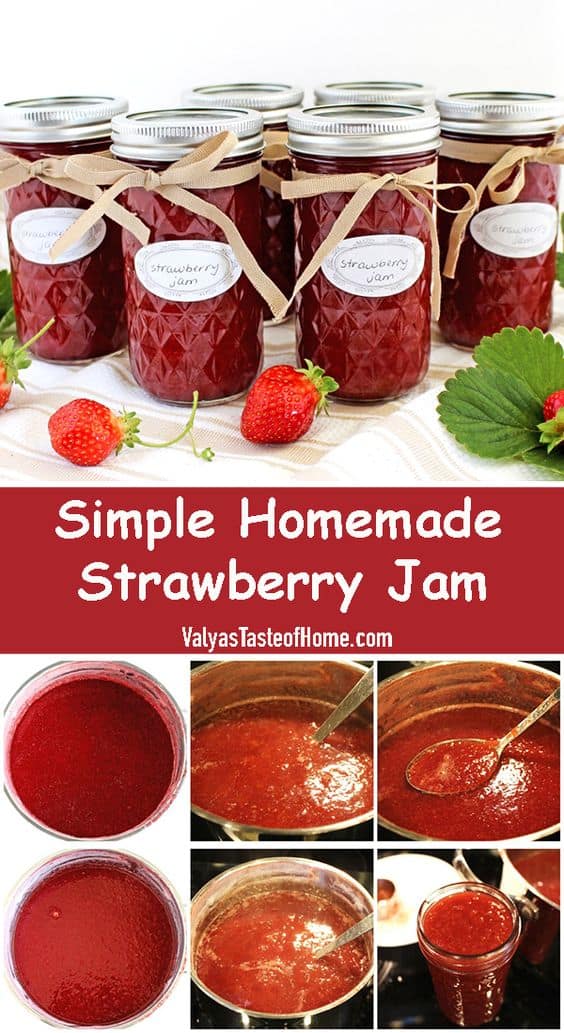
This Simple Homemade Strawberry Jam Recipe is very unique in a way that it’s supremely healthy. Only two ingredients, and mostly the lovely strawberries! It takes three days to make this jam, but the instructions are very simple and short.
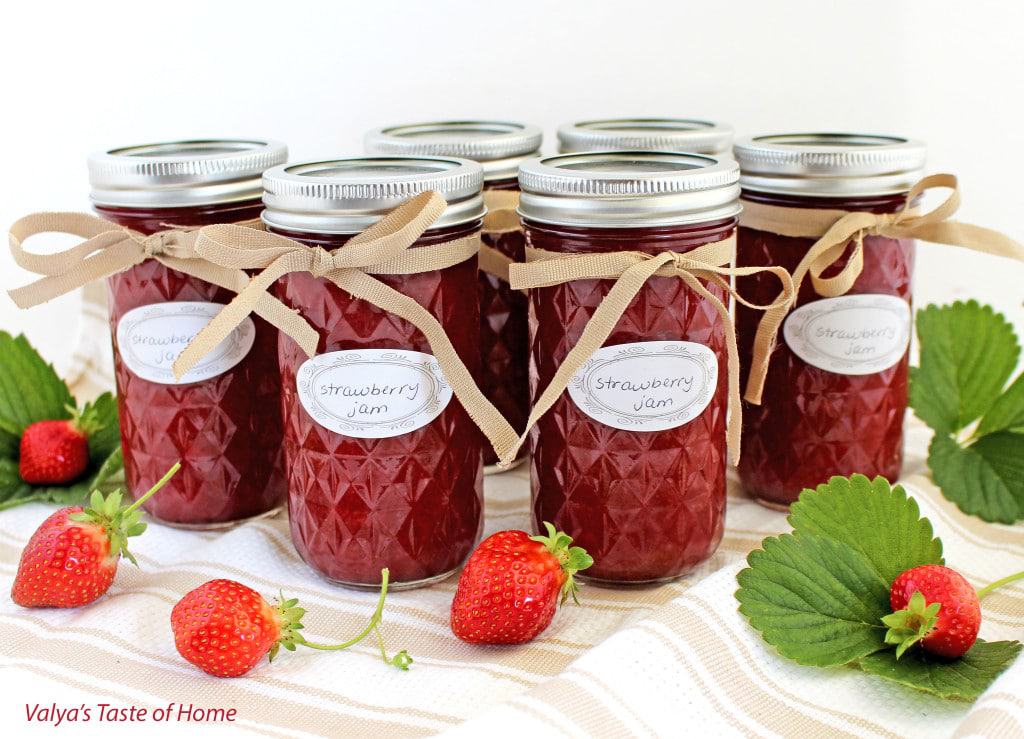
I have all this strawberry harvest and it needs to go somewhere; I think we knew this one was forthcoming, right? I’m trying to post as many recipes as I can to use up the supply.
It’s actually very similar to Costco’s brand, Kirkland Organic strawberry spread, but has a more naturally delicious taste. After every, each round of boiling the jam cools and becomes thicker but it's smooth enough to be used in several ways, on pancakes, waffles, and toast. I also like to soak the cake or roulade. Enjoy!
Strawberry Jam Ingrediens
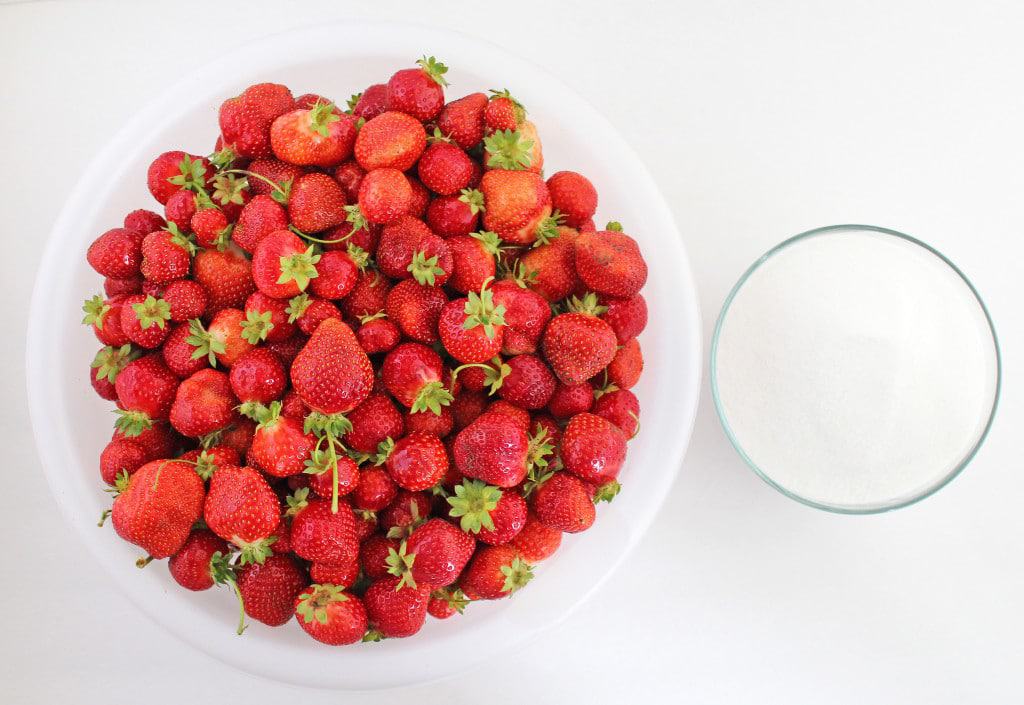
6 lbs. – strawberries
3 cups – granulated sugar
6 (12oz.) – jars with lids
Strawberry Jam Instructions
Day 1:
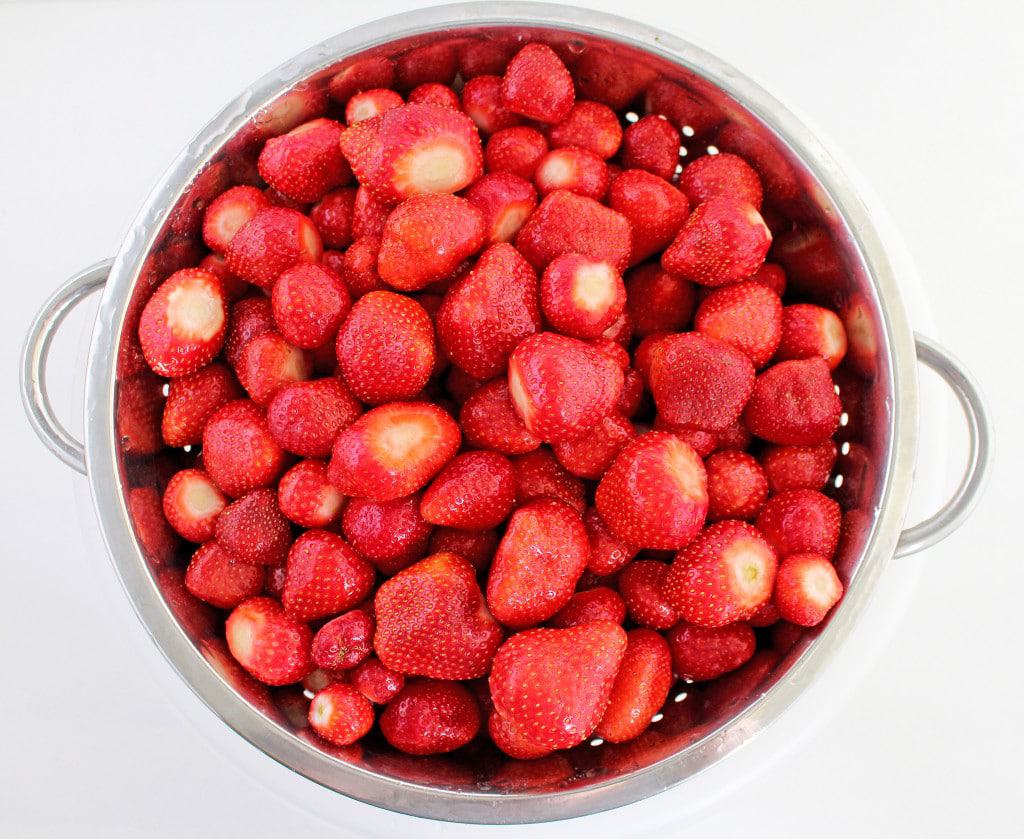
Remove the stem and wash all the strawberries.
Crush strawberries in the food processor and place them into a medium pot. Add sugar.
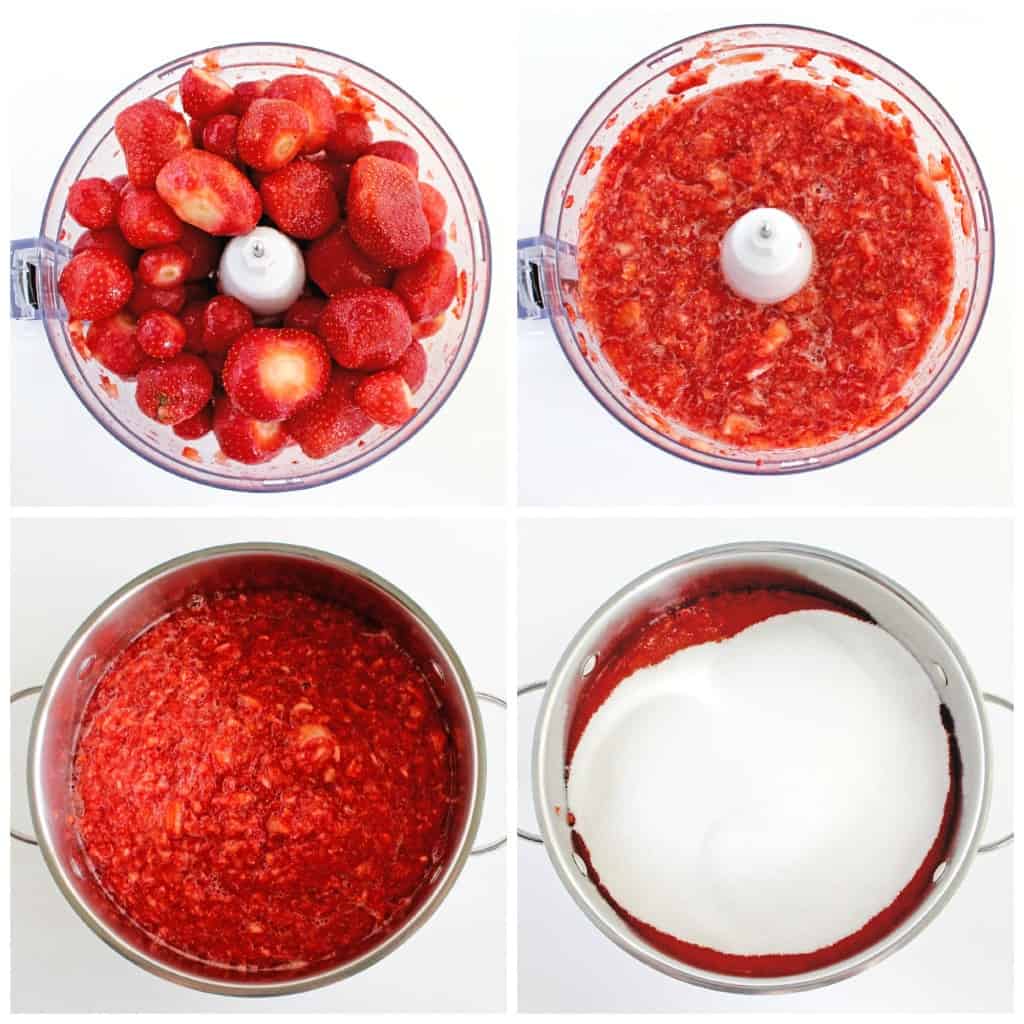
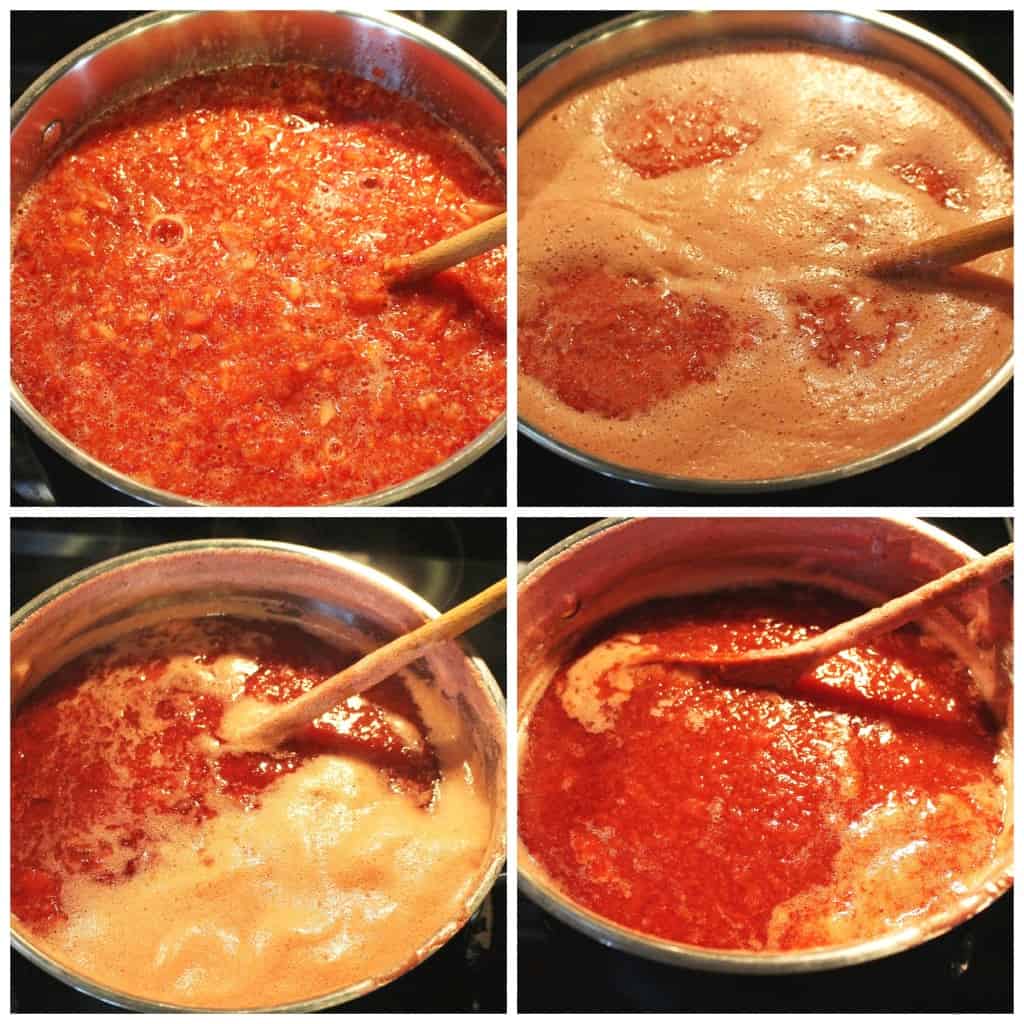
Mix the sugar and crushed strawberries together. Place the pot onto the stove. Turn the burner on high and bring it to a boil, stirring constantly until all the sugar dissolves. As the jam gets closer to a boiling stage it will foam up.
Reduce the heat to low and keep removing it from a burner and putting it right back on. This process cools the foaming and boiling jam and prevents from spilling over the pot.
Once the jam settles and starts boiling on low turn your time to 30 minutes and let it boil stirring from time to time. Remove from the stove set it on the countertop and let it cool until the next day.
Day 2:
Place the pot onto the stovetop. Turn the burner to high and bring it to a boil. Reduce the speed and let it boil for 15 minutes.
Remove from the stove and set it aside on the countertop to cool. After it cools the jam will be darker and thicker comparing to after day 1 boiling.

Day 3:
Ho to Prepare the Jars
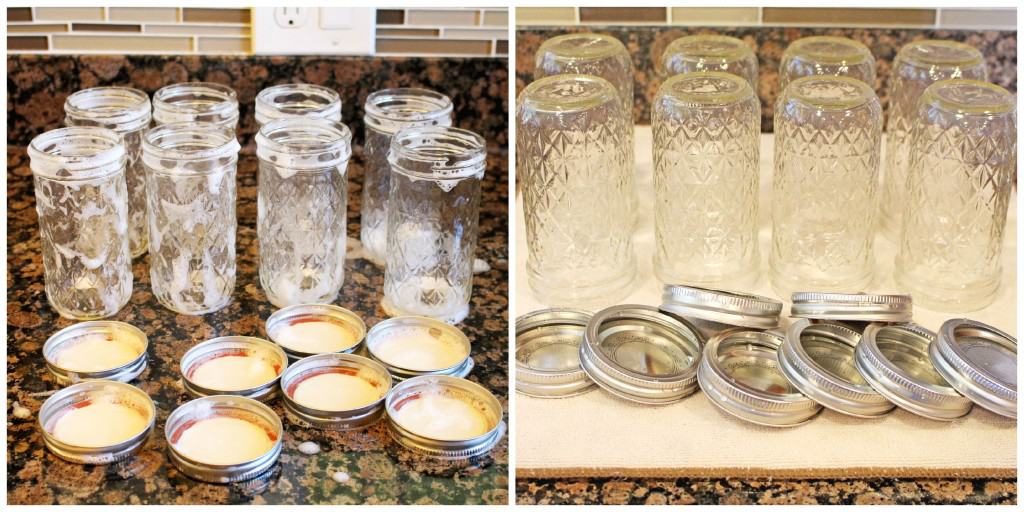
Wash jars and lids with soppy and hot water.
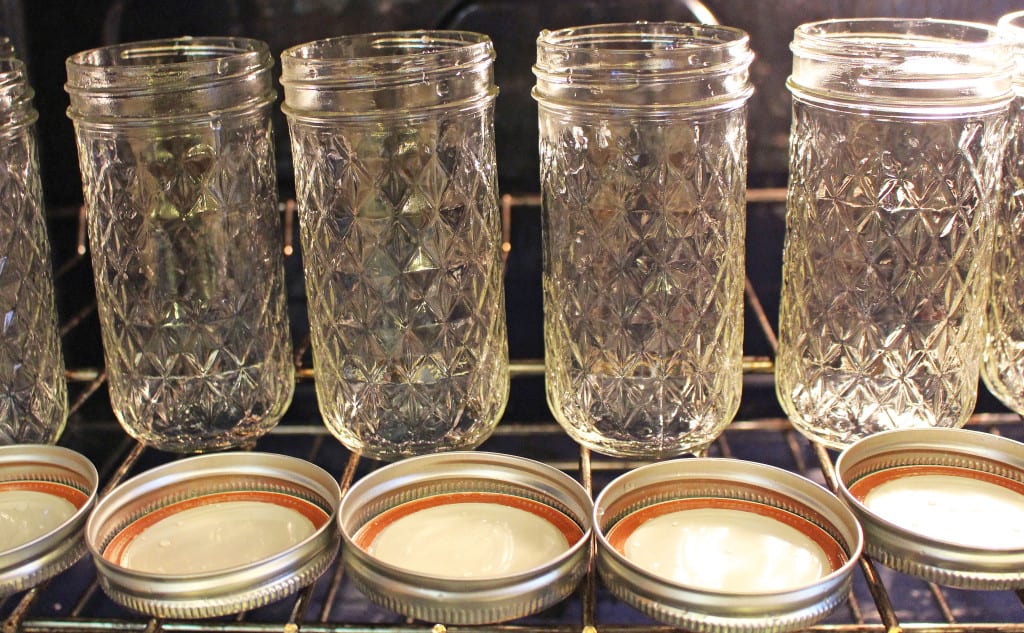
Place jars and lids into the cold oven rack. Turn oven to 225 F. When the oven reaches 225 F set the timer for 10 minutes and let them sterilize.
Then turn the oven off and let them sit in the oven until the jam finishes boiling.
While the jars are sterilizing bring the jam to a boil by repeating day 2 instructions. Take one jar with a lid from the oven at a time. Turn the heat off, and fill the hot jar with hot boiling jam. Wipe the top of the jar off from spilled jam or use a canning draining funnel cone to pour the jam into the can and skip this step.

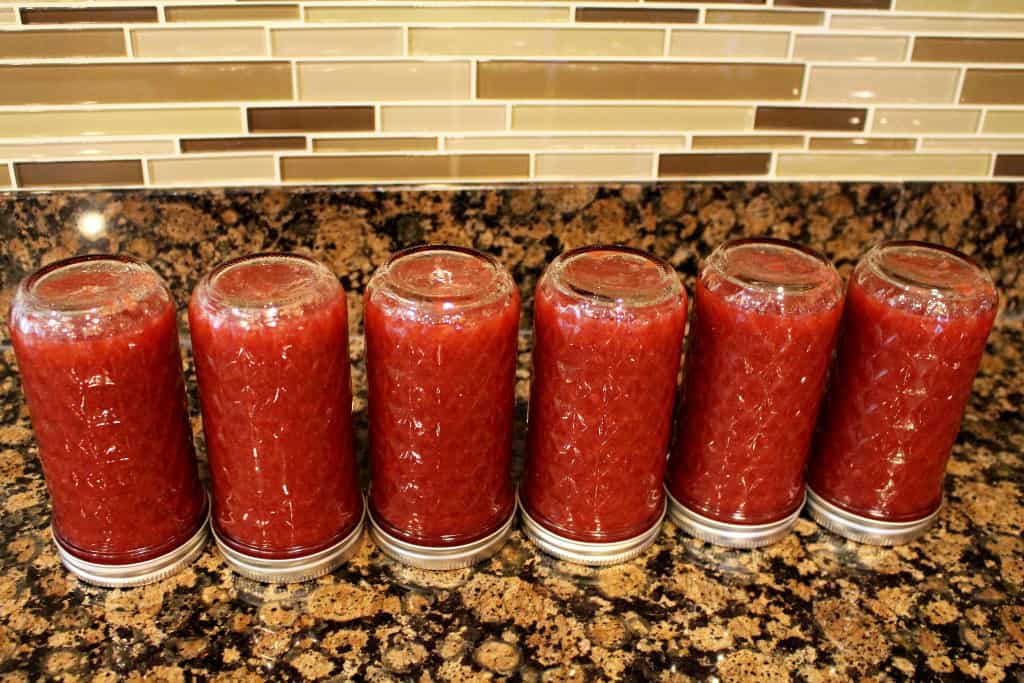
Place the lid onto the jar and screw the lid tight, and flip the jar upside down. Let it cool completely before flipping the can back.
Store it in your storage area. Enjoy this jam as topping on waffles, pancakes, ice-creams, or soak cakes, roulades… etc.
If you make this Simple Homemade Strawberry Jam Recipe, please share a picture with me on Facebook, Instagram, or Pinterest. Tag with #valyastasteofhome. I’d love to see your creations!
Recipe Card
Simple Homemade Strawberry Jam Recipe
Ingredients
- 6 lbs. – strawberries
- 3 cups – granulated sugar
- 6 12oz. – jars with lids
Instructions
- Day 1:
- Remove the stem and wash all the strawberries.
- Crush strawberries in the food processor and place it into a medium pot. Add sugar.
- Mix the sugar and crushed strawberries together. Place the pot onto the stove. Turn the burner on high and bring it to a boil, strring constantly until all the sugar dissolves. As the jam gets closer to a boiling stage it will foam up. Reduce the heat to low and keep removing from a burner and putting right back on. This process cools the foaming and boiling jam and prevents from spilling over the pot. Once jam settles and starts boiling on low turn your time to 30 minutes and let it boil string from time to time. Remove from the stove set it on the counter top and let it cool.
- Day 2:
- Place the pot onto the stove top. Turn burner to high and bring it to a boil. Reduce the speed and let it boil for 15 minutes. Remove from the stove and set it aside on the counter top to cool. After it cool the jam will be darker and thicker comparing to after day 1 boiling.
- Day 3:
- Prepare the jars:
- Wash jars and lids with soap and hot water.
- Place jars and lids into the cold oven rack. Turn oven to 225 F. When the oven reaches 225 F set the timer for 10 minutes and let them sterilize. Then turn the oven off and let them sit in the oven until the jam finishes boiling.
- While the jars are sterilizing bring the jam to a boil by repeating day 2 instructions. Take one jar with a lid from the oven at a time. Turn the heat off, and fill hot jar with hot boiling jam. Wipe the top of the jar off from spilled jam or use canning draining funnel cone to pour jam into the can and skip this step. Place lid onto the jar and screw the lid tight, and flip the jar upside down. Let it cool completely before flipping the can back. Store it in your storage area. Enjoy this jam as topping on waffles, pancakes, ice-creams, or soak cakes, roulades… etc.
Check out more strawberry recipes HERE.
Great topping for pancakes or to soak cake sponges!
Love this Recipe? Save and Pin on Pinterest!



Zimmerman says
With all due respect, stirring is what you meant to use instead of string. From a teacher who loves to cook.
Btw, this recipe looks awesome and I look forward to trying it. I will share pictures…
Valya of Valya's Taste of Home says
Not offended at all. I'm sure that's not the only misspell on my blog, lol. English is my third language. I went ahead and updated this recipe. Thank you so much for sharing! I really appreciate that! 🙂
Yuliya Zhovklyy says
If I don’t have a food processor, what is the way to go about this?
Valya of Valya's Taste of Home says
Potato masher will work.
Bernice says
How long would this store for?
Valya of Valya's Taste of Home says
I still have a couple of jars from 2016. I would say at least a year.
Inna says
Valya,
What's the consistency of this jam?
valya'stasteofhome.com says
The consistency of this homemade jam is much thinner than store bought. If you want the jam to be thicker you can add jam pectin, but I prefer my jam to be chemical free. That's a great question. Thank you!
Alla says
Hi Valya,
May I ask, what sort are your strawberries? Ive planted two types in the past and don't get nearly as nice of a harvest as yours. I can just eat the screen looking at your delicious strawberries :))
valya'stasteofhome.com says
Hi Alla. They are so delicious! I always miss them when not in season. The name is "seascape". I order them on line and they come in bare roots.