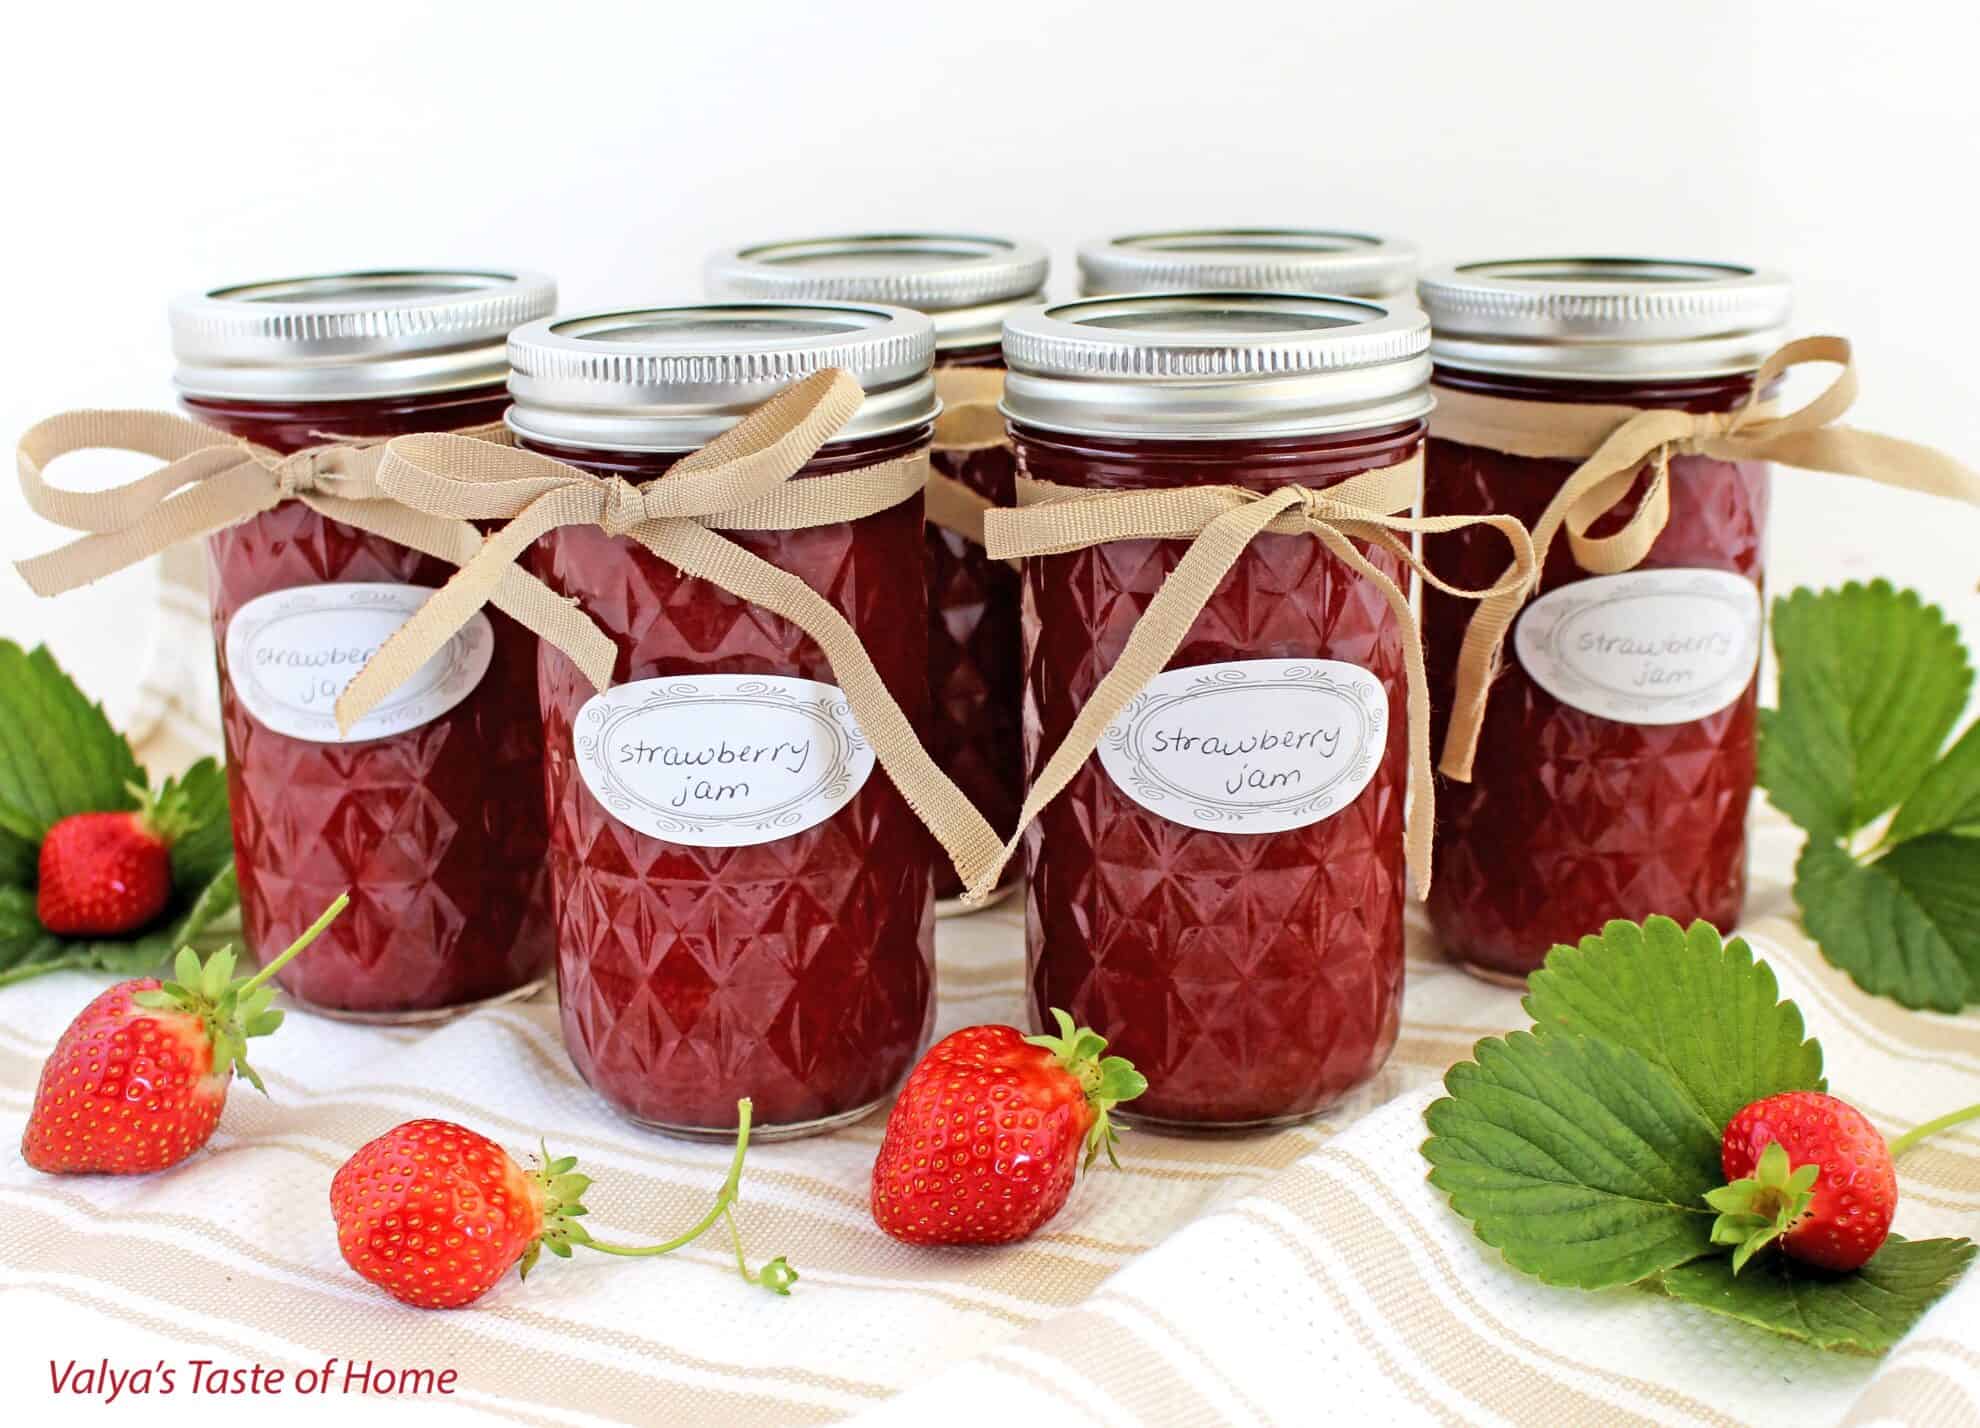
Easy Strawberry Jam
This Strawberry Jam is supremely healthy, made with only two ingredients, and takes three days to make, but the wait is worth it!
Servings 6 jars
Equipment
- 6 mason jars 12 oz jars with lids
Ingredients
- 6 lbs. strawberries
- 3 cups granulated sugar
Instructions
Day 1:
- Remove the stem and wash all the strawberries.
- Crush strawberries in the food processor and place it into a medium pot. Add sugar.
- Mix the sugar and crushed strawberries together. Place the pot onto the stove. Turn the burner on high and bring it to a boil, strring constantly until all the sugar dissolves.
- As the jam gets closer to a boiling stage it will foam up. Reduce the heat to low and keep removing from a burner and putting right back on. This process cools the foaming and boiling jam and prevents from spilling over the pot. Once
- Once jam settles and starts boiling on low turn your time to 30 minutes and let it boil string from time to time. Remove from the stove set it on the counter top and let it cool.
Day 2:
- Place the pot onto the stove top. Turn burner to high and bring it to a boil. Reduce the speed and let it boil for 15 minutes. Remove from the stove and set it aside on the counter top to cool. After it cool the jam will be darker and thicker comparing to after day 1 boiling.
Day 3:
- Wash jars and lids with soap and hot water.
- Place jars and lids into the cold oven rack. Turn oven to 225 F. When the oven reaches 225 F set the timer for 10 minutes and let them sterilize. Then turn the oven off and let them sit in the oven until the jam finishes boiling.
- While the jars are sterilizing bring the jam to a boil by repeating day 2 instructions.
- Take one jar with a lid from the oven at a time. Turn the heat off, and fill hot jar with hot boiling jam. Wipe the top of the jar off from spilled jam or use canning draining funnel cone to pour jam into the can and skip this step. Place lid
- Place the lid onto the jar and screw the lid tight, and flip the jar upside down. Let it cool completely before flipping the can back. Store it in your storage area. Enjoy this jam as topping on waffles, pancakes, ice-creams, or soak cakes.
Notes
- In the food processor, crush strawberries in batches, leaving some larger chunks for texture.
- After the jam has cooled on day 1, cover the pot and store it in the refrigerator overnight. This helps the strawberries to release their juices and results in a better jam consistency.
- Be patient and keep stirring as the sugar dissolves and the jam comes to a boil. This will prevent the sugar from burning and sticking to the bottom of the pot.
- Make sure to remove the foam that rises to the top during boiling. This will give your jam a clearer, more attractive appearance.
- On day 2, remember to let the jam boil for the full 15 minutes. This is crucial for setting the jam and ensuring it will thicken properly.
- Using a canning funnel will help you fill the jars without spilling, and also wipe the jar rims with a clean, damp cloth before placing the lids on. This will ensure a tight seal.
- Flip the filled jars upside down for 5–10 minutes, then flip them back. This will help to sterilize the lids and prevent mold growth.