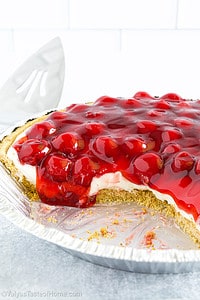
Cherry Cheesecake Pie is one of the most popular and classic desserts, and for a good reason! It features the most delicious crust that perfectly complements the creamy and tangy cheese filling, while the sweet cherry topping adds a burst of flavor and color.
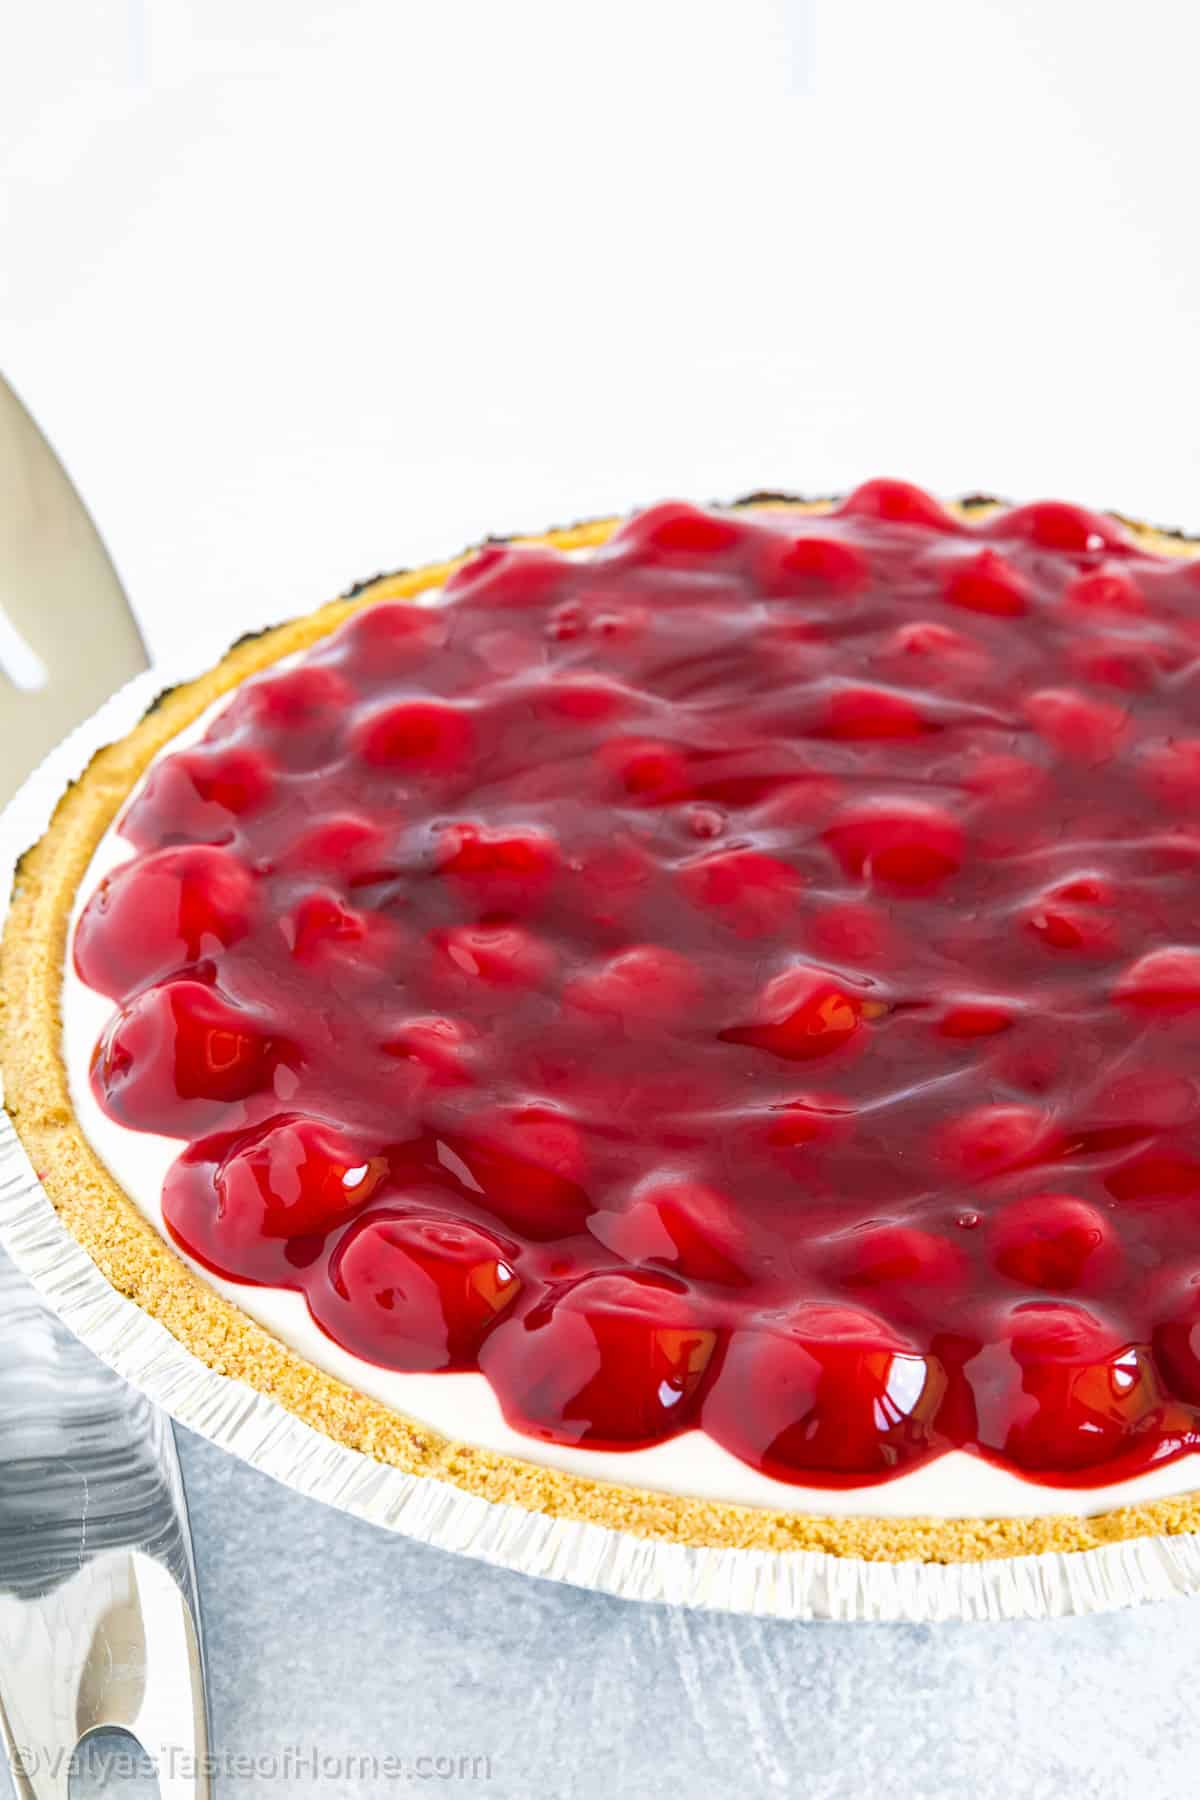
The combination of the smooth cheesecake and the juicy cherries is simply irresistible. It’s one of my all-time favorite desserts, and what’s best is that it can be made incredibly quickly and easily! This makes it the perfect dessert to serve when you have guests over or just want to enjoy a delicious dessert
Whether you’re hosting a fancy dinner party or a casual get-together, this Cherry Cheesecake Pie is a crowd-pleaser that will leave everyone satisfied and craving for more!
Want to learn how to make this cherry cheesecake pie? Then keep on reading.
Table of Contents
- What is a Cherry Cheesecake Pie?
- What Makes This Cherry Cheesecake Pie Recipe Special?
- What You Need to Make Cherry Cheesecake Pie at Home
- How to Make Cherry Cheesecake Pie (Step-by-Step)
- Tips for Making the Best Cherry Cheesecake Pie Ever
- Serving Suggestions for Cherry Cheesecake Pie
- Recipe Variation Ideas for Cherry Cheesecake Pie
- How to Store Leftover Cherry Cheesecake Pie
- Similar Recipes You'll Love
- Recipe Card
- Easy Cherry Cheesecake Pie (Classic Cherry Cream Cheese Pie)
- Comments
What is a Cherry Cheesecake Pie?
Cherry Cheesecake Pie is a dessert that combines the creamy, tangy flavors of cheesecake with the fruity sweetness of cherries. It typically consists of a graham cracker crust, a layer of creamy cheesecake filling, and a layer of cherry topping.
What is good about this dish is that it offers the best of both worlds – the richness and creaminess of cheesecake, as well as the flavor and texture of a cherry pie.
It is a crowd-pleasing dessert that is perfect for any occasion, and is especially popular during the holidays. Plus, it is easy to make and can be customized with different toppings or flavors.
What Makes This Cherry Cheesecake Pie Recipe Special?
Easy: This recipe requires minimal effort and prep time, making it an ideal dessert for busy weeknights or last-minute gatherings.
Versatile: The recipe can be customized to suit personal preferences by using different crusts, toppings, or even substituting the cherries for another fruit.
Delicious: The combination of creamy cheesecake and sweet cherries creates a flavor profile that is both indulgent and satisfying. Trust me, this cherry cheesecake pie is heaven on a pie plate!
Crowd-Pleaser: This dessert is sure to impress and satisfy a variety of taste preferences, making it an ideal dish for potlucks, parties, or family gatherings.
Unique Twist: The addition of a pie crust to a classic cheesecake recipe adds a unique twist that sets this dessert apart from other cherry cheesecake recipes. It’s truly the perfect dessert!
What You Need to Make Cherry Cheesecake Pie at Home
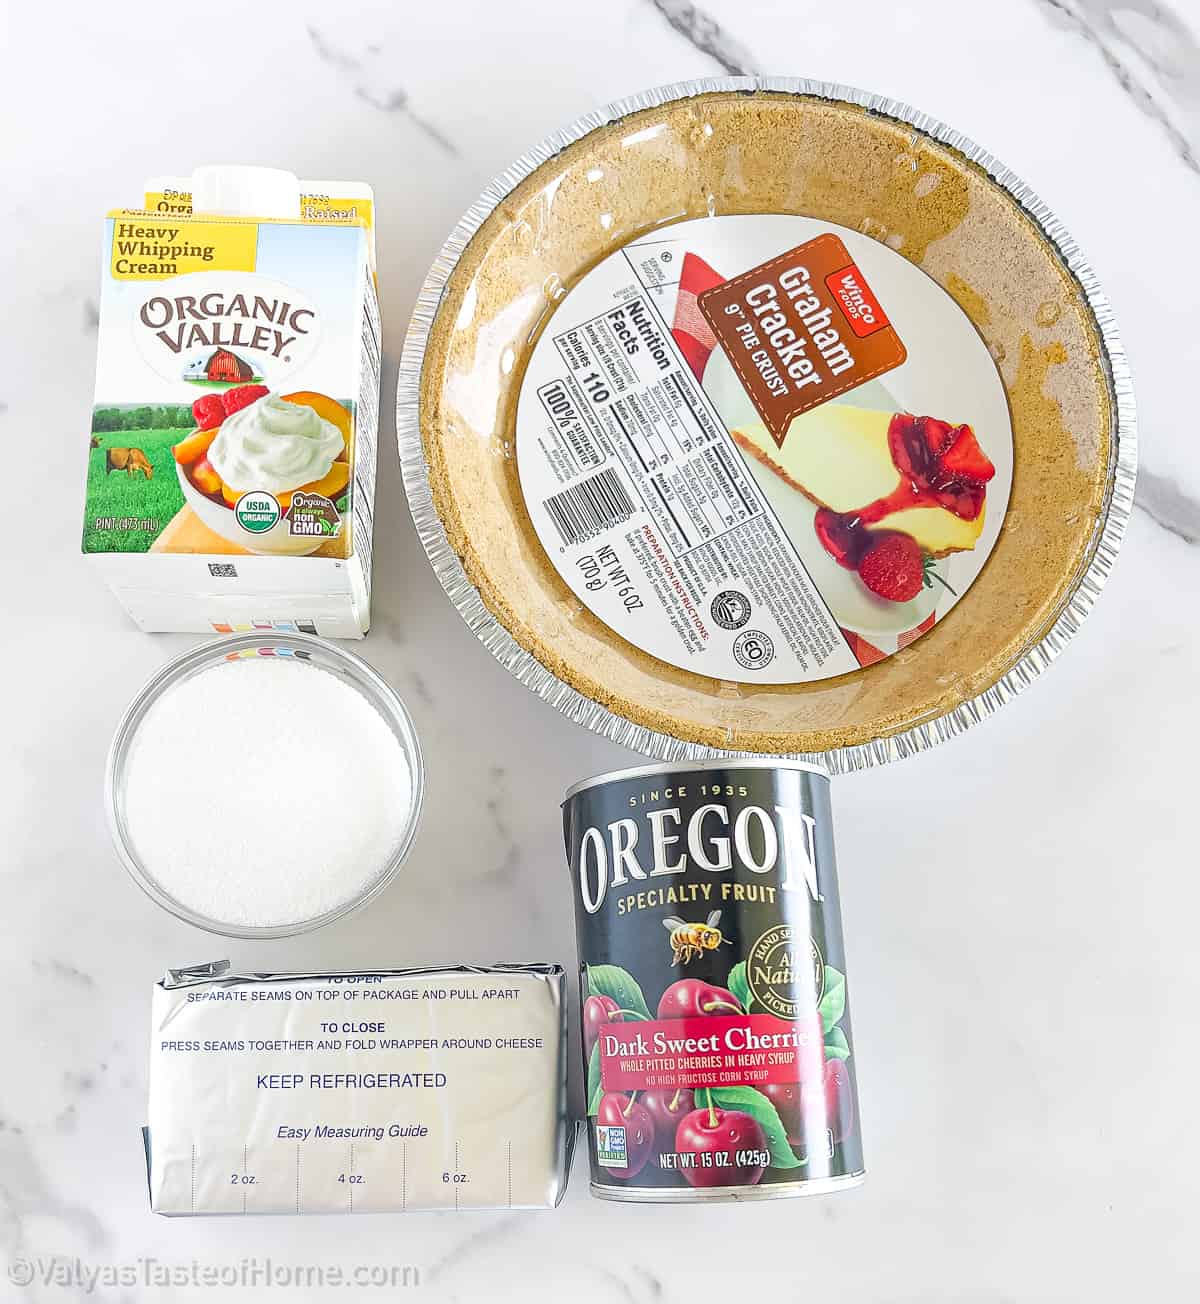
All you need are some simple, pantry staple ingredients to make this delicious cherry cheesecake pie at home. Let's look at them in more detail:
- Cream cheese: You’ll be using some softened cream cheese in this recipe to add a rich, creamy texture to the pie filling. While the pie bakes, the full-fat cream cheese will melt and become perfectly blended with the other ingredients for a delicious filling.
- Heavy whipping cream: We’ll also need some whipping cream for this recipe to create a fluffy, light topping that will perfectly complement the rich filling. The whipping cream will add a refreshing, airy element to the dessert that will satisfy any sweet tooth.
- Granulated sugar: To sweeten the filling, we’ll be using granulated sugar. As it mixes with the other ingredients, the sugar will create a smooth, even texture that will be the perfect balance of sweetness.
- Pie topping: For a delicious finish to the pie, we’ll be using a can of pie topping. During the baking process, the topping will become warm and perfectly complement the creamy filling.
- Pie crust: Finally, we’ll need a 9” pie crust for the base of the dessert. As it bakes, the crust will become perfectly golden brown and act as the perfect vessel for the decadent cream cheese filling.
How to Make Cherry Cheesecake Pie (Step-by-Step)
Making this delicious cherry cheesecake pie is easier than you think. Here's how to make them at home step by step:
To start, preheat your oven to 350 F. Prepare a crust by either making your own or using a store-bought one. Then, bake it in the preheated oven for 5 minutes. Once done, remove it from the oven and let it cool on a cooling rack for about 30 minutes to reach room temperature.
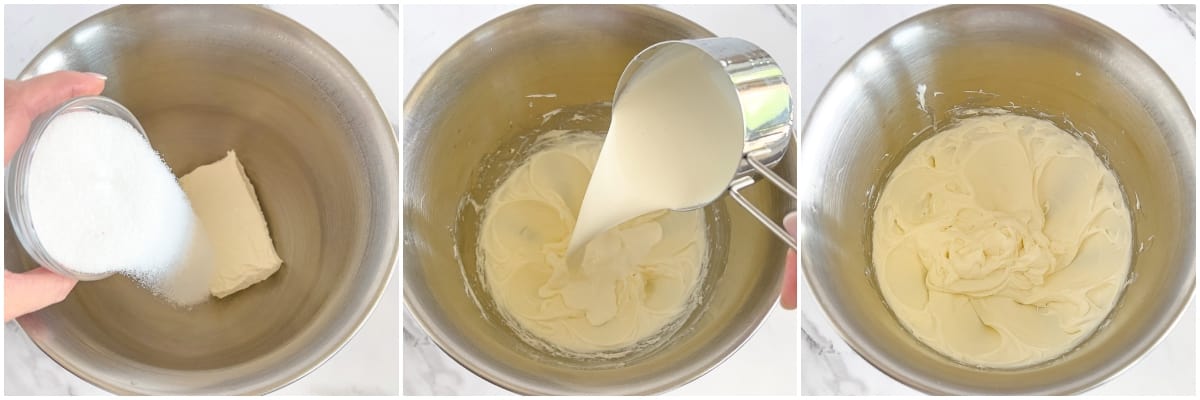
You can then proceed to make the cheesecake cream while the crust is cooling. In a large mixing bowl, beat the sugar and cream cheese on high speed for about 5 minutes until it becomes smooth and creamy.
Add in the whipping cream and continue beating for an additional 2 minutes. Be sure to scrape the sides of the bowl down to ensure everything is mixed properly (the mixture will thin out before starts to thicken again). After this, beat for another 3 minutes until all ingredients are well combined and frothy.
Once the cheesecake mixture is ready, transfer it to a prepared crust plate and spread it out evenly.
Make sure to spread it out evenly.
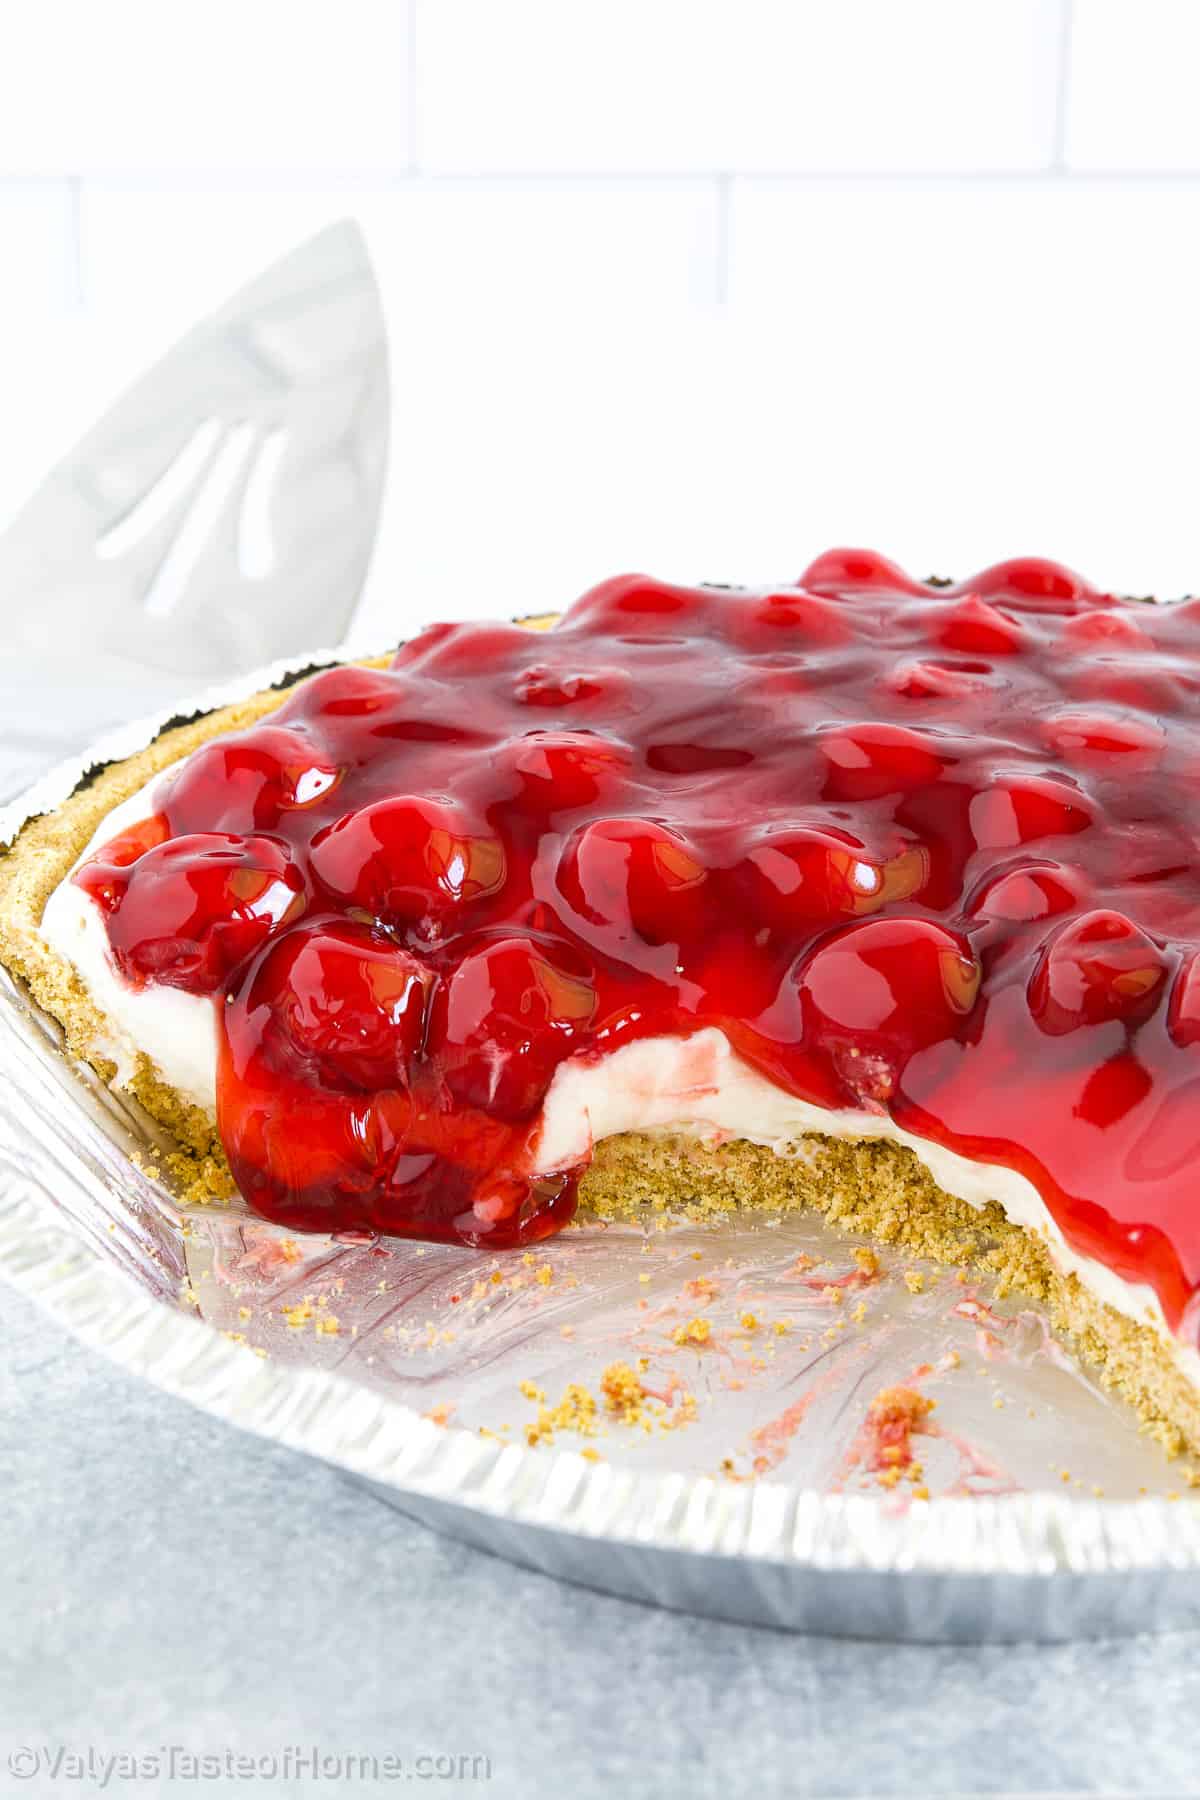
Next, pour a layer of cherries over the cheesecake layer. Be sure to cover it entirely using as many cherries as you prefer.
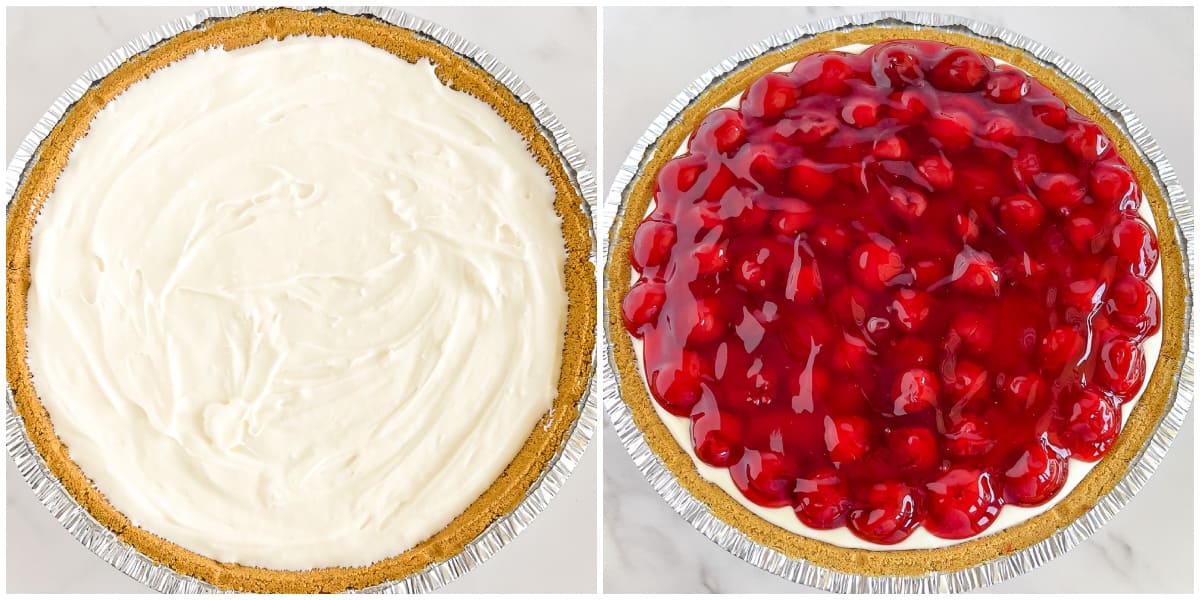
Cover the cheesecake using the plastic cover provided and place it in your refrigerator. Allow it to chill for at least 2 hours before serving. After this, slice it up and enjoy your delicious homemade cherry cheesecake!
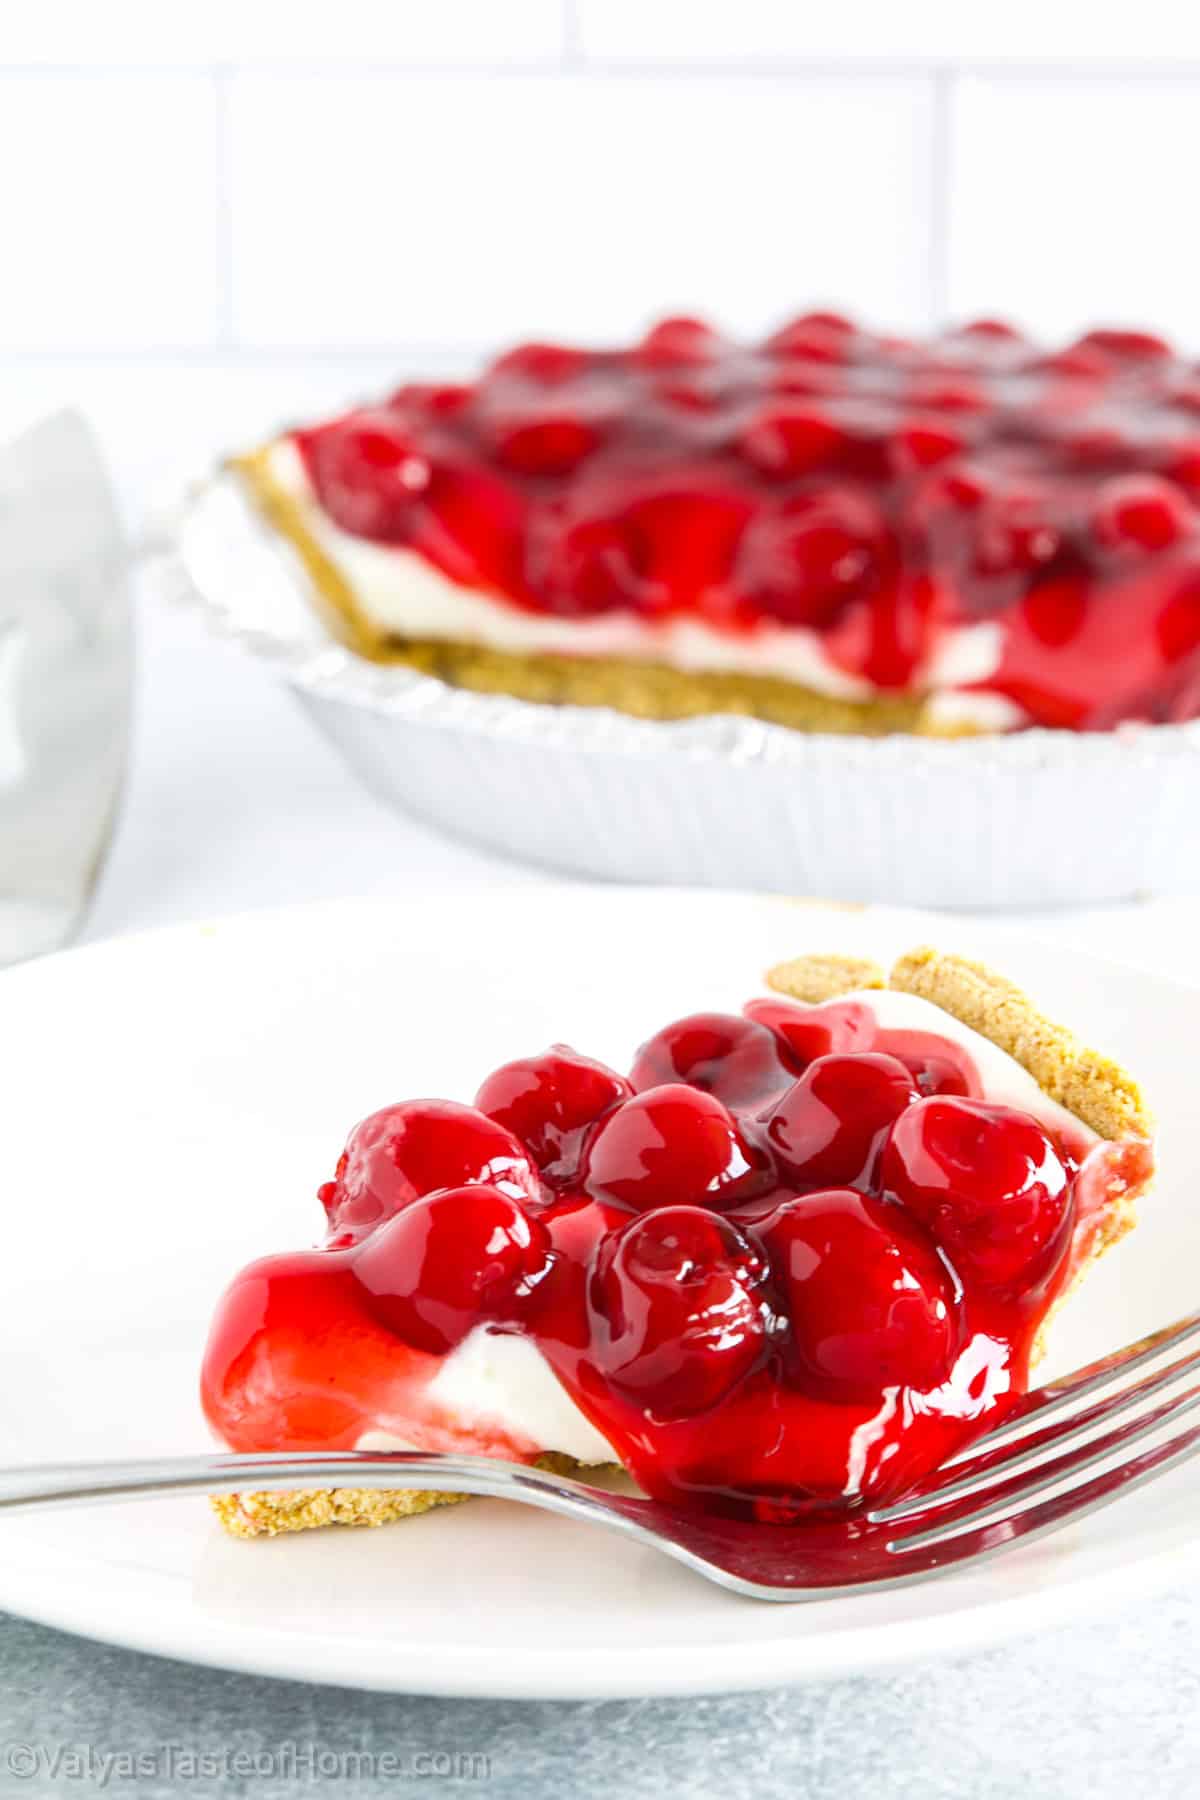
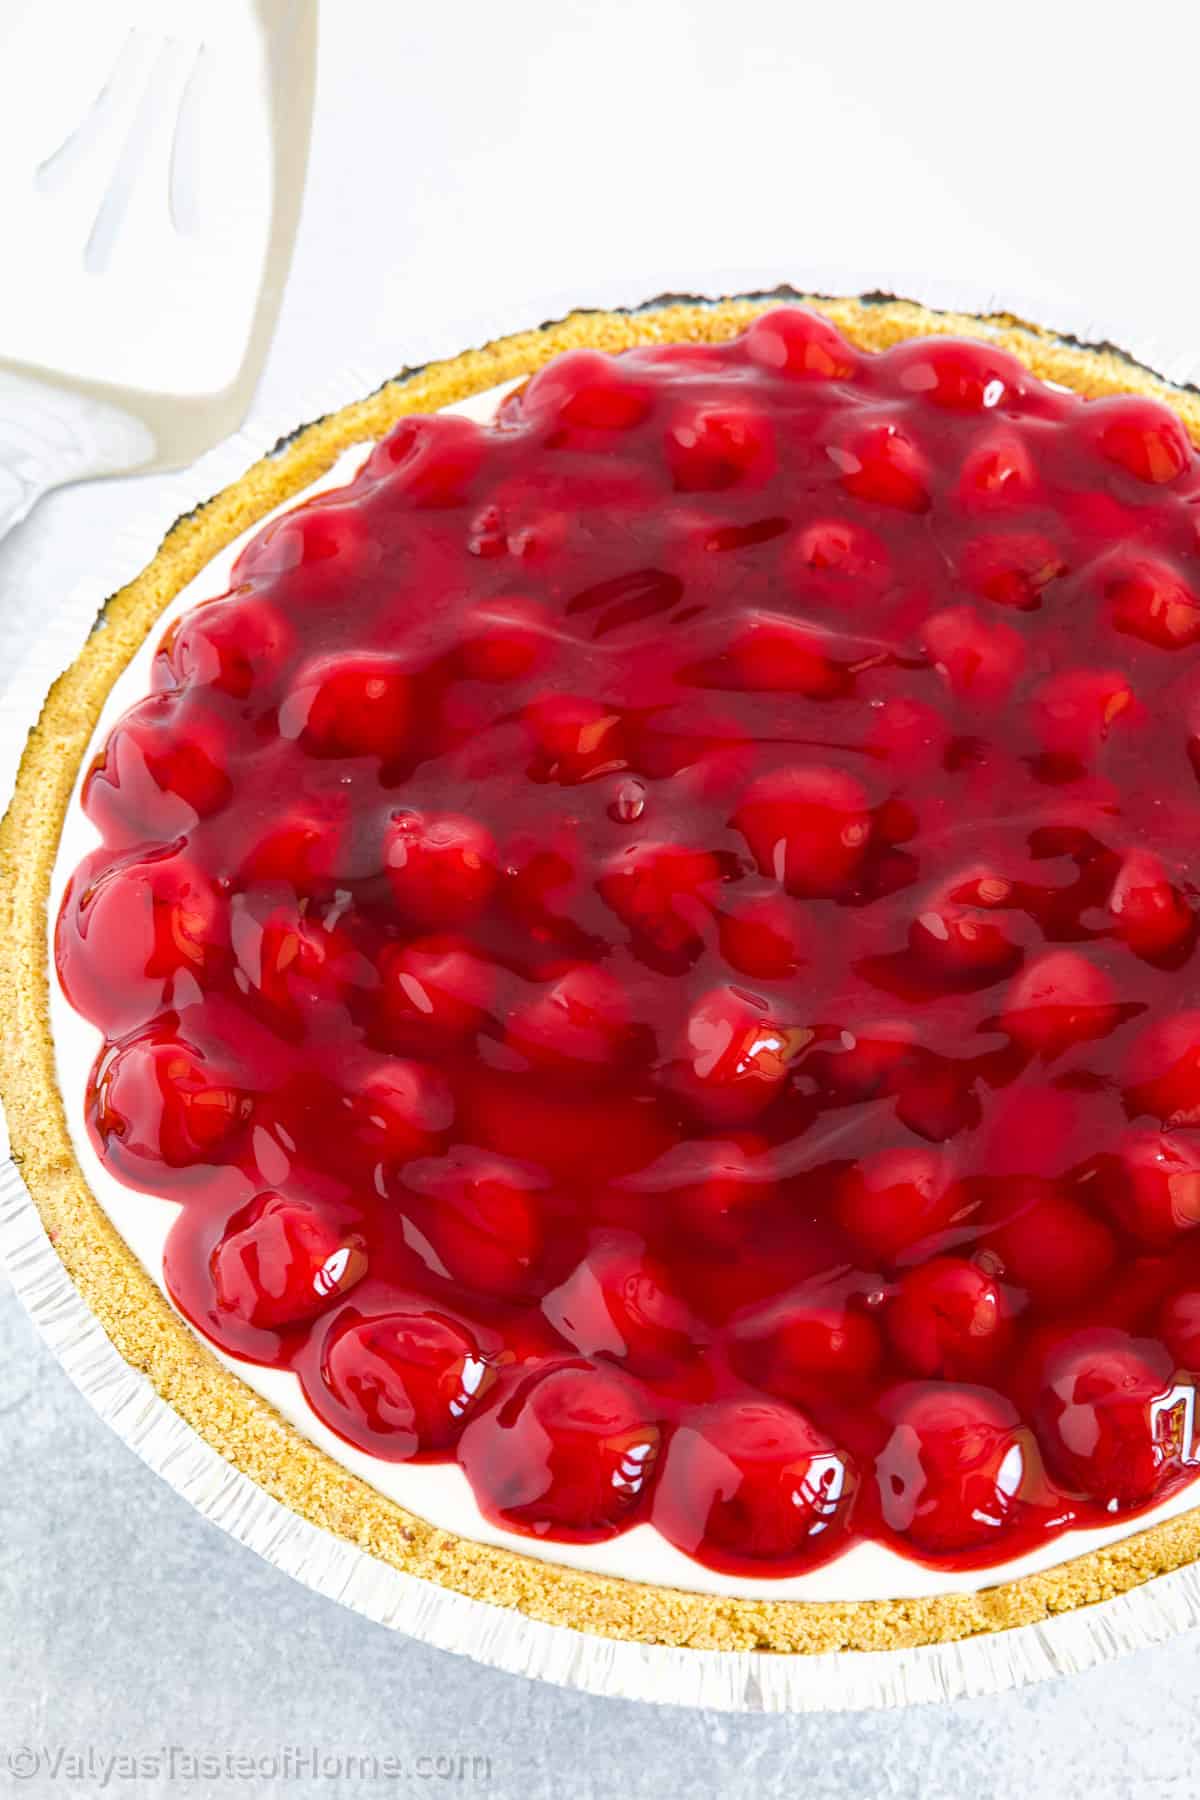
Your delicious Cherry Cheesecake Pie is ready to be served!
Tips for Making the Best Cherry Cheesecake Pie Ever
Room temperature cream cheese: Allow your cream cheese to come to room temperature before starting to make your cherry cheesecake pie. Using cold cheese can make it difficult to mix, causing lumps and clumps. Softened room temperature cream cheese lends a smooth and creamy texture to your cheesecake filling.
Blind bake the crust: To prevent a soggy crust, blind bake it before adding the cheesecake filling and cherries. Use pie weights or dry beans to keep the crust from puffing up while baking.
Use canned cherry pie filling: Canned cherry pie filling is a convenient and delicious topping for this cheesecake pie recipe. You can use high-quality pie filling for the best flavor.
Thaw frozen cherries before use: If you are using frozen cherries, be sure to thaw them completely before adding them to the pie. This ensures that they don’t release too much liquid and keep the filling thick.
Add vanilla extract to cheesecake filling: Adding vanilla extract to the cheesecake filling adds a subtle and complimentary flavor that balances the sweetness of the cherry pie filling.
Use aluminum foil to tent the crust: To prevent the crust from over browning, tent it with a piece of aluminum foil while baking.
Chill before serving: Make sure to chill your cheesecake pie for at least 2 hours before serving it. This will ensure the cheesecake sets properly making it easier to slice and serve.
Serving Suggestions for Cherry Cheesecake Pie
- Top the pie with a dollop of whipped cream and a fresh cherry for a classic presentation.
- Serve each slice of pie with a scoop of vanilla ice cream to balance the richness of the cheesecake.
- Crumble graham crackers on top of the pie for added texture and a nod to the classic cheesecake crust.
- Pair the pie with a cup of hot coffee or tea for a perfect afternoon indulgence.
- For a festive touch, serve the pie with a sprinkle of red and green sprinkles and a dusting of powdered sugar during the holiday season.
Recipe Variation Ideas for Cherry Cheesecake Pie
This delicious cherry cream cheese pie recipe is absolutely perfect as is, but if you're looking to change things up here are a few variation ideas you can try:
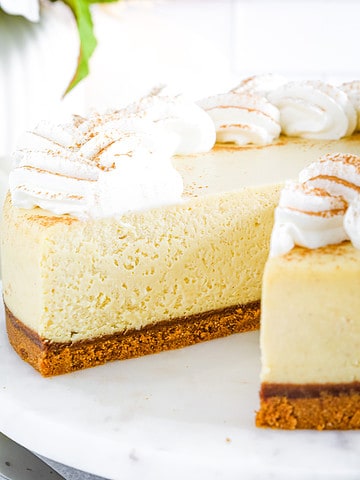
- Pumpkin: This variation adds the warm spices and flavors of fall to the classic cherry cheesecake pie. Add 1 cup of canned pumpkin puree, 1 teaspoon of cinnamon, ½ teaspoon of ground ginger, and ¼ teaspoon of nutmeg to the cream cheese mixture before adding the pie filling and baking as directed.
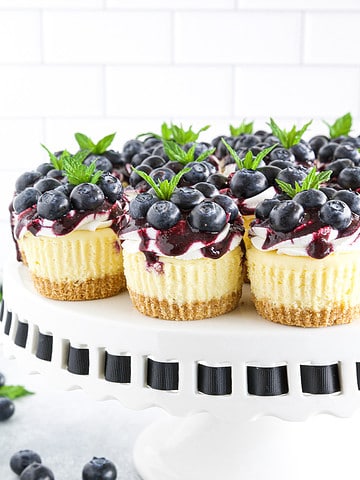
- Blueberry: Switch out the cherry pie filling for blueberry pie filling to create a sweet and fruity twist on the classic dessert. Simply replace the cherry pie filling with blueberry pie filling and bake as directed.
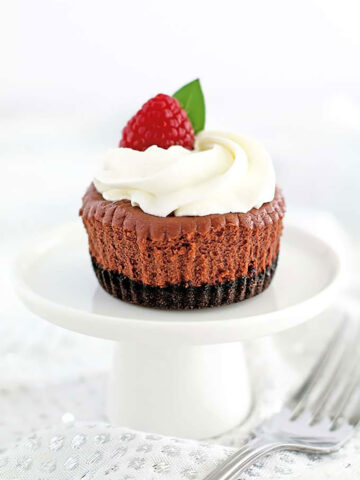
- Chocolate: This variation adds a rich and decadent chocolatey flavor to the cheesecake pie. Melt 1 cup of semi-sweet chocolate chips and add it to the cream cheese mixture before adding the pie filling and baking as directed. You can also use a chocolate cookie crust!
- Strawberry: Another fruity twist, this variation swaps out the cherry filling for strawberry filling. Replace the cherry pie filling with strawberry pie filling and bake as directed.
- Lemon: A bright and citrusy variation, this one adds the refreshing taste of lemon to the classic pie. Add 1 tablespoon of lemon zest and ¼ cup of fresh lemon juice to the cream cheese mixture before adding the pie filling and baking as directed.
How to Store Leftover Cherry Cheesecake Pie
To store leftover Cherry Cheesecake Pie, cover it tightly with plastic wrap or aluminum foil. Place it in an airtight container in the refrigerator and it will last for up to 3-4 days.
Since this recipe contains dairy products, it’s not recommended to freeze it in the freezer since the texture and consistency may be affected.
Freezing causes the cheese to break down and separate from the other ingredients, leading to a grainy texture and loss of flavor. Therefore, it is best to enjoy this dessert freshly made or within a few days of making it.
Similar Recipes You'll Love
- No-Bake Cherry Cheesecake Parfaits
- No-Bake Strawberry Cheesecake Parfaits (Party Friendly)
- The Best Ever Cherry Cheesecake (Easy to Make!)
See all cheesecake recipes.
Recipe Card
Easy Cherry Cheesecake Pie (Classic Cherry Cream Cheese Pie)
Ingredients
Cherry Cheesecake Pie Ingredients
- 8 oz. - cream cheese
- 2 cups - heavy whipping cream
- 8 tbsp. – granulated sugar
- 1 can - pie topping
- 1 - 9" - pie crust
Instructions
How to Make Cherry Cheesecake Pie
- To start, preheat your oven to 350 ℉. Prepare a crust by either making your own or using a store-bought one. Then, bake it in the preheated oven for 5 minutes. Once done, remove it from the oven and let it cool on cooling rack for about 30 minutes to reach room temperature.
- You can then proceed to make the cheesecake cream while the crust is cooling. In a large mixing bowl, beat the sugar and cream cheese on high speed for about 5 minutes until it becomes smooth and creamy.
- Add in the whipping cream and continue beating for an additional 2 minutes. Be sure to scrape the sides of the bowl down to ensure everything is mixed properly (the mixture will thin out before starts to thicken again). After this, beat for another 3 minutes until all ingredients are well combined and frothy.
- Once the cheesecake mixture is ready, transfer it to a prepared crust plate and spread it out evenly.
- Make sure to spread it out evenly.
- Next, pour a layer of cherries over the cheesecake layer. Be sure to cover it entirely using as many cherries as you prefer.
- Cover the cheesecake using the plastic cover provided and place it in your refrigerator. Allow it to chill for at least 2 hours before serving. After this, slice it up and enjoy your delicious homemade cherry cheesecake!
- Your delicious Cherry Cheesecake Pie is ready to be served!
Thank you for following me on Instagram, Facebook, and Pinterest!
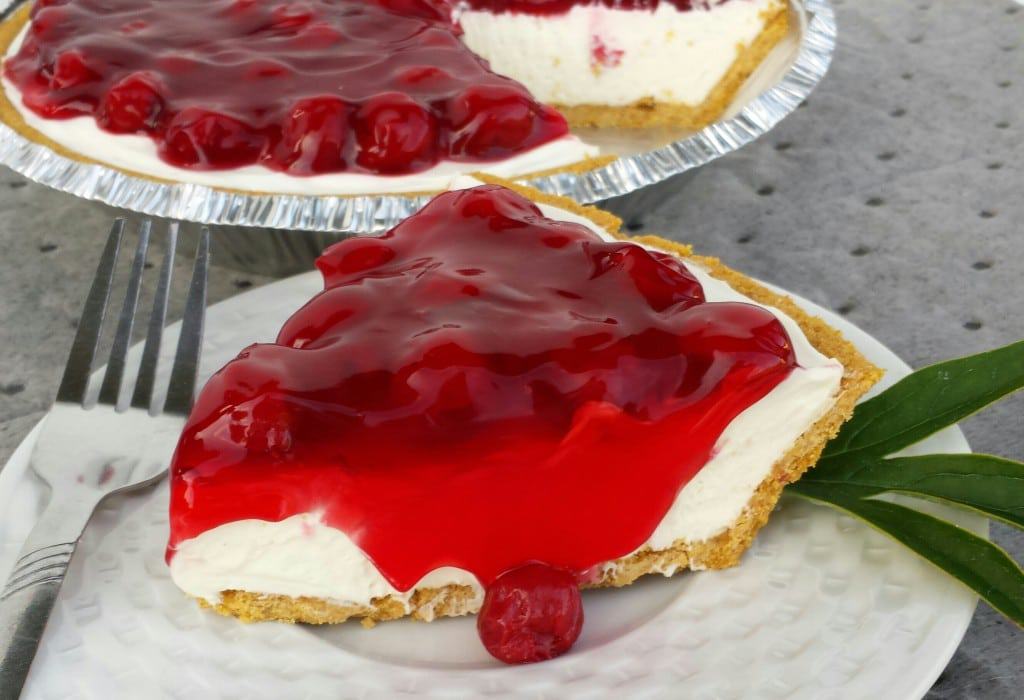
This recipe was originally posted on August 26, 2014 (original picture below), and updated for a better user experience. The post may contain affiliate links. Read my disclosure.



Natasha says
So I made your non baking cheesecake for my co-worker birthday yesterday. And my co-worker loved it. She shared with other co-workers and between 4 people it was almost gone. She barely saved a slice for her daughter at home. Thanks for posting 🙂
valya'stasteofhome.com says
Thank you Natasha! I am so happy to hear that people do like my recipes. Thanks again ! 🙂
Lilya says
My husband tried this cheesecake about 10 years ago and has been asking me to find the recipe. I made it yesterday and he LOVED it!!! My family loves my cooking thanks to you!
valya'stasteofhome.com says
That is so sweet of you Lilya! Thanks for the words of encouragement! When I was making this cheesecake to post on my blog, I actually made two of them, ant they were gone by the time I knew it. My kids got so spoiled with my cooking that they have hard time eating somewhere else outside the home. My older girls started cooking a lot too, and I am so happy to see how they cook their recipes with cleanliness. Thanks again! 🙂
Keith W says
In your ingredient list is 2 cups heavy cream, but in the instructions there is no mention of this ingredient. I am just wondering when you add the heavy cream.
Valya's Taste of Home says
It meant to say "heavy whipping cream" instead of cool whip. Thank you for catching that 🙂
Natasha says
This is the recipe I have been looking for. Will make it for my coworkers birthday on Wednesday. Thank you so much for posting it.
valya'stasteofhome.com says
Your welcome Natasha! Keep me posted on how she liked it. 🙂
Tatyana says
Wow! I must try it. Thank you!
valya'stasteofhome.com says
Thanks Tatyana! I know you will love it. Let me know about it! 🙂