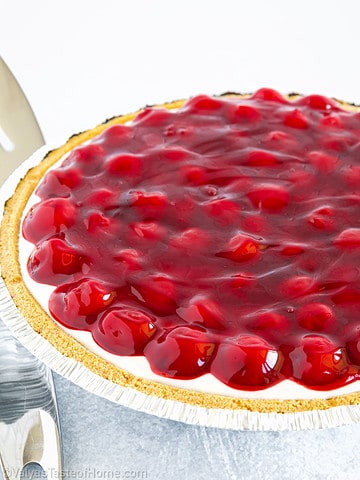
There really is nothing that beats a delicious homemade Cherry Cheesecake! And this recipe, in particular, is here to blow your minds! I promise you’re going to fall in love with this one!
Try this recipe and you’ll end up with a smooth and creamy cheesecake! Its sweetness is balanced with the sourness of the cherry pie filling to give you incredible flavors that you wouldn’t believe!
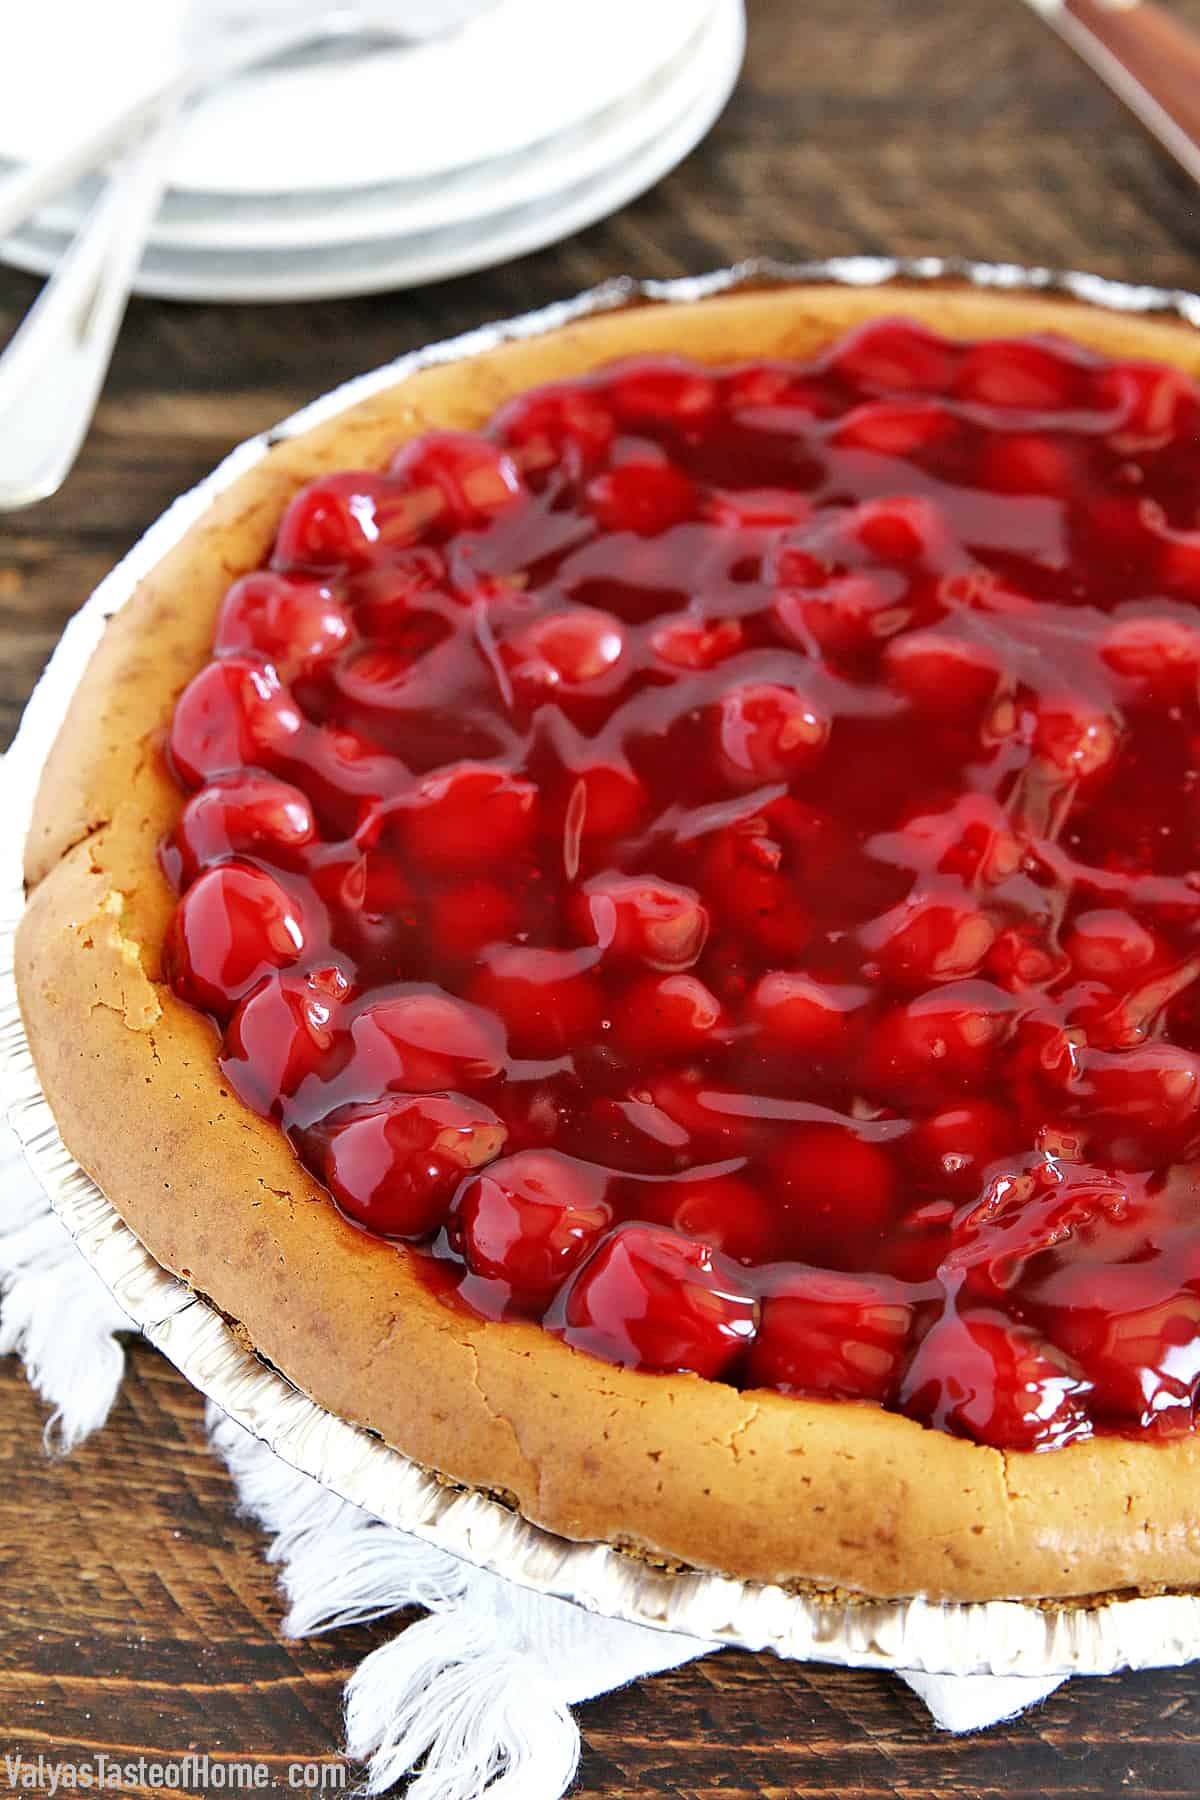
What’s best is that this Cherry Cheesecake is truly foolproof! You’ll always get the most delicious Cherry Cheesecake you’ve ever had, and I’m sure it’s going to become your new family favorite!
It’s the perfect dessert for a weeknight dessert treat, or to even serve to guests that have come over to your place. It’s a beautiful recipe that’s simple to make but is extraordinary in its flavors.
Interested to learn how to bake this Cherry Cheesecake? Then keep on reading!
Table of Contents
- What’s a Cherry Cheesecake?
- What’s So Special About this Cherry Cheesecake?
- Why Is This the Best Cherry Cheesecake Recipe Ever?
- What You Need to Make Cherry Cheesecake
- How to Make Cherry Cheesecake – Step by Step
- How to Slice Your Cherry Cheesecake Perfectly Each Time
- Similar Recipes
- Recipe Card
- The Best Ever Cherry Cheesecake (Easy to Make!)
- Comments
What’s a Cherry Cheesecake?
Cherry cheesecake is the quintessential, perfect cheesecake that’s not only classy but tastes incredible too.
It combines the richness and creaminess of a classic cheesecake with the sourness from cherry pie filling to give you the most decadent cheesecake you’ve ever had!
Think of a classic cheesecake, and now imagine it being topped off with the perfect, most incredible cherry pie filling! That’s what this cherry cheesecake is. It combines flavors in a way that’s absolutely perfect.
You can whip this cheesecake recipe up in no time, and it’s the perfect one for a weeknight dessert treat or even for special occasions such as Mother’s Day!
Regardless of when you bake this Cherry Cheesecake, having it is truly going to be an unforgettable experience for you.
What’s So Special About this Cherry Cheesecake?
Do you have little things that you hold near and dear? For me, this recipe is one of them. It has journeyed with me through many years, and I’d like to share it with you now.
This Cherry Cheesecake is so easy to make and has a delicious original flavor that is hard to beat. This recipe is incredibly special for more reasons than I can count!
I’ve always loved to bake desserts, and this was the very first American recipe that I learned to make soon after arriving in the US at the age of 14. I made this cheesecake a lot throughout my teen years and during the early years of marriage until my own teen girls took it over in our household.
They now make this cheesecake as I had at their age, and they love it just as much as I do. I enjoy watching them bake, but this time I made it myself to bring it especially from me to you.
This recipe brings back so many happy memories for me! I loved making it in my teens because it's simple, always turned out perfect, and tastes absolutely delicious every single time.
To this day, I still enjoy a good slice of this cheesecake every time my daughters make it, or when I whip it up for the family
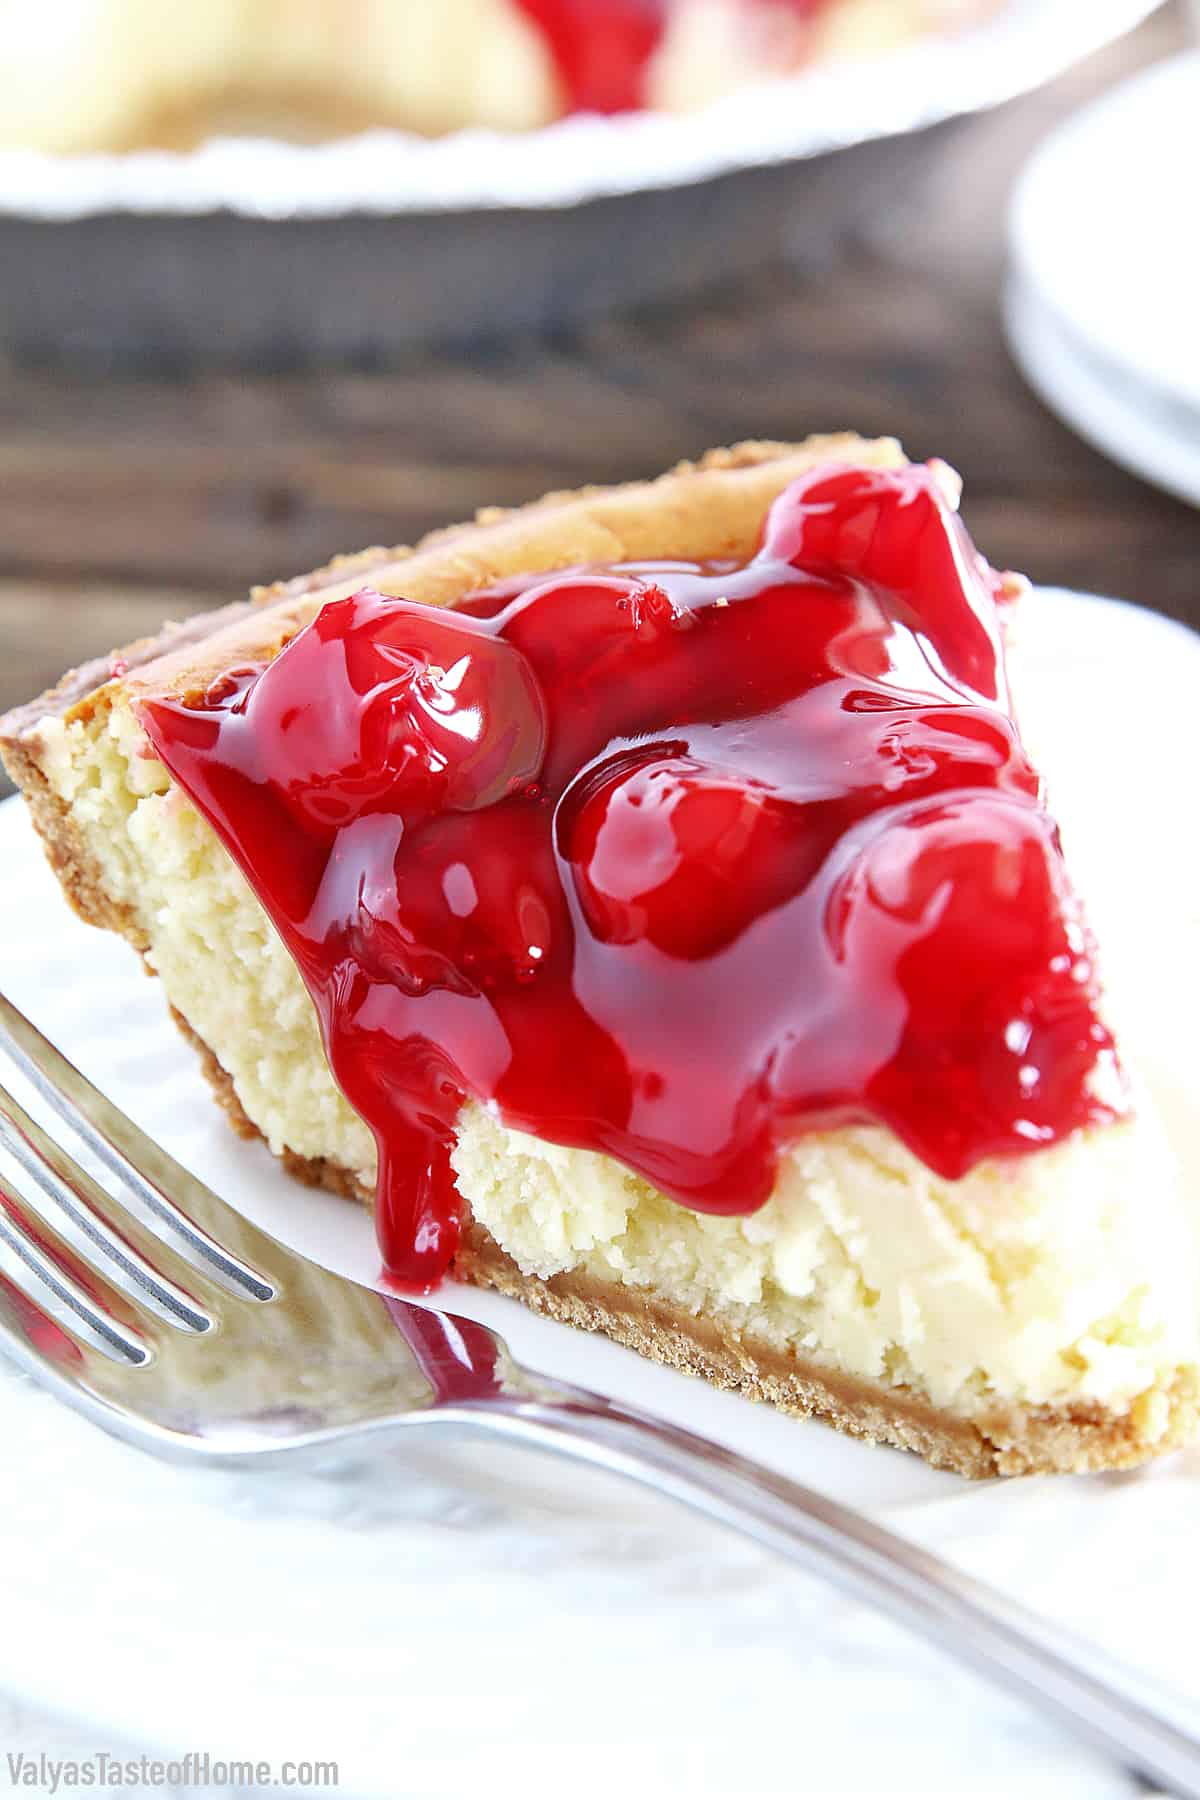
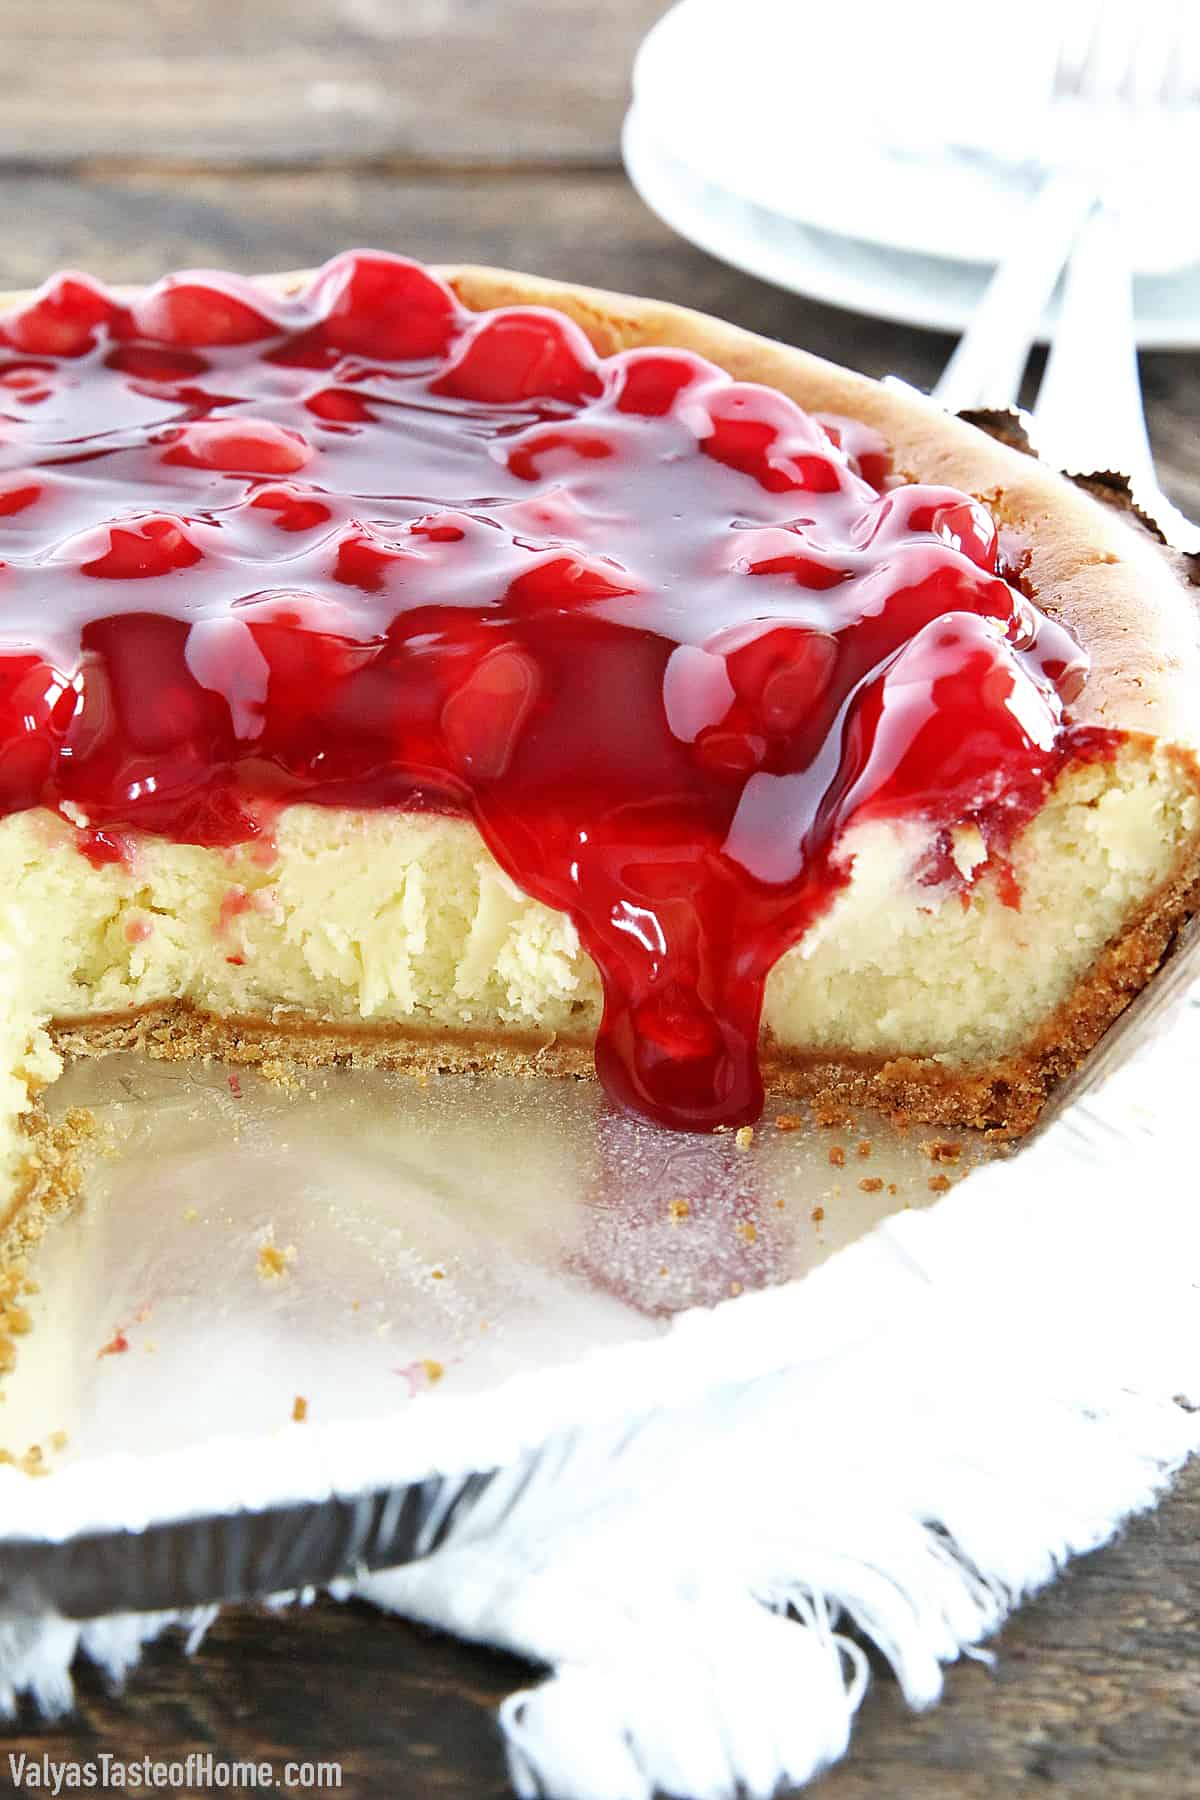
The cheesecake is very smooth and creamy. You could say that it’s a bit on the sweet side, but the slightly sour cherry topping perfectly complements that sweetness and makes it absolutely irresistible.
Why Is This the Best Cherry Cheesecake Recipe Ever?
This is, by far, the best Cherry Cheesecake recipe ever because you only need simple ingredients to make this! The best and tastiest recipes are the ones that use simple, straightforward ingredients.
You don’t have to add unnecessary ingredients to a recipe to make it special. That’s why the best chefs in the world always keep their recipes simple so that the flavors and ingredients can shine.
And that’s exactly what’s happening in this incredible recipe. Most other Cherry Cheesecake recipes overcomplicate things by adding whipped topping or cool whip to make the cream cheese mixture. This recipe doesn’t require any of that!
Other recipes also get messy when you stir in graham cracker crumbs with melted butter, but not this recipe!
You don’t even need vanilla extract to bring out the flavors in this cheesecake recipe because of just how perfect all the flavors already are. With just 6 ingredients, you’re going to get a beautiful, smooth, and creamy Cherry Cheesecake every single time!
The steps to make this recipe are also very simple. You don’t need any special kitchen equipment to make it, in fact, you don’t even need a food processor or springform pan! You just have to use the same baking dish that the graham cracker pie crust comes in!
This makes it the perfect recipe to try if you’re new to baking and don’t have a lot of baking supplies at home. It’s incredible that you don’t even need parchment paper or rolling pin for this recipe!
It seriously makes for the perfect dessert every single time, using only minimal ingredients. This recipe is also versatile and allows you to adapt and use if you’re making your own homemade cherry pie filling.
What You Need to Make Cherry Cheesecake
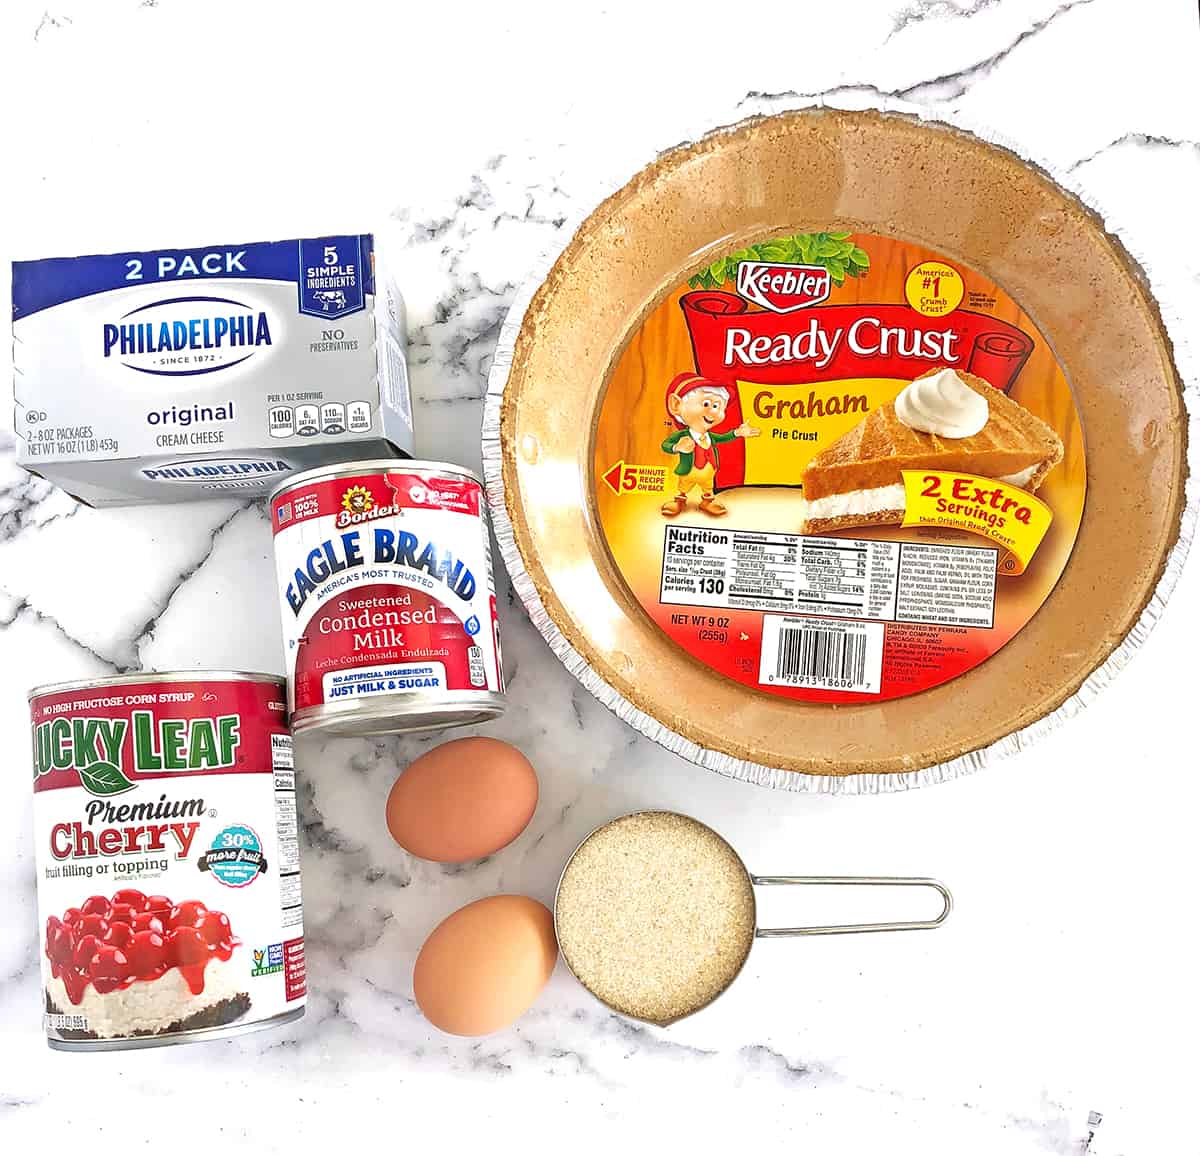
You only need simple ingredients that are readily available to bake this perfect dessert! All you need are six ingredients to whip it up. Here’s what you’ll need:
Graham cracker pie crust: All you need is store-bought Graham Cracker crust to make this most delicious Cherry Cheesecake you’ve ever had in your life. Make sure your pie crust is 2 extra servings or you’ll have some extra cheesecake batter leftover!
Cream cheese: To get that smooth cheesecake flavor and feel, we’ll be using some cream cheese in this recipe.
Condensed milk: We’ll be using condensed milk in this recipe to get the silkiest cream cheese filling. It adds a rich flavor and sweetness to the filling that you can’t replicate by using any other ingredient. This is a secret ingredient that will make a world of difference in your final cheesecake.
Eggs: You’ll need two large, room temperature eggs for this recipe. We use eggs in this dessert because cheesecakes rely on eggs for their thickening power. The protein in the eggs unwinds and links together to help keep your cheesecake’s shape. The egg yolk also emulsifies to give the cheesecake a beautiful smooth texture.
Sugar: We’ll add some sugar to make the Cherry Cheesecake perfectly sweet.
Cherry pie filling: All you need is one can of cherry pie filling in this recipe for the right level of sourness that goes incredibly well with the sweetness of the cheesecake filling.
That’s all the ingredients you need! Yes, you read that right! Told you the ingredients are going to be incredibly simple.
How to Make Cherry Cheesecake – Step by Step
Making this delicious and beautiful Cherry Cheesecake is easier than you can imagine! Here’s what you need to make it step-by-step:
Start by preheating your oven to 350F/180C.
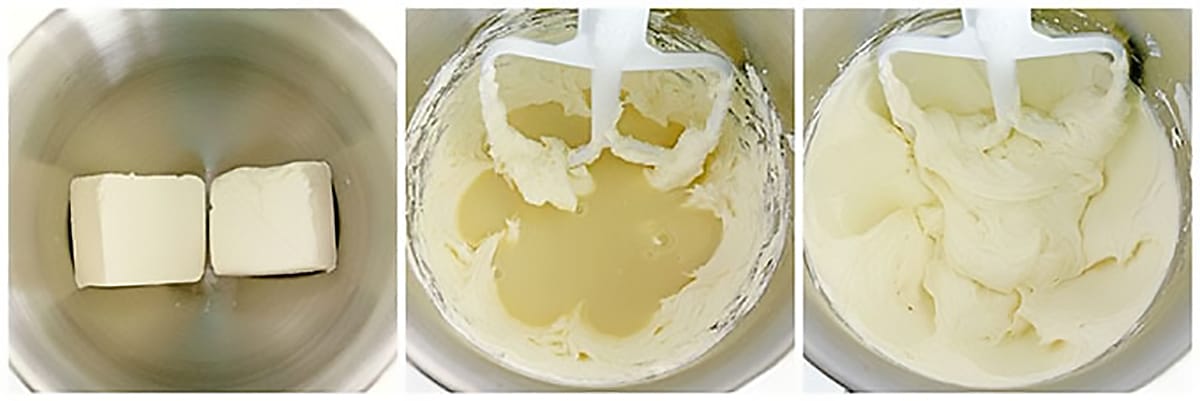
Next, take a large bowl and beat cream cheese in it until smooth using an electric mixer. Now add condensed milk to it and beat on high speed for about 30 seconds. Scrape down the cream cheese off the sides of the mixer using a rubber spatula and beat again until it’s all mixed well together.
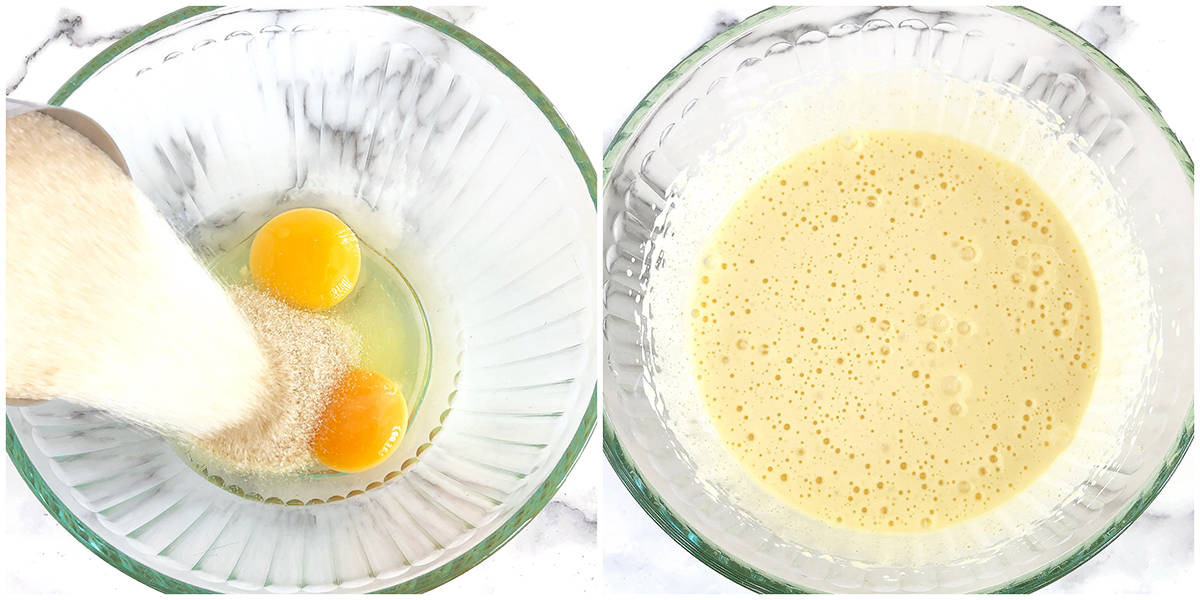
In a separate medium bowl, beat eggs and sugar with a hand mixer on medium speed until sugar dissolves completely.
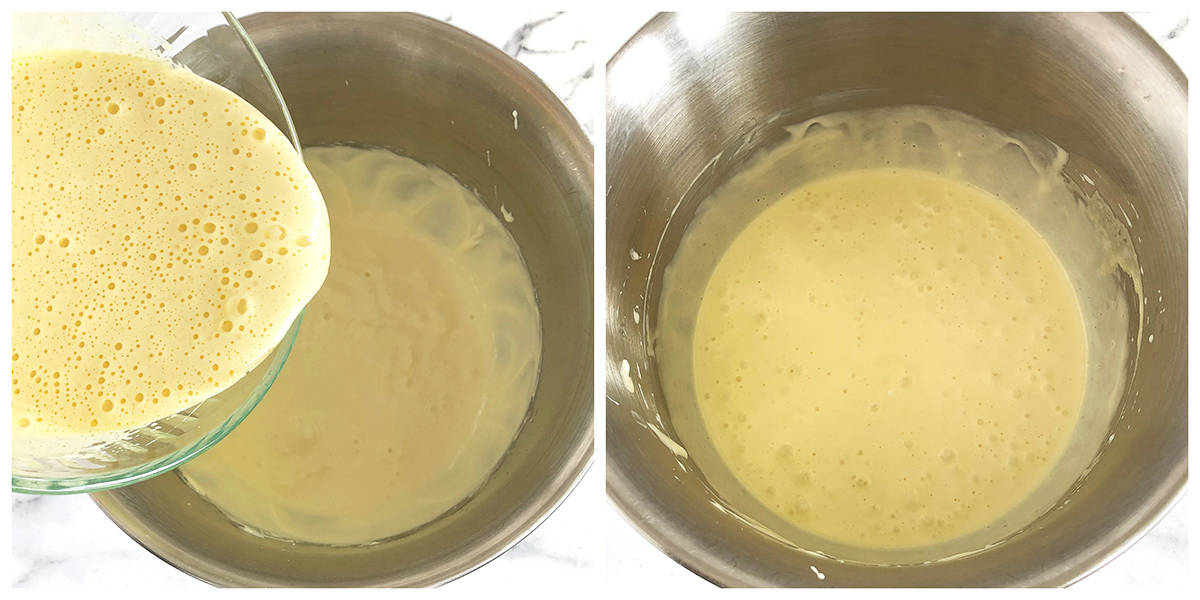
Now add the egg mixture to the cream cheese mixture and beat them together on high speed for 1 minute. Scrape down the sides of the bowl with a spatula and beat for about 30 more seconds.
Remove the inner plastic cover from the graham cracker crust pie and pour the cheesecake mixture into the crust. Do make sure that your pie crust is 2 extra servings, or you will have extra cheesecake batter.
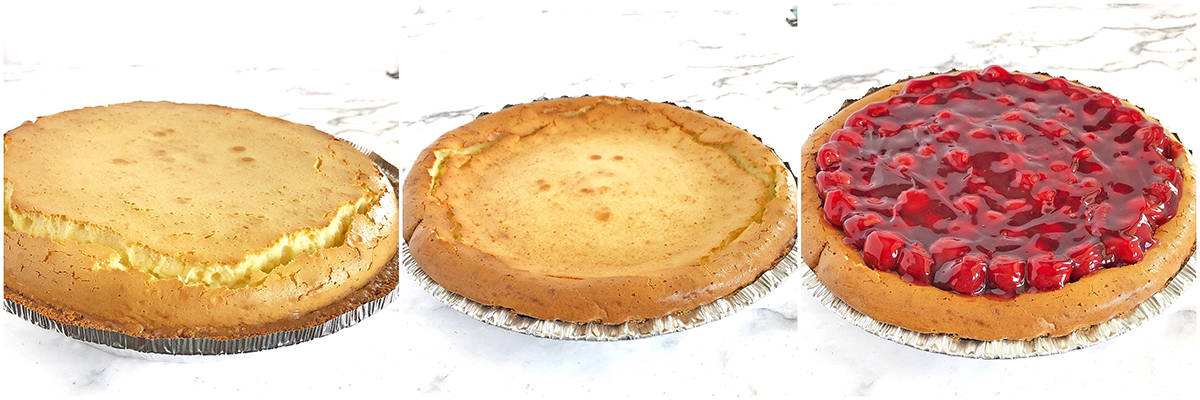
Next, place the cheesecake on the middle rack in your oven. Bake cheesecake at 350F/180C for 50 minutes. The cheesecake will rise and crack a bit, which is normal and looks beautiful.
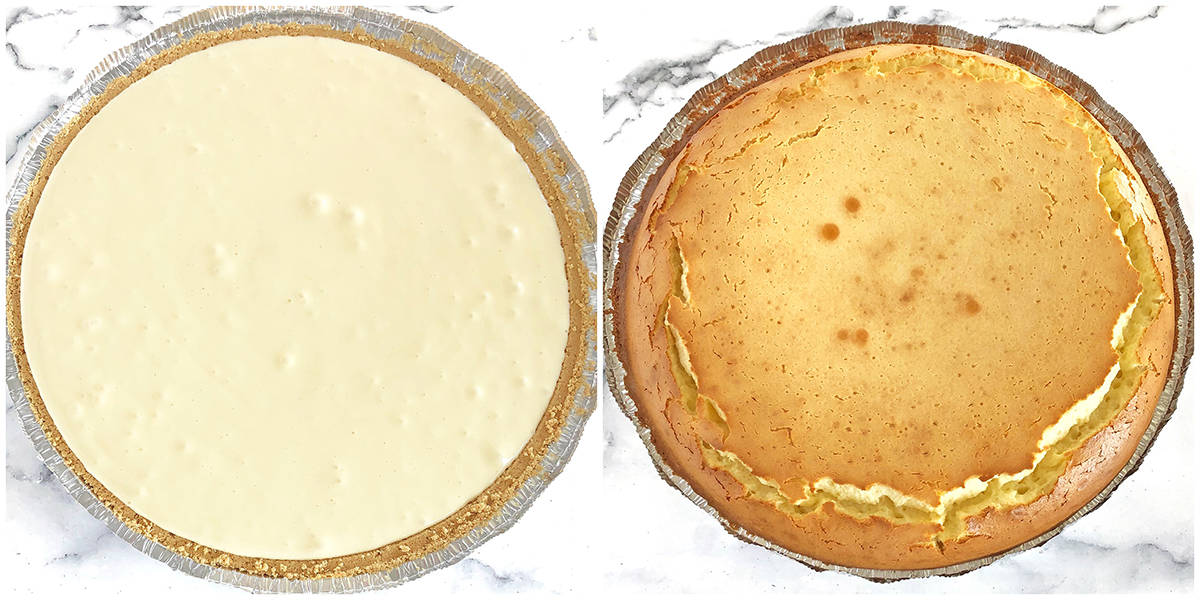
Once the 50 minutes are over, remove the cheesecake from the oven and let it cool to room temperature on a cooling rack.
The cheesecake center will fall a little while cooling but don’t worry since this is totally normal and is actually good because it’ll help you place the cherry pie topping on top.
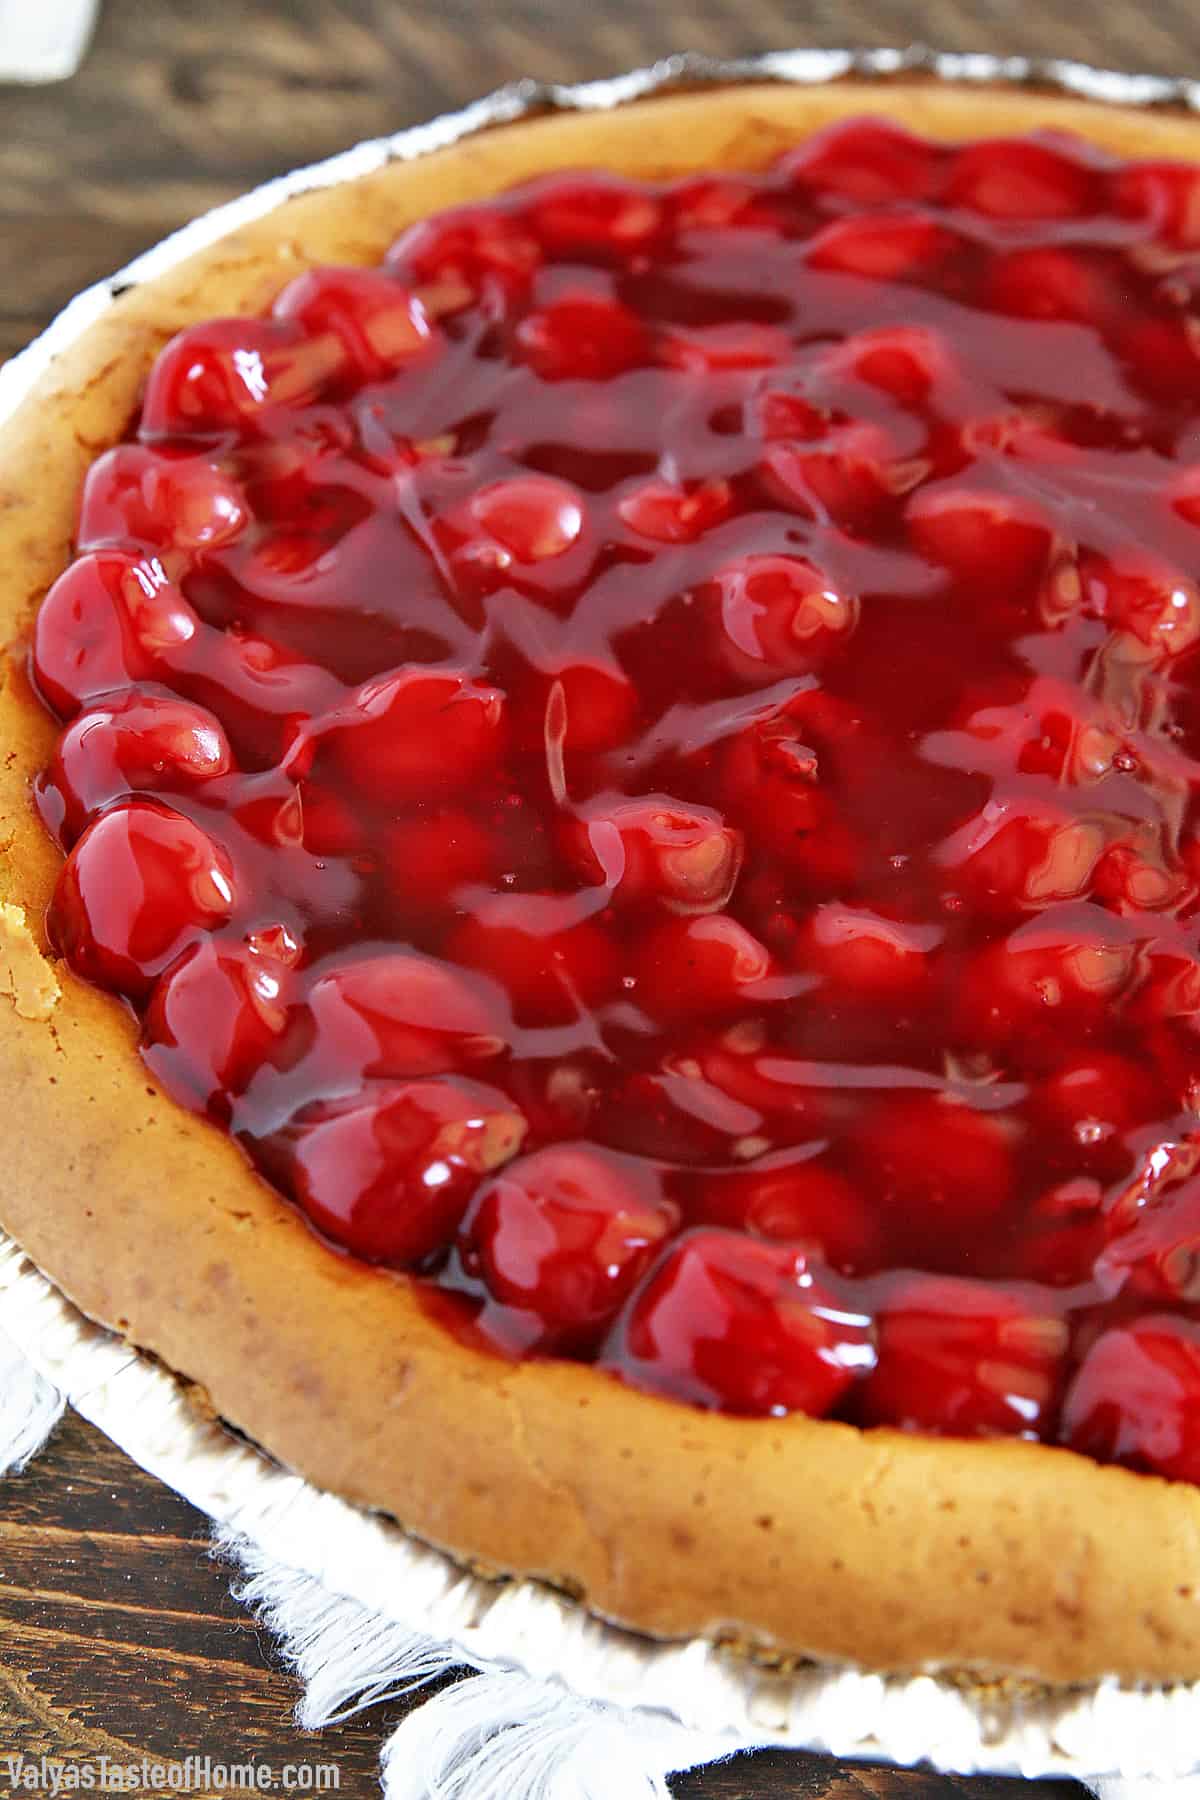
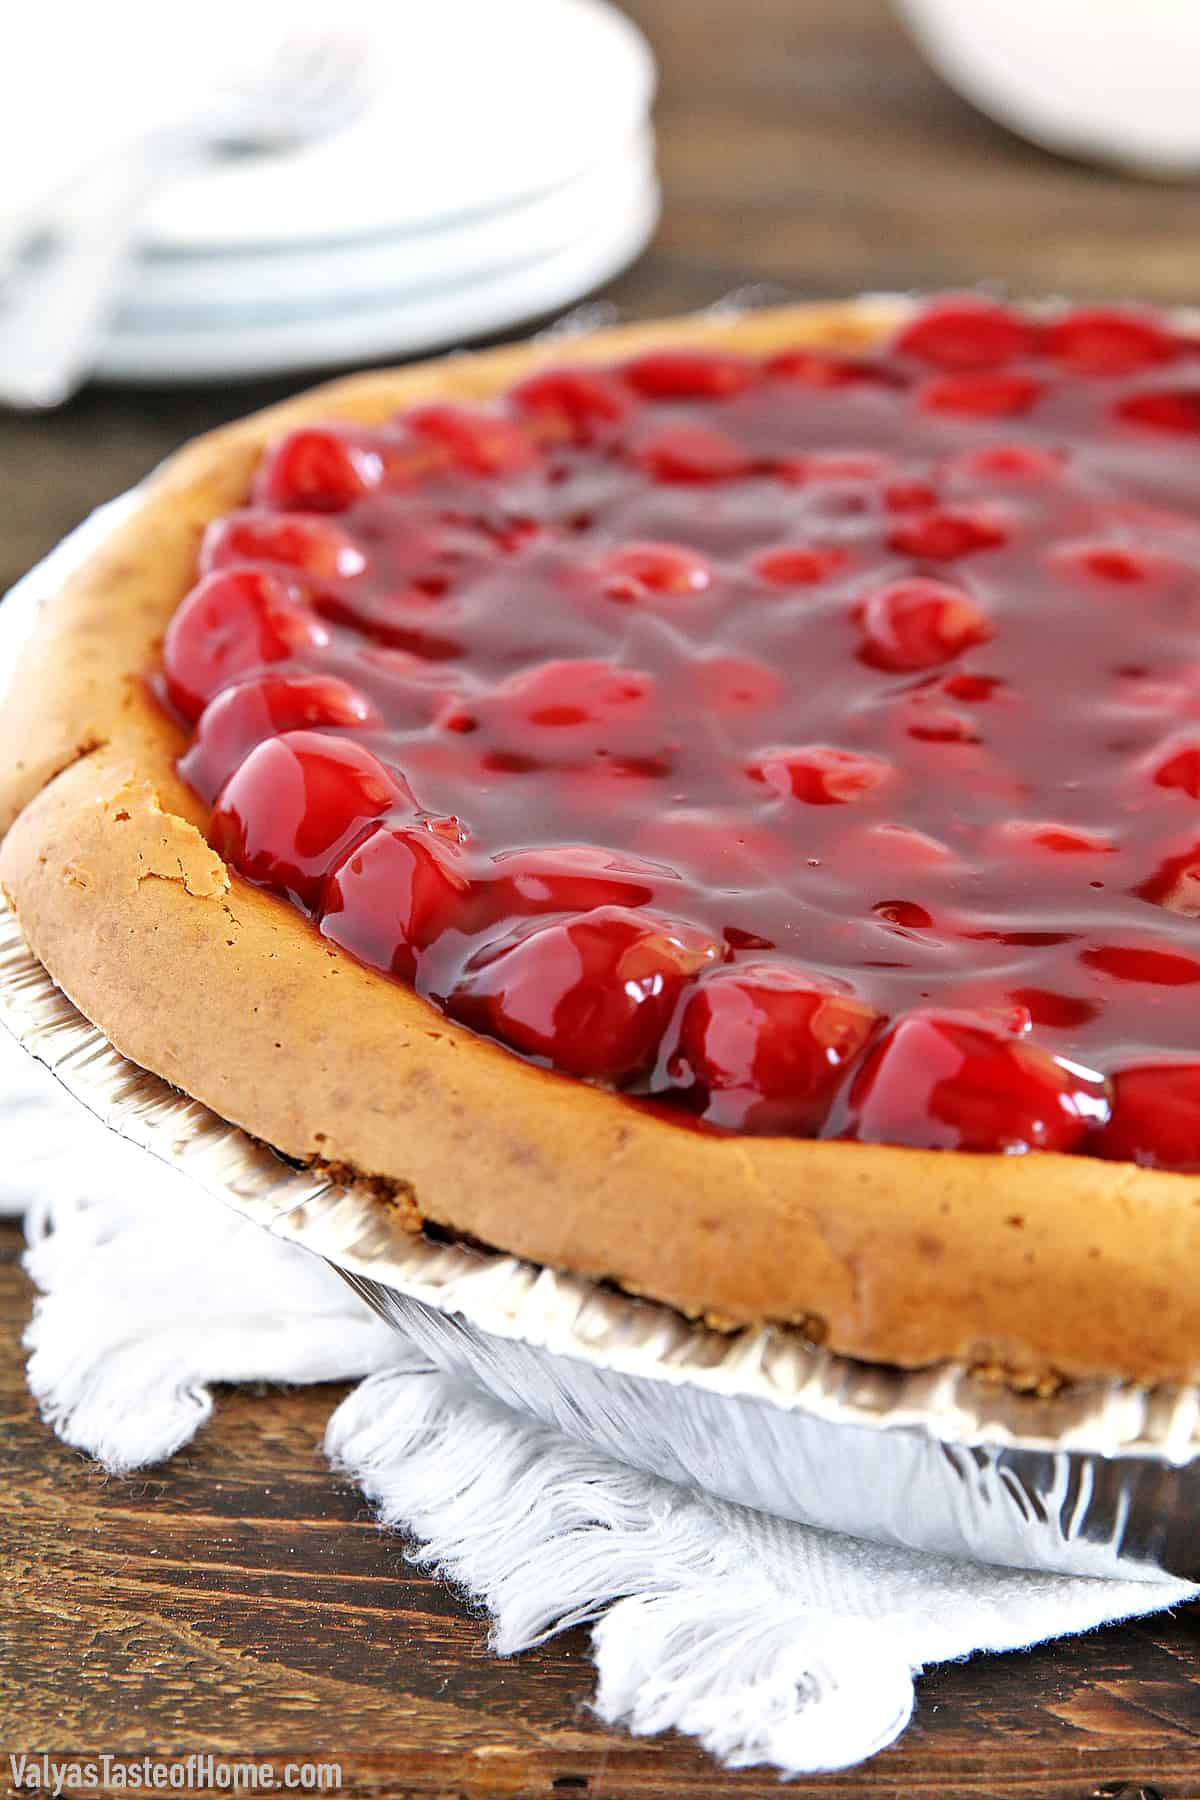
Once the cheesecake cooks, spread and arrange the cherry pie filling on top of it.
Your Cherry Cheesecake is ready! I recommend popping it in the refrigerator for 4 hours or overnight to be able to slice it perfectly.
How to Slice Your Cherry Cheesecake Perfectly Each Time
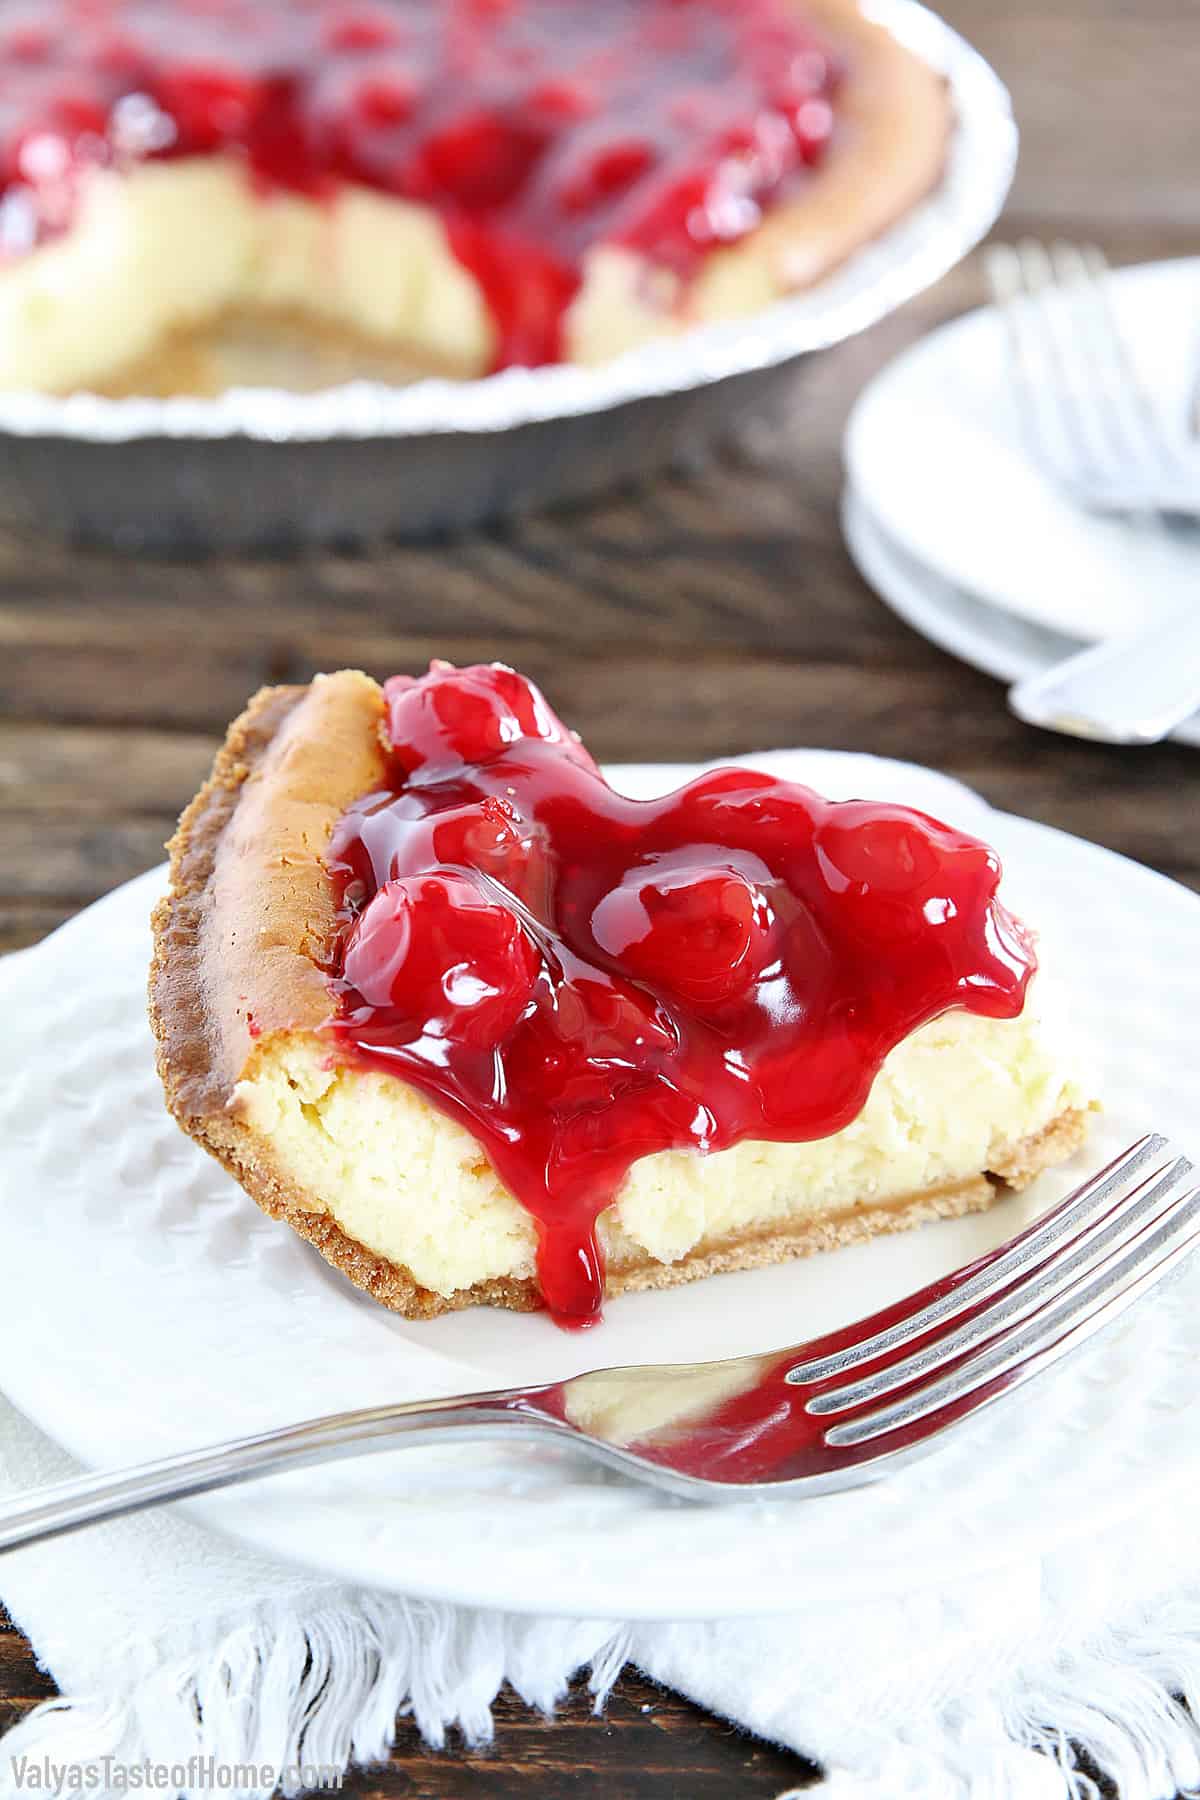
If you have trouble slicing your cheesecake, don’t worry I’ve got you covered! The secret to a clean slice of any cake is to heat and clean a large knife in hot water between slicing.
This will ensure that the cheesecake slices all the way through every single time and also stays clean so that you get perfectly clean sides every time.
Similar Recipes
- Creamy Cherry Cheesecake
- Strawberry and Cream Mini Cheesecakes
- No-Bake Caramel Apple Pie Cheesecake Parfaits
- Mini Blueberry Cheesecakes
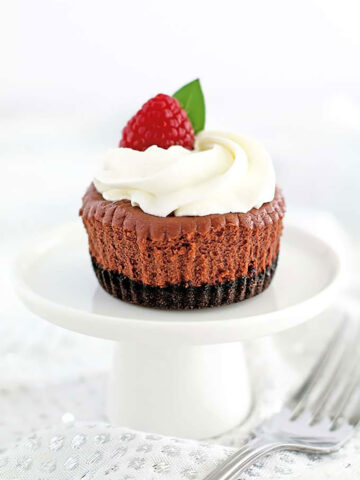
- Oreo Chocolate Mini Cheesecakes
See all dessert recipes.
Recipe Card
The Best Ever Cherry Cheesecake (Easy to Make!)
Ingredients
Cherry Cheesecake Ingredients
- 1 - 9 oz. – 2 extra serving graham crucker pie crust
- 16 oz. – cream cheese
- 1 can (14 oz.) – condensed milk
- 2 large – eggs
- ½ - ¾ cups – sugar
- 1 can (21 oz.) – cherry filling
Instructions
How to Make Cherry Cheesecake – Step by Step
- Making this delicious and beautiful Cherry Cheesecake is easier than you can imagine! Here’s what you need to make it step-by-step:
- Start by preheating your oven to 350F/180C.
- Next, take a large bowl and beat cream cheese in it until smooth using an electric mixer. Now add condensed milk to it and beat on high speed for about 30 seconds. Scrape down the cream cheese off the sides of the mixer using a rubber spatula and beat again until it’s all mixed well together.
- In a separate medium bowl, beat eggs and sugar with a hand mixer on medium speed until sugar dissolves completely.
- Now add the egg mixture to the cream cheese mixture and beat them together on high speed for 1 minute. Scrape down the sides of the bowl with a spatula and beat for about 30 more seconds.
- Remove the inner plastic cover from the graham cracker crust pie and pour the cheesecake mixture into the crust. Do make sure that your pie crust is 2 extra servings, or you will have extra cheesecake batter.
- Next, place the cheesecake on the middle rack in your oven. Bake cheesecake at 350F/180C for 50 minutes. The cheesecake will rise and crack a bit, which is normal and looks beautiful.
- Once the 50 minutes are over, remove the cheesecake from the oven and let it cool to room temperature on a cooling rack.
- The cheesecake center will fall a little while cooling but don’t worry since this is totally normal and is actually good because it’ll help you place the cherry pie topping on top.
- Once the cheesecake cooks, spread and arrange the cherry pie filling on top of it.
- Your Cherry Cheesecake is ready! I recommend popping it in the refrigerator for 4 hours or overnight to be able to slice it perfectly.
Notes
- The secret to a clean slice of any cake is to heat & clean a large knife in hot water between slicing.
Thank you for following me on Instagram, Facebook, and Pinterest!
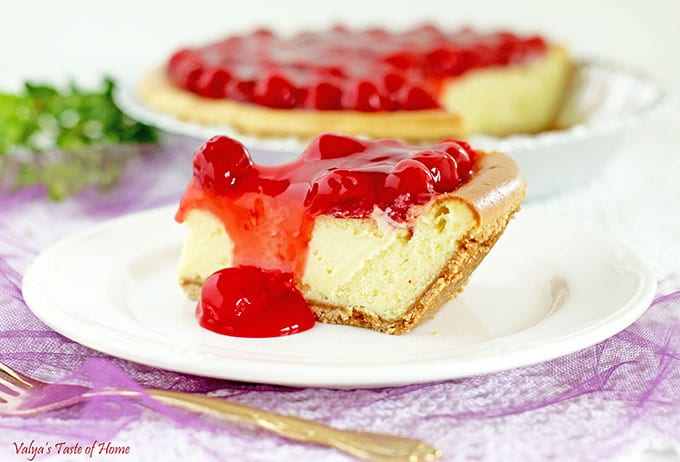
This recipe was originally posted on April 26, 2016 (original picture above). I tweaked it a bit, including tips and tricks on making the best Chery Cheesecake your family will love. This post may contain affiliate links. Read my disclosure.



Darya says
Hello Valya! I plan to make this for an upcoming Christmas Party 🙂 it looks heavenly! I was wondering about make it ahead of time and freezing it. Do you think it’s a good idea? If so, how would I go about it?
Valya's Taste of Home says
I think freezing the cheesecake itself is ok but not with cherry topping on it. It is easy to add the topping at the last minute for better presentation. Let me know how it goes since I've never had a chance to freeze it. I (and my readers) are eager to know. Thank you so much! 🙂
Darya says
Thank you so much! I certainly will let you know 🙂 God bless!
Lana Crowder says
Love this and your sweet blog! Thank you
Valya's Taste of Home says
Thank you for the sweet words and an amazing review! 🙂