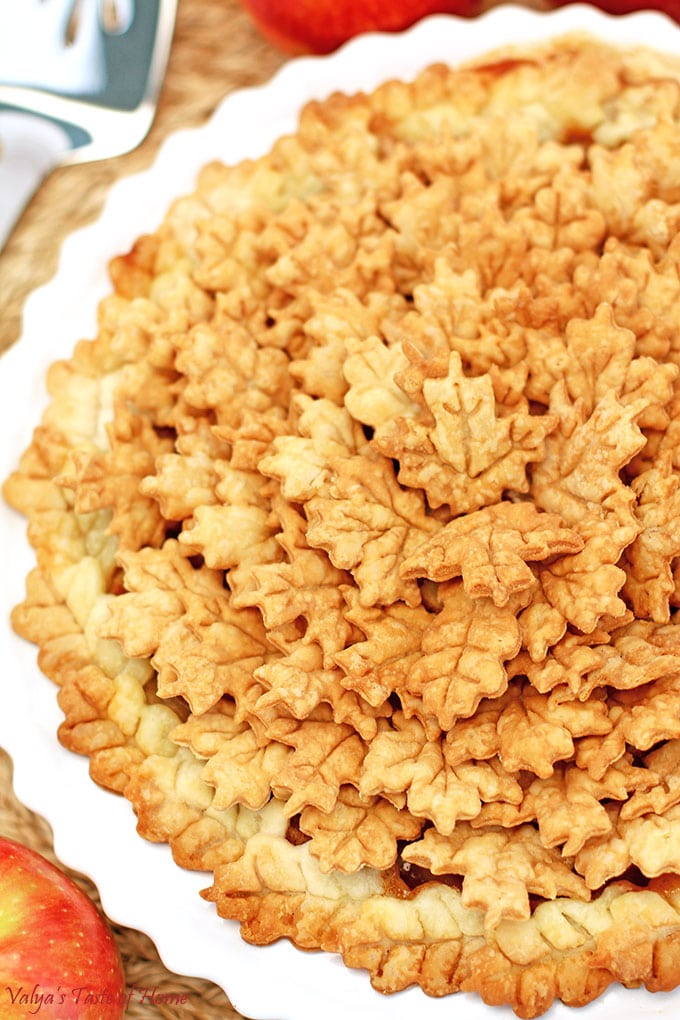
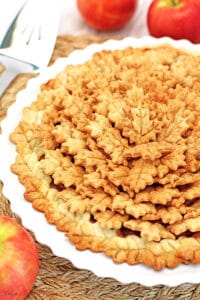
This Simple Apple Pie recipe features fork-tender apple filling that's flavored with cinnamon and nutmeg, and a buttery pie crust that works perfectly with the pie filling. It's baked until golden brown and topped with elegant pie crust leaves that'll look perfect on any occasion!
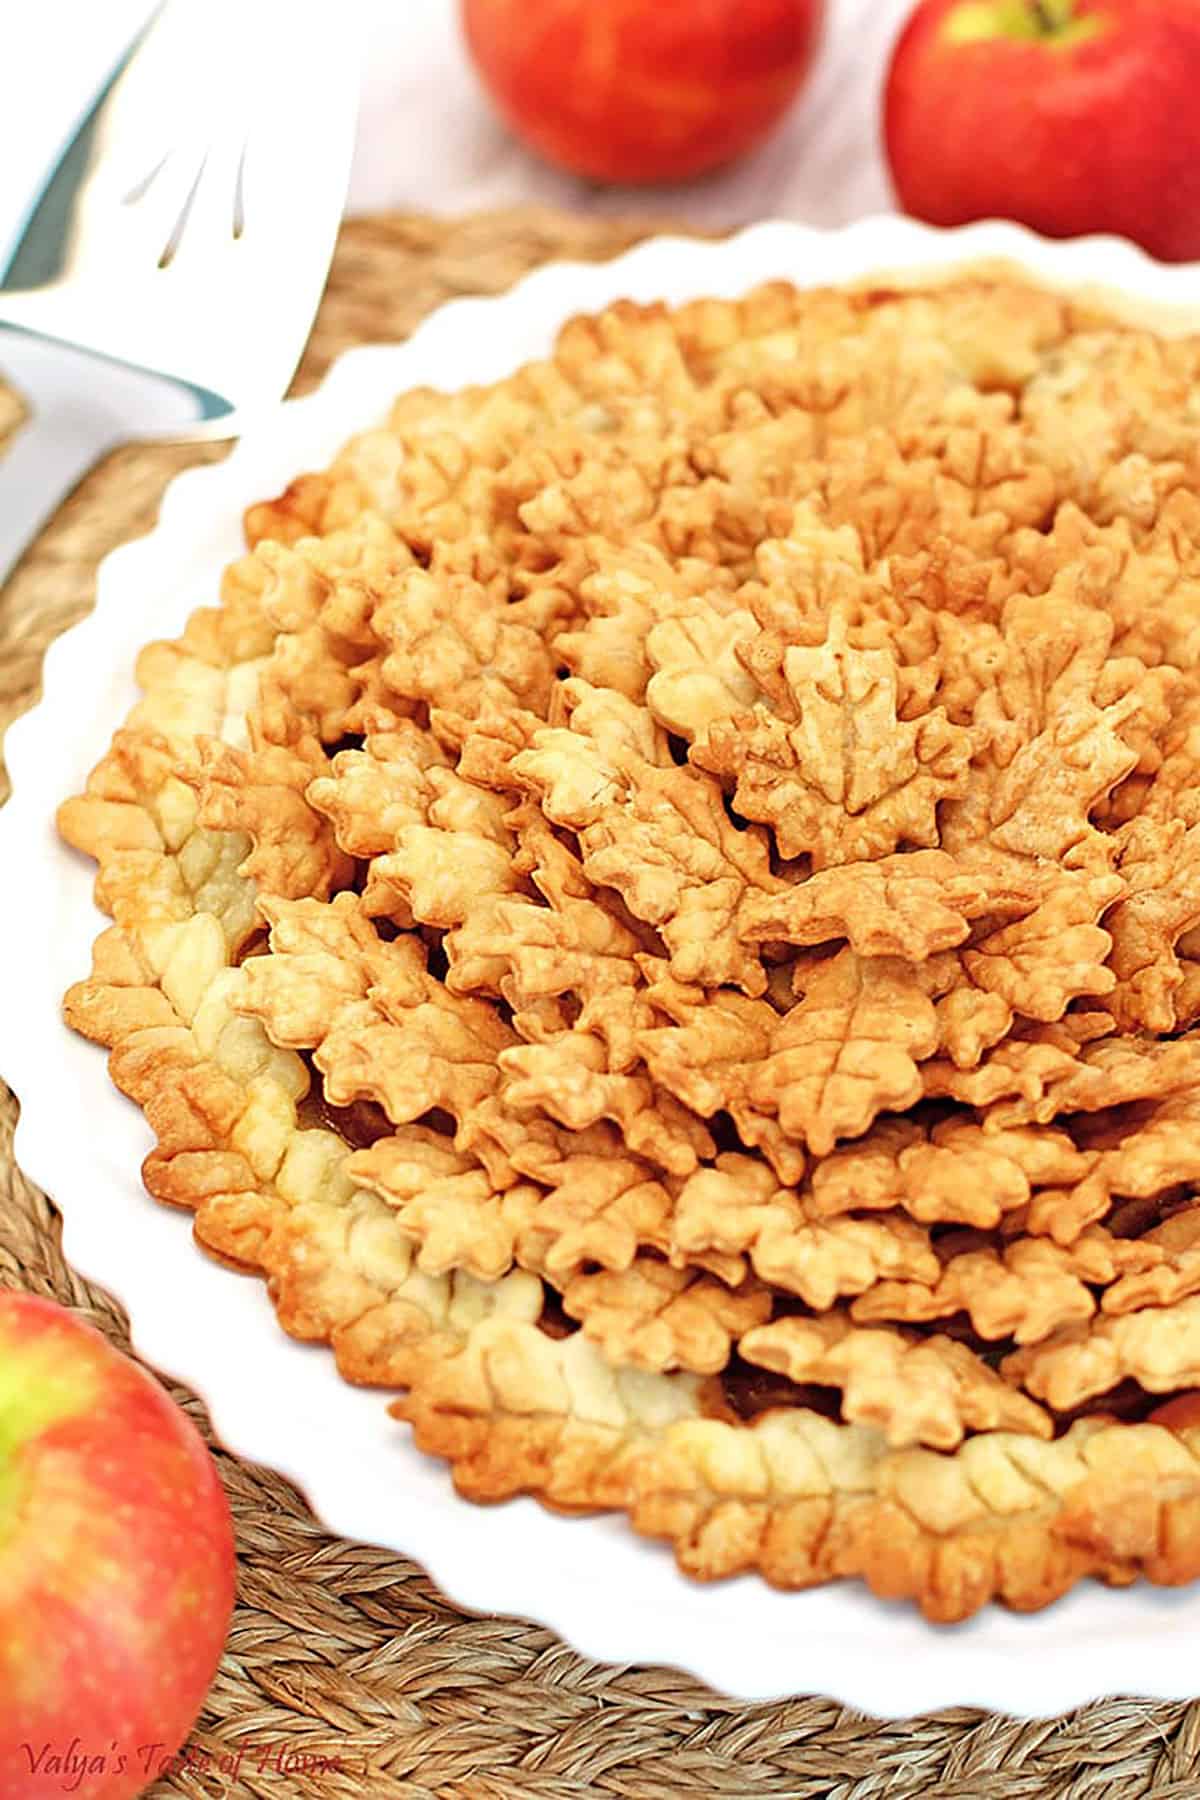
This classic apple pie recipe is delicious and has an unforgettable flavor. Plus, it's an incredibly easy recipe that you can even make ahead! The pie crust has only four ingredients (including water!) but will give you the perfect buttery crust!
It's the only apple pie recipe you'll ever need and I'm absolutely sure you're going to fall in love with this beautiful and elegant dessert. Trust me, this is the best apple pie recipe you'll ever come across!
Want to learn how to make this Apple Pie? Then keep on reading!
Table of Contents
- What is an Apple Pie?
- What Makes This Apple Pie Recipe Special?
- What Kind of Apples Can I Use to Make an Apple Pie?
- What You Need to Make Apple Pie at Home
- How to Make Apple Pie (Step-by-Step)
- Tips for Making the Best Simple Apple Pie Ever
- Serving Suggestions for Simple Apple Pie
- Recipe Variation Ideas for Simple Apple Pie
- Frequently Asked Questions
- How to Store Leftover Apple Pie
- More Similar Recipes You'll Love
- Recipe Card
- Simple Apple Pie Recipe (Easy Recipe for Beginners!)
- Comments
What is an Apple Pie?
An apple pie is a classic American dessert, and it is the dessert pretty much everyone has to make for Thanksgiving or a special occasion! With the perfect pie crust made with butter that's flaky, buttery crisp, and an apple filling that's sweet and tart at the same time and absolutely perfect.
A slice of warm apple pie can lift just about anyone's mood, and the cinnamon-y flavor with the fork-tender apples makes it the most comforting fall dessert ever!
It's the perfect dessert to serve for just about any occasion from a regular weeknight dessert, to a fancy, elegant brunch, to any and all holidays, but especially Thanksgiving!
What Makes This Apple Pie Recipe Special?
- Simple and Easy: The homemade pie crust has only four ingredients, including one as basic as water. The filling is very simple as well. It consists of brown and regular sugar, cinnamon, nutmeg spices, flour, and salt. That's it! Didn't I say simple? (One important tip though: you might want to make two pies!)
- Make Ahead: Fitting it into your cooking schedule doesn't need to be difficult, either. Bake the apple pie the day before the gathering, add the final touch of the leaves arrangement and refrigerate. Reheat the pie in the oven shortly before serving and it's ready to go. That saves so much time.
- Family Favorite: With its perfect blend of tart apples and sweet, cinnamon-nutmeg spiced filling, this apple pie is guaranteed to be a hit with the whole family. It is a classic dessert that never goes out of style.
- Versatile: You can easily customize this recipe according to your taste. Prefer your apple pie extra sweet? Add a bit more sugar. Want a bit more spice? Throw in some extra cinnamon or nutmeg. You can even experiment with different apple varieties to change the flavor.
- Delicious: This apple pie is absolutely delicious! The buttery, flaky pie crust perfectly complements the sweet, cinnamon-spiced apple filling. Every bite is a perfect balance of sweetness and tartness, with a hint of warm spices.
What Kind of Apples Can I Use to Make an Apple Pie?
To make the best apple pie, you'll need an apple variety that becomes tender when baked but still stays intact and has the perfect balance of flavors. You can use sweet apples or tart apples, or even a combination of the two.
There are actually thousands of varieties of apples out there, but some commonly found ones that you can use to make apple pie include Braeburn, Pink Lady, Honeycrisp, Jonagold, Granny Smith, Red Delicious, Gala, and Golden Delicious.
I've used Granny Smith apples here in this recipe, but you can use any of the varieties mentioned above or even a combination of two or more varieties.
What You Need to Make Apple Pie at Home
This apple pie recipe is incredibly easy to make and even comes with a pie crust recipe! Here's everything you'll need to make this apple pie at home:
For Apple Pie Crust:
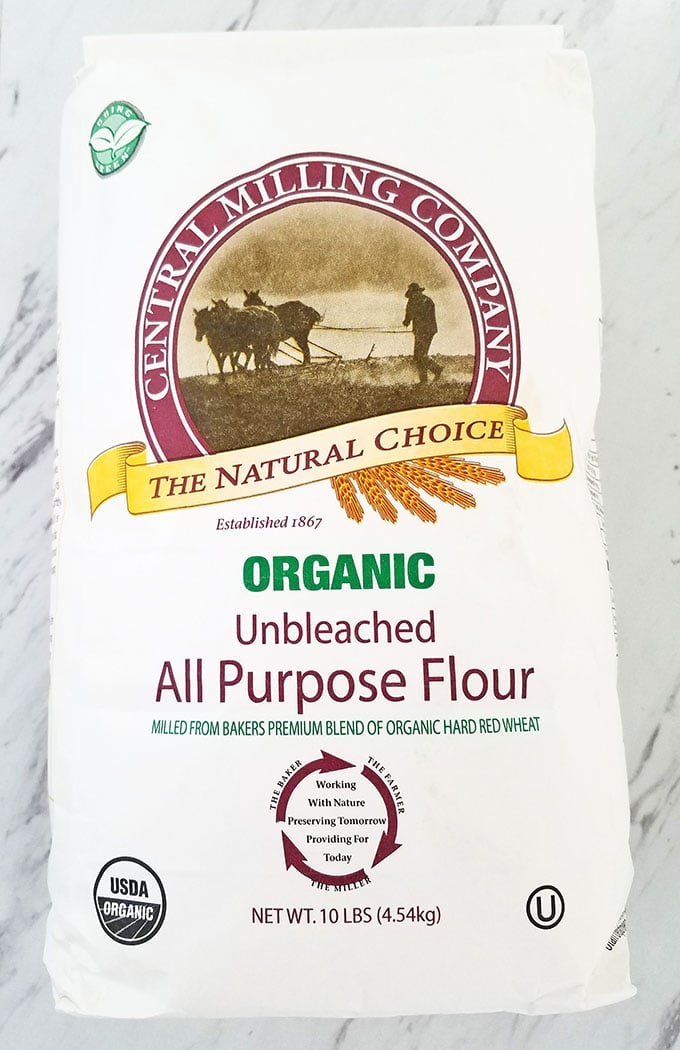
- All-purpose flour: This is the base for both your pie crust and filling. It helps to bind all the ingredients together and creates the structure of your pie.
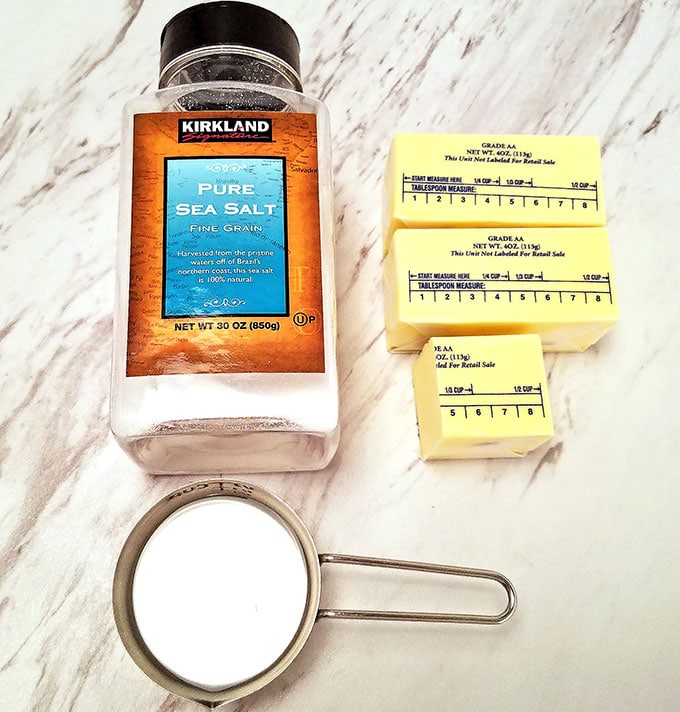
- Sea salt: A small amount of sea salt in the pie crust enhances the flavor and balances out the sweetness of the apple pie filling.
- Butter: This is the fat in the recipe, giving the pie crust its flaky texture and rich, buttery flavor. Additional butter in the apple filling creates a lusciously smooth texture.
- Water: Cold water is used to bring the pie dough together without activating the gluten, which keeps your crust tender and flaky.
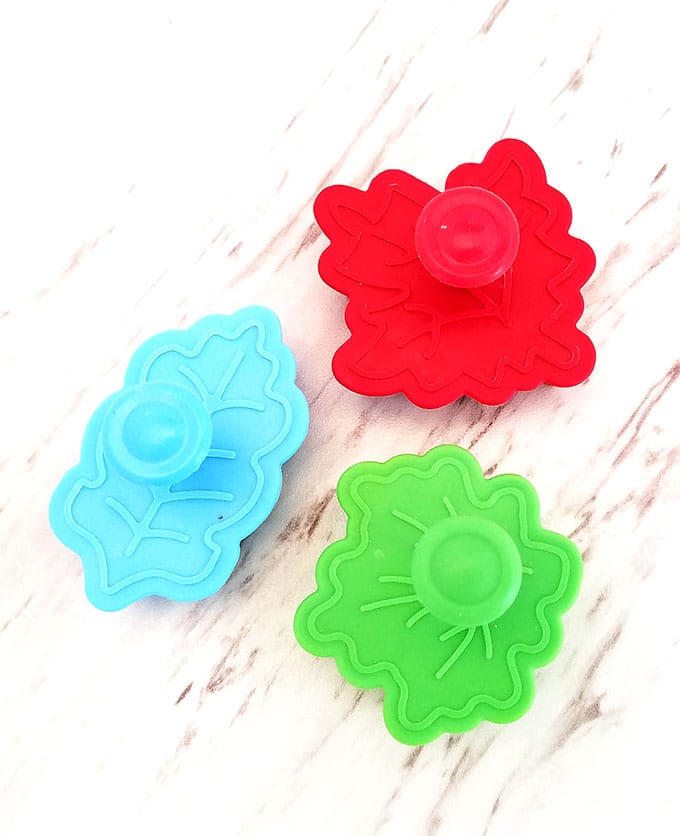
- Leaves cutter molds: We'll be using these to get a stunning leaf design to decorate our apple pies.
For Apple Pie Filling:
- Apples: We can't make an apple pie without some apples! I've used Granny Smith apples here, but I have a whole section above in this post detailing all the other varieties you can use instead.
- White sugar: We'll also need some regular granulated white sugar to sweeten our filling to the right level.
- Brown sugar: For an added depth to the sweetness, we'll be using some brown sugar as well as it has a deeper flavor than white sugar.
- Flour: We'll also need some flour since it will soak up the juices inside of our apple pie while it's baking in the oven.
- Cinnamon: The flavor of cinnamon and apples smells (and tastes) like fall! It's the perfect combination and just elevates the pie so much!
- Nutmeg: To enhance the flavor even more, we'll also be using some nutmeg in our apple pie filling.
- Butter: You'll also need some butter in the pie filling as well as to grease the pie pan.
How to Make Apple Pie (Step-by-Step)
Making this delicious Thanksgiving dessert at home couldn't get any easier than this! It's an incredibly easy pie crust recipe and the apple pie filling recipe is super simple too.
My apple pie recipe shares everything you need to do to make this from scratch. Let's look at how to make it step by step:

Next, drizzle cold water over the pie crumbs while mixing the crumbs with your hand. Slowly drizzle in the cold water while stirring the mixture around with your hand or a spatula. Form the dough into a ball (do not knead the dough).

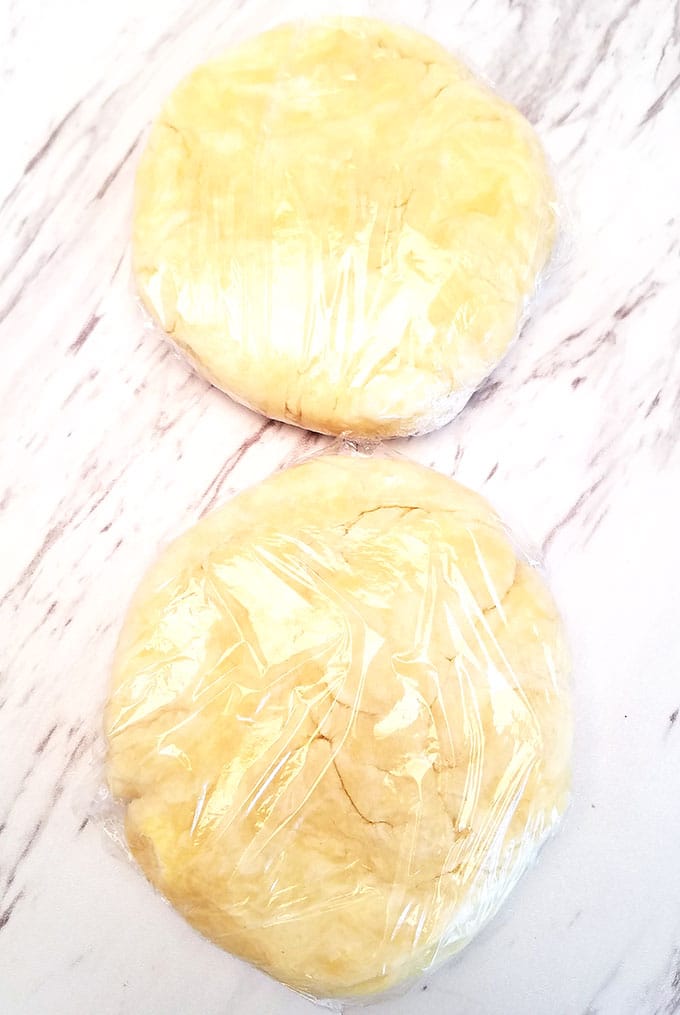
Dust a bowl with a tablespoon of flour and roll the dough into a ball. Then split the ball into 2 even pieces, and flatten each piece into disks.

Wrap each dough disk with plastic wrap. Refrigerate for an hour or so.
NOTE: I have also previously refrigerated the dough overnight. You can even freeze the disks and then place them in the fridge and let them thaw overnight before using them the next day.
How to Make Apple Pie Filling
Now let's make our apple pie filling! It'll take about 45 minutes to prepare the apple filling which is perfect while you refrigerate the dough.
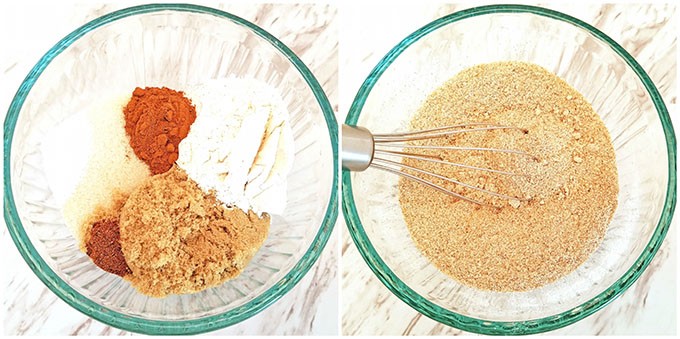
In a large bowl, combine all dry ingredients, namely the cane brown sugar and regular white sugar, flour, cinnamon, nutmeg spices, and sea salt. Stir with a hand whisker to combine.
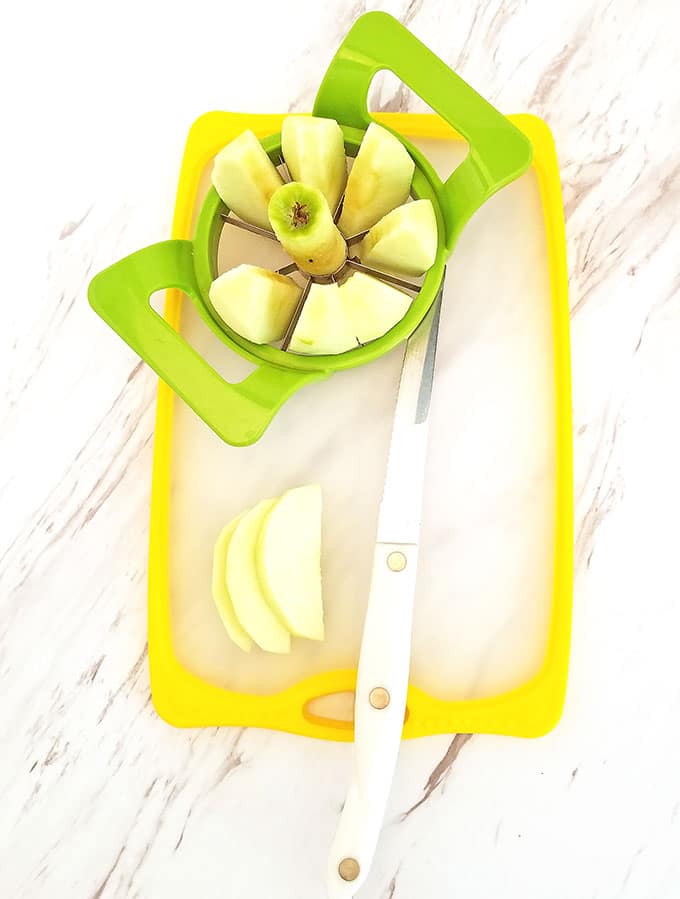
Next, let's prep the apples by rinsing, peeling, and slicing the apples.
Place them in a medium glass bowl. Sprinkle the dry filling mixture over the apples and toss and mix to coat all the apple slices with the filling mixture.

How to Assemble and Bake Apple Pie
Time to bake our pie! Place the rack in the lower third of the oven and preheat the oven to 400 F.
Grease the pie dish or pie plate. This is optional but preferred to prevent from the crust sticking to the dish.
Take one of the discs of dough out of the fridge. Roll the disk using a rolling pin on a lightly floured surface till it's 12 inches in diameter.
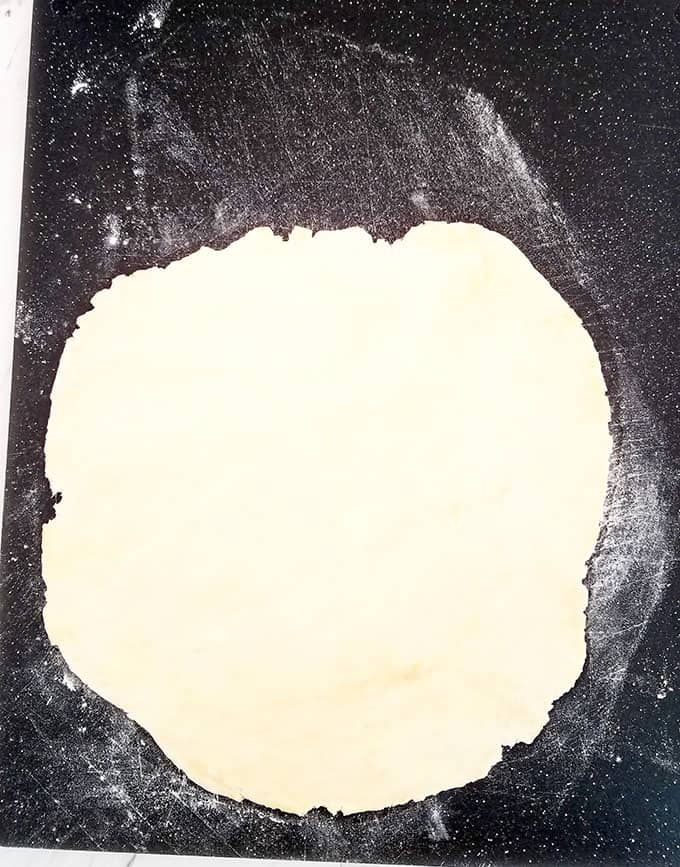
Next, place the rolled pie dough over the pie dish and cut the edge off evenly with a pizza cutter.

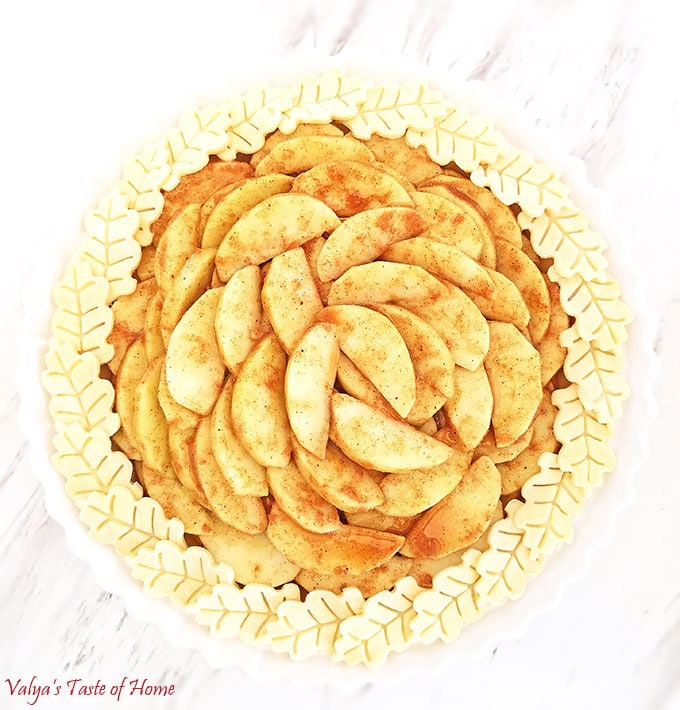
Lay the apple slices as compactly as possible into the pie dish on top of the bottom crust. I don't just pour the apple slices into the crust, I tuck them in tightly so there are barely any air pockets.
Dust the working surface again with flour and roll out the second disk about ⅛ of an inch thick. Cut out leaves and place them on the edge of the pie.
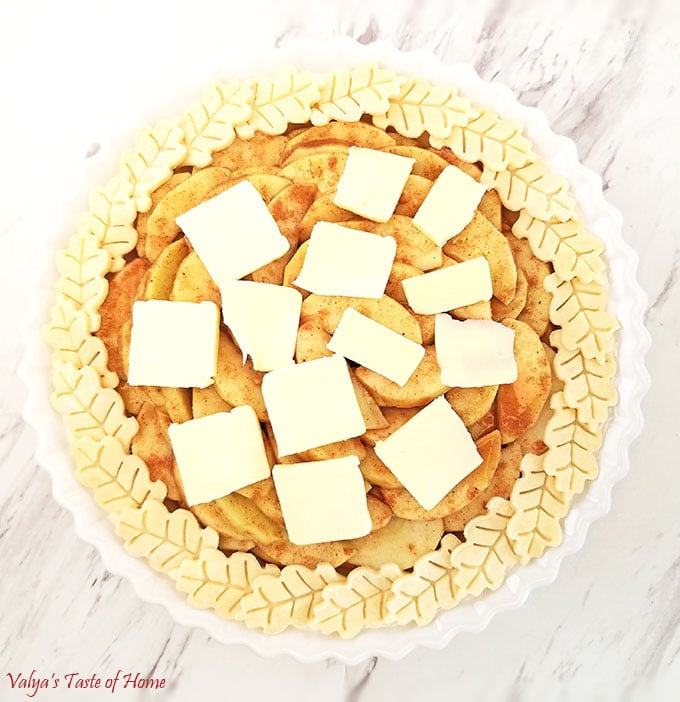
Now place sliced, thin pieces of butter over the top of the apples. Cover the pie with aluminum foil and bake for 1 hour covered until the juices begin to bubble, then remove the foil and bake for an additional 15 minutes uncovered until the pie is perfectly golden brown.
How to Make and Bake Decorative Leaves
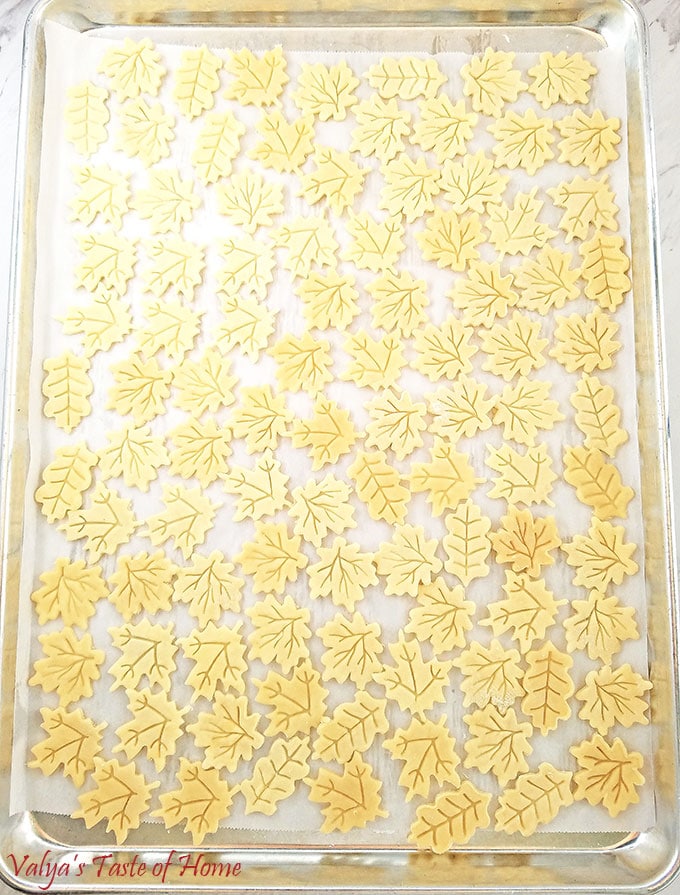
While the pie is baking you can work on the leave topping. Cut out the leaves and place them on a large 16 X 22 baking sheet lined with parchment paper. You should have enough dough for decoration and there shouldn't be a lot of excess dough left.
Bake the leaves at 400 F for 20 min. Remove from the oven and slide the parchment paper with baked leaves onto the countertop. If you leave them on the baking sheet instead, they will continue to bake and will turn out very dark.
How to Decorate Simple Apple Pie
Remove the pie from the oven and let it cool to a warm temperature before topping it with baked pie leaves.
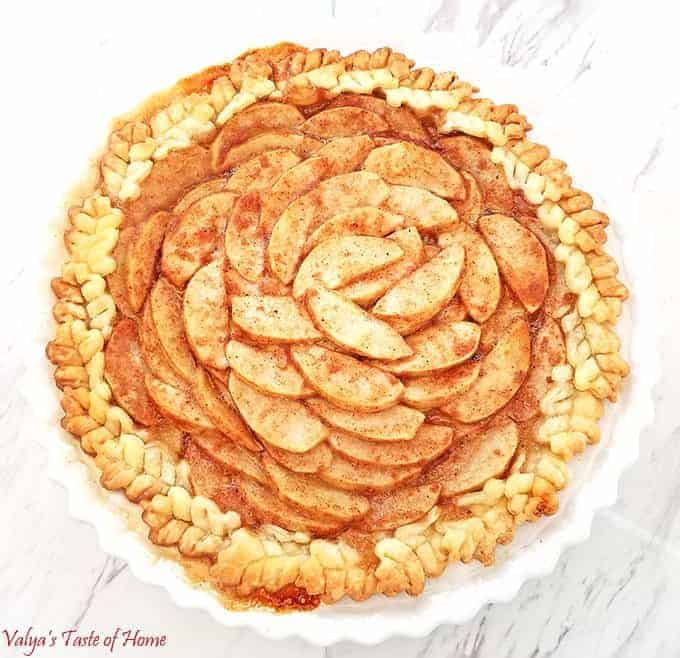
Insert the leaves into baked apples and serve. The leaves will be crunchy, but if you prefer the leaves soft then place the leaves while the pie is still hot and let the pie cool with leaves on top.
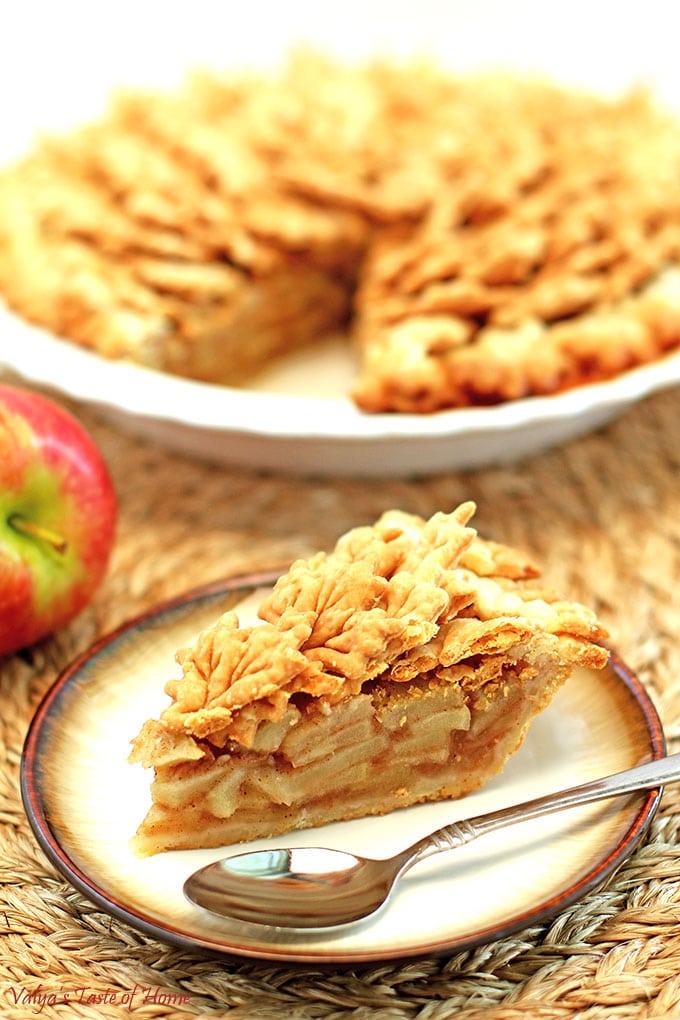
Slice the pie after it has cooled down. Top it off with some whipped cream or serve it with a scoop of vanilla ice cream.
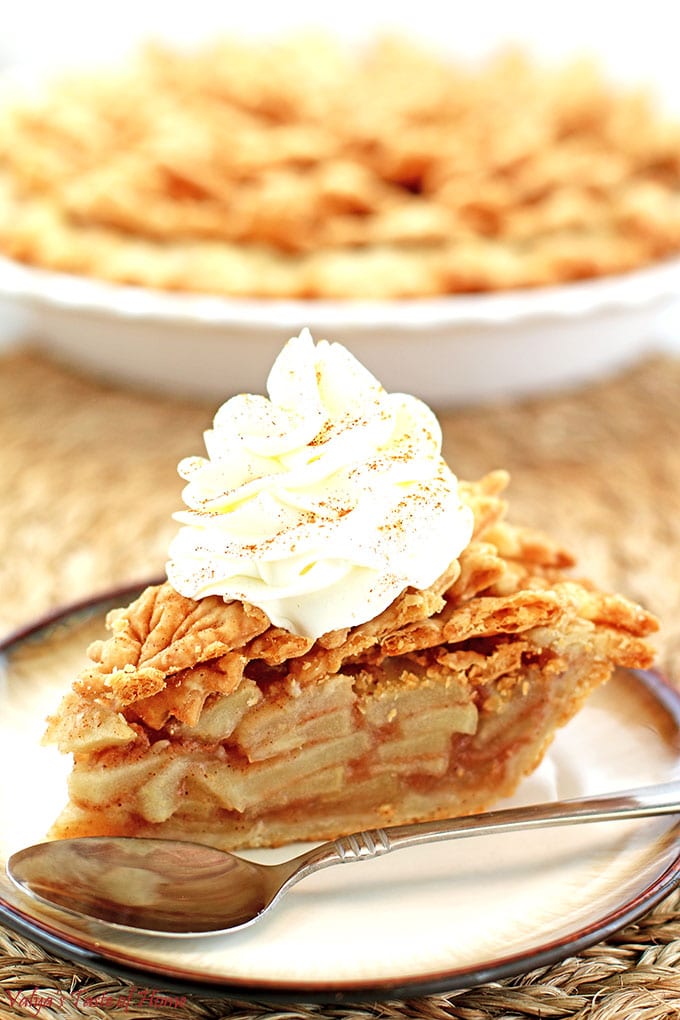
Top the pie with cream or French vanilla ice cream and enjoy!
Tips for Making the Best Simple Apple Pie Ever
- Choose the right apples: For the best apple pie recipe, select a blend of tart apples like Granny Smith and sweet apples like Honey Crisp. This will provide the perfect balance of sweetness and tartness in your apple pie filling.
- Make a homemade pie crust: Nothing beats a homemade pie crust in terms of flavor and texture. Using cold butter and water will help create a flaky pie crust.
- Don't rush the dough: Allow your pie dough to rest in the refrigerator for at least an hour before rolling it out. This helps the gluten relax and makes it easier to roll out.
- Layer your apple slices: When adding your apple slices to the pie dish, layer them compactly. This helps guarantee that there are barely any air pockets, leading to a more substantial and satisfying slice.
- Protect your crust: Cover your pie with aluminum foil for the first hour of baking. This prevents the edges of the pie crust from burning.
- Be patient: Let your pie cool to room temperature before slicing into it. This allows the filling to set and makes for a cleaner, more appealing slice.
- Add a personal touch: Use the leftover pie dough to create decorative leaves or other shapes to top your pie. This gives your homemade apple pie a unique, personal touch that's guaranteed to impress.
Serving Suggestions for Simple Apple Pie
- Enjoy a slice of this classic apple pie with a scoop of vanilla ice cream for a heavenly dessert. The creaminess of the ice cream complements the spiced apple filling and the buttery crust perfectly.
- For a breakfast treat, pair a slice of the apple pie with a cup of hot coffee. The bitterness of the coffee balances the sweetness of the pie, making a delicious start to your day.
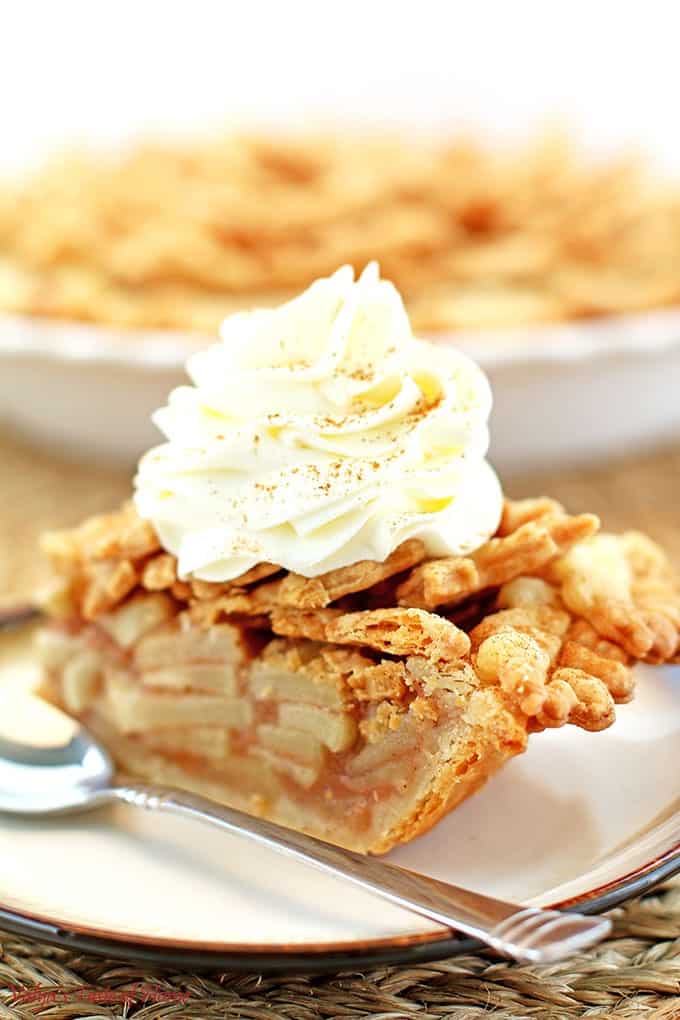
- For a cozy fall dessert, warm up a slice of this apple pie and top it with a dollop of homemade whipped cream dusted with a pinch of cinnamon. It is the ultimate comfort food!
- This apple pie makes a great snack too. Just cut a small slice, wrap it in a napkin, and enjoy it as you go about your day.
- For a festive holiday dessert, serve this apple pie with a warm mug of mulled cider. The spices in the cider enhance the flavors of the pie, creating a perfect holiday treat.
- For an extra delicious dessert, drizzle a slice of this apple pie with caramel sauce. The sweetness of the caramel adds a wonderful twist to this classic recipe.
Recipe Variation Ideas for Simple Apple Pie
This apple pie recipe is honestly is easiest and tastiest one out there! Since I know you'll be making it many times, here are a few decoration variations:
- Lattice crust: Instead of doing the leaves that I've done here in this recipe (which is very reminiscent of fall and Thanksgiving!), you can do a classic lattice crust on top instead. This is when strips of dough are placed on top of the pie in an overlapping crisscrossed way.
- Shape cut-outs: An even simple way is to just cover the pie with top crust and cut slits or shapes into it in several places.
Frequently Asked Questions
To prevent the pie crust from burning, cover the pie with aluminum foil for the first hour of baking. This allows the apple pie filling to cook without over-browning the crust. Remove the foil for the last 15 minutes to allow the crust to become golden brown.
Yes, you can prepare the apple pie in advance. Simply prepare the apple pie filling and the pie crusts, assemble the pie, and then wrap it tightly in plastic wrap and store it in the fridge. When you're ready to bake, just pop it into the oven.
This homemade apple pie is delicious on its own, but it's also great with a scoop of vanilla ice cream or a dollop of whipped cream on top. You could also drizzle some caramel sauce over it for a caramel apple pie version.
How to Store Leftover Apple Pie
Refrigerating: If you have any leftovers, you can easily store them by covering them with plastic wrap and popping it in the refrigerator for up to two days.
Reheating: When you need to reheat the pie after it has been refrigerated, just cover the pie with aluminum foil and reheat it in the preheated oven to 400 for 10 - 15 minutes.
Freezing: I don't recommend storing cooked apple pie in the freezer as the consistency and texture will change. Instead, you can freeze your apple pie dough for up to 1 month.
More Similar Recipes You'll Love
- No Bake Caramel Apple Pie Cheesecake Parfaits
- Moist Apple Cinnamon Muffins (with Crumb Topping and Glaze)
- The Best Homemade Apple Crisp (Quick and Easy Recipe)
- Simple, Moist Homemade Apple Cake
- Easiest Apple Bars Recipe
- Easiest Apple Bars Recipe
Recipe Card
Simple Apple Pie Recipe (Easy Recipe for Beginners!)
Ingredients
Pie the Crust Ingredients
- 2 cups - organic all-purpose flour + ½ cup for dusting
- 1 tsp. - sea salt
- 10 oz. - cold unsalted butter
- ½ cup - cold water
For the Apple Pie Filling
- 3 lbs. - Granny Smith apples
- ½ cup - organic sugar
- ⅓ cup - cane brown sugar
- ¼ cup - organic all-purpose flour
- ½ tbsp. - ground cinnamon
- ¼ tsp. - ground nutmeg
- 3 tbsp. - unsalted butter + 1 tbsp. for greasing the pie dish
Instructions
How to Make Apple Pie
- Making this delicious Thanksgiving dessert at home couldn't get any easier than this! It's an incredibly easy pie crust recipe and the apple pie filling recipe is super simple too.
- My apple pie recipe shares everything you need to do to make this from scratch. Let's look at how to make it step by step:
- Next, drizzle cold water over the pie crumbs while mixing the crumbs with your hand. Slowly drizzle in the cold water while stirring the mixture around with your hand or a spatula. Form the dough into a ball (do not knead the dough).
- Dust a bowl with a tablespoon of flour and roll the dough into a ball. Then split the ball into 2 even pieces, and flatten each piece into disks.
- Wrap each dough disk with plastic wrap. Refrigerate for an hour or so.
- NOTE: I have also previously refrigerated the dough overnight. You can even freeze the disks and then place them in the fridge and let them thaw overnight before using them the next day.
How to Make Apple Pie Filling
- Now let's make our apple pie filling! It'll take about 45 minutes to prepare the apple filling which is perfect while you refrigerate the dough.
- In a large bowl, combine all dry ingredients, namely the cane brown sugar and regular white sugar, flour, cinnamon, nutmeg spices, and sea salt. Stir with a hand whisker to combine.
- Next, let's prep the apples by rinsing, peeling, and slicing the apples.
- Place them in a medium glass bowl. Sprinkle the dry filling mixture over apples and toss and mix to coat all the apple slices with the filling mixture.
How to Assemble and Bake Apple Pie
- Time to bake our pie! Place the rack in the lower third of the oven and preheat the oven to 400 ℉.
- Grease the pie dish or pie plate. This is optional but preferred to prevent from the crust sticking to the dish.
- Take one of the discs of dough out of the fridge. Roll the disk using a rolling pin on a lightly floured surface till it's 12 inches in diameter.
- Next, place the rolled pie dough over the pie dish and cut the edge off evenly with a pizza cutter.
- Lay the apple slices compactly as possible into the pie dish on top of the bottom crust. I don't just pour the apple slices into the crust, I tuck them in tightly so there are barely any air pockets.
- Dust the working surface again with flour and roll out the second disk about ⅛ of an inch thick. Cut out leaves and place them on the edge of the pie.
- Now place sliced, thin pieces of butter over the top of the apples. Cover the pie with aluminum foil and bake for 1 hour covered until the juices begin to bubble, then remove the foil and bake for an additional 15 minutes uncovered until the pie is perfectly golden brown.
- While the pie is baking you can work on the leave topping. Cut out the leaves and place them on a large 16 X 22 baking sheet lined with parchment paper. You should have enough dough for decoration and there shouldn't be a lot of excess dough left.
- Bake the leaves at 400 ℉ for 20 min. Remove from the oven and slide the parchment paper with baked leaves onto the countertop. If you leave them on the baking sheet instead, they will continue to bake and will turn out very dark.
- Remove the pie from the oven and let it cool to a warm temperature before topping it with baked pie leaves.
- Insert the leaves into baked apples and serve. The leaves will be crunchy, but if you prefer the leaves soft then place the leaves while the pie is still hot and let the pie cool with leaves on top.
- Slice the pie after it has cooled down. Top it off with some whipped cream or serve it with a scoop of vanilla ice cream.
Thank you for following me on Instagram, Facebook, and Pinterest!
The post may contain affiliate links. Read my disclosure.



Vera Warren says
For step 13, at what temperature do you it bake it for 1 hour?
Valya of Valya's Taste of Home says
350 F.
Victoria says
So delicious. I usually don't care for crust, but it was sooo good, same for filling. Will definetely make again. I don't bake much, so this might be a dumb question. Why put the dough in the fridge for an hour? It was so hard, I couldn't roll it out and had to wait a while for it to soften up.
www.valyastasteofhome.com says
No question too simple, no comment too small. ?
It's actually a great question! By chilling the dough before rolling it out, it allows the present gluten strands time to settle down and relax. This actually makes your pastry dough easier to roll out, strasnfer, and cuts down on any shrinking during the baking process. Chilling also lets the dough become moist. I hope this helps. ?
Klozet Kapağı says
Thanks for the recipe, I will try it out soon.
www.valyastasteofhome.com says
You are very welcome, enjoy! 🙂