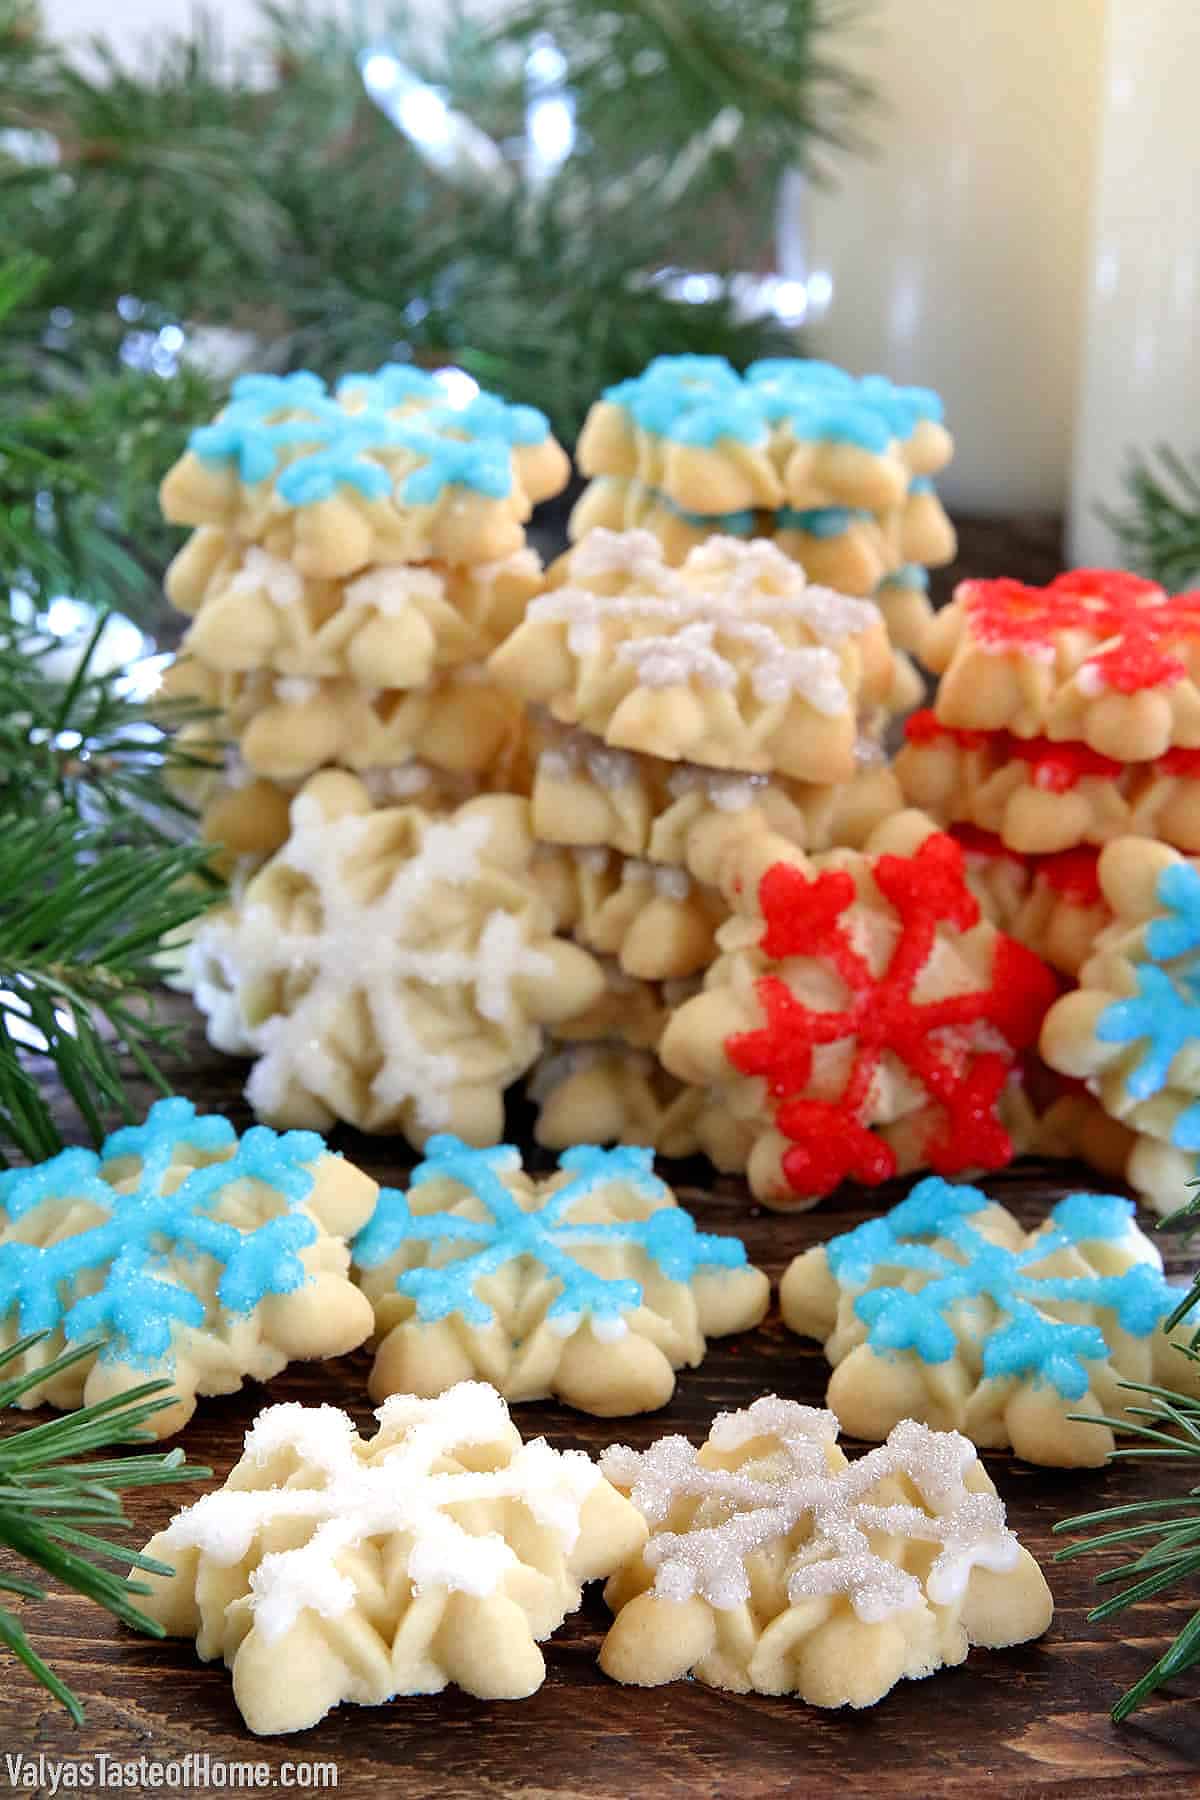
These Snowflake Cookies are not only the easiest ones to make but they are the epitome of the most festive cookies ever! They are crisp, buttery, and delicious cookies that are made using an easy cookie press giving you a stunningly festive result.
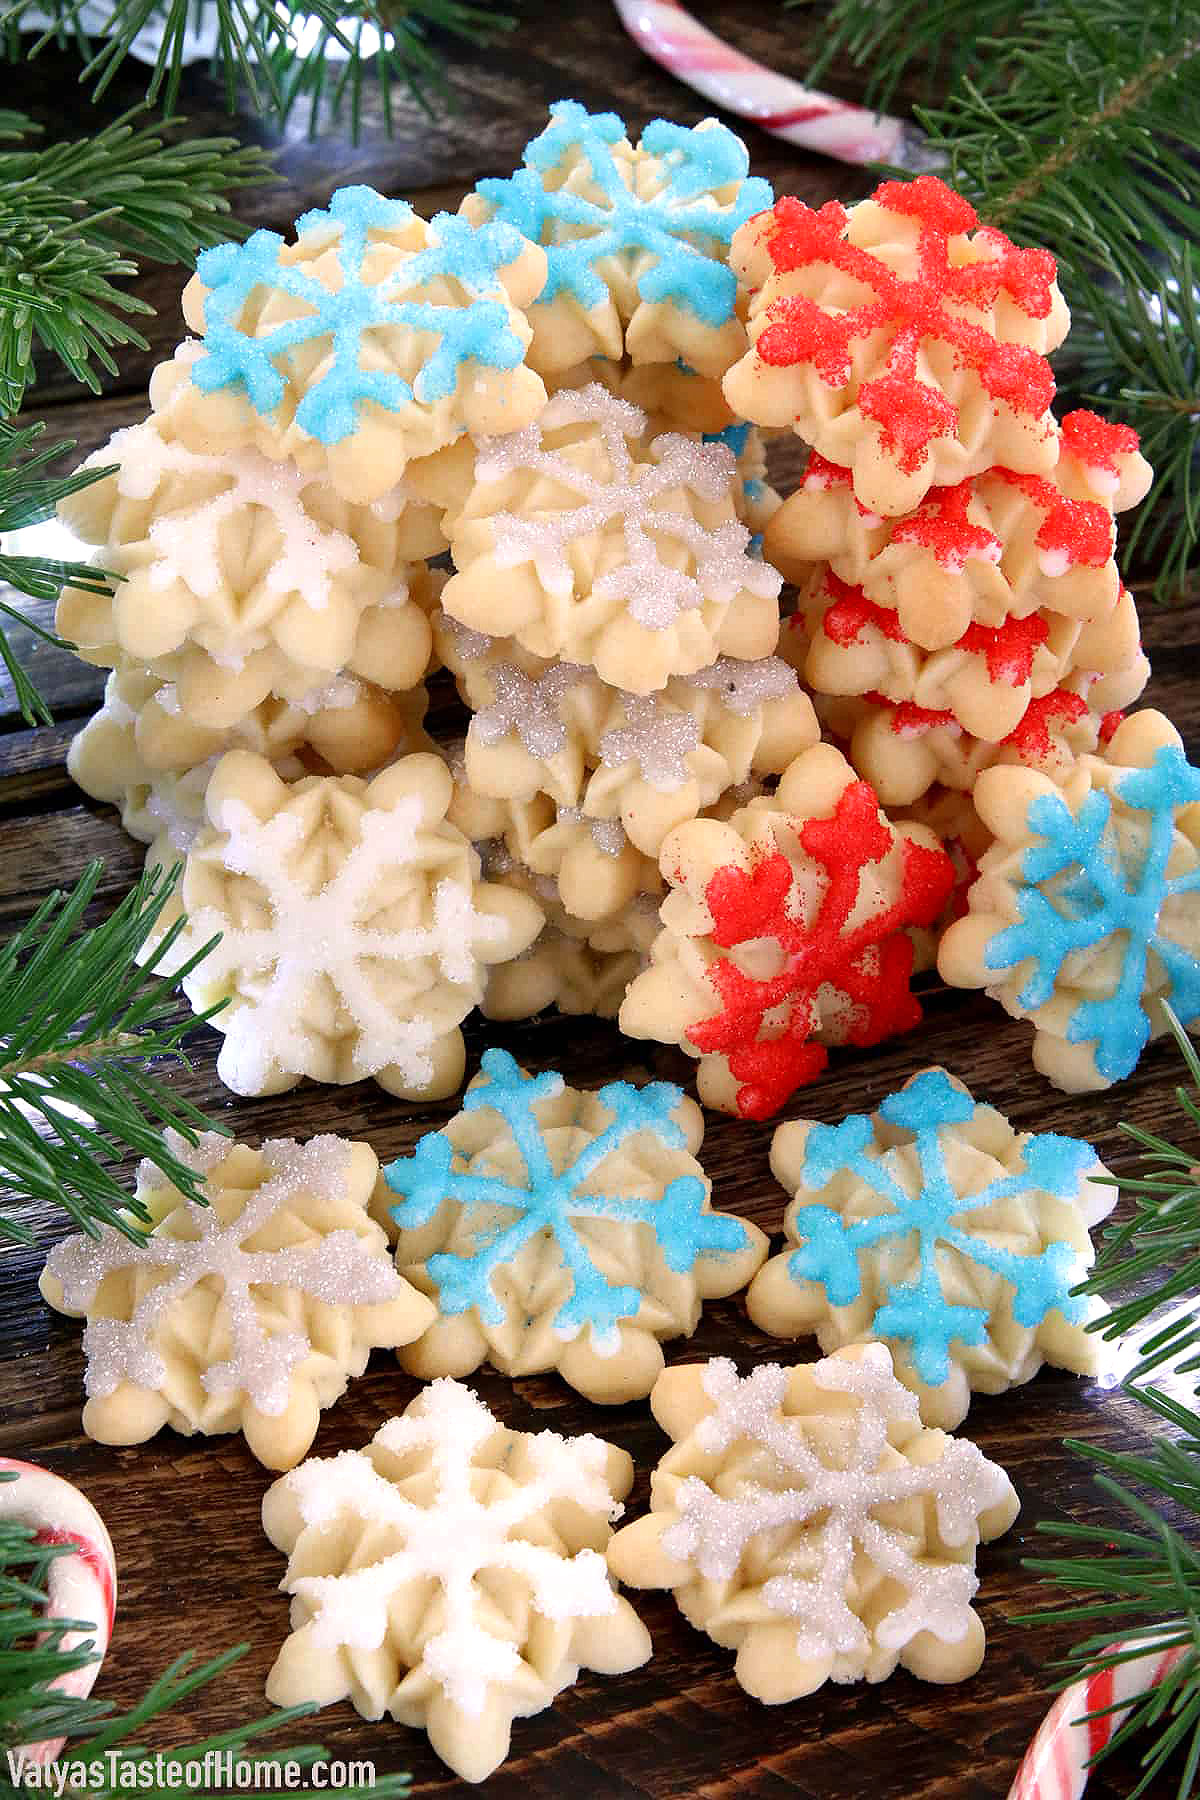
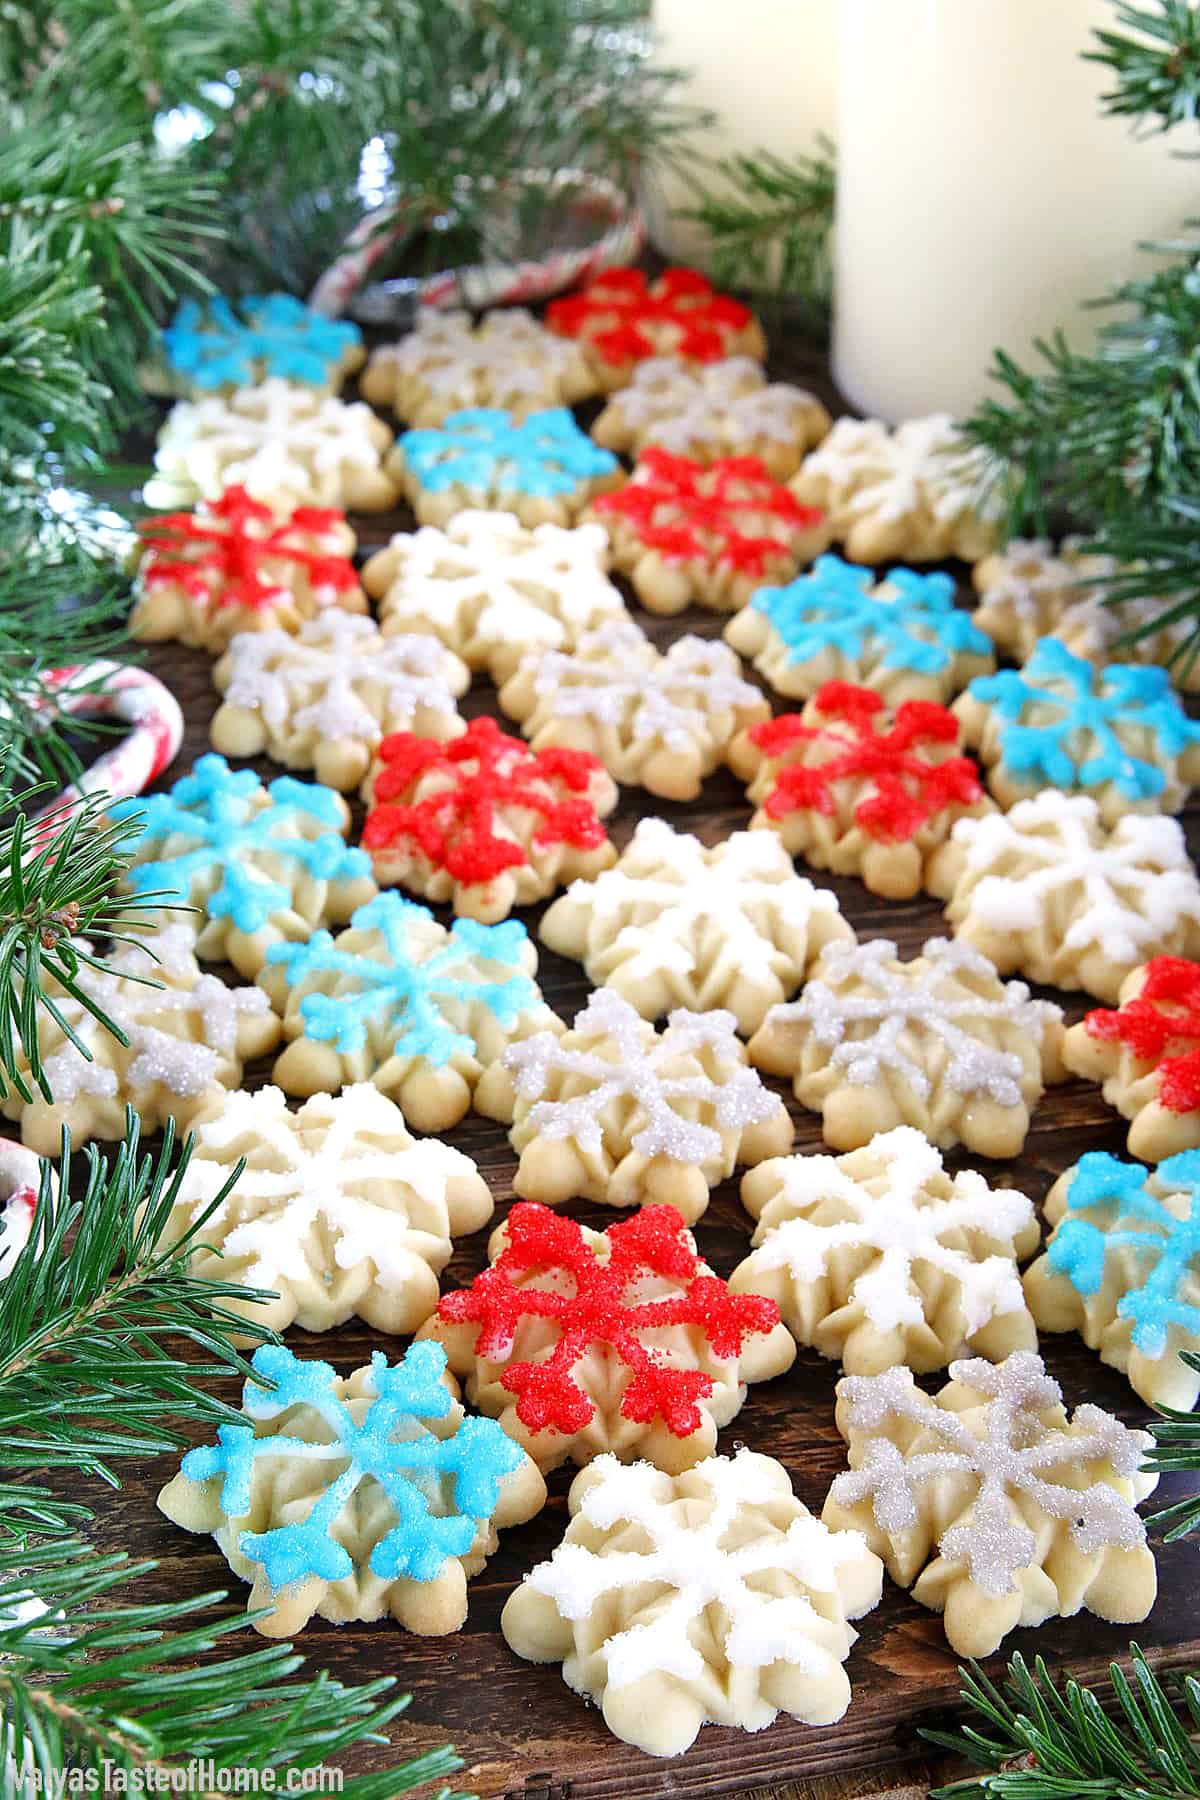
Add a little more beauty and a touch of elegance to these pretty cookies by piping out icing on top of the snowflake cookies and lightly drenching the icing part into the colored sugar for an even better finish.
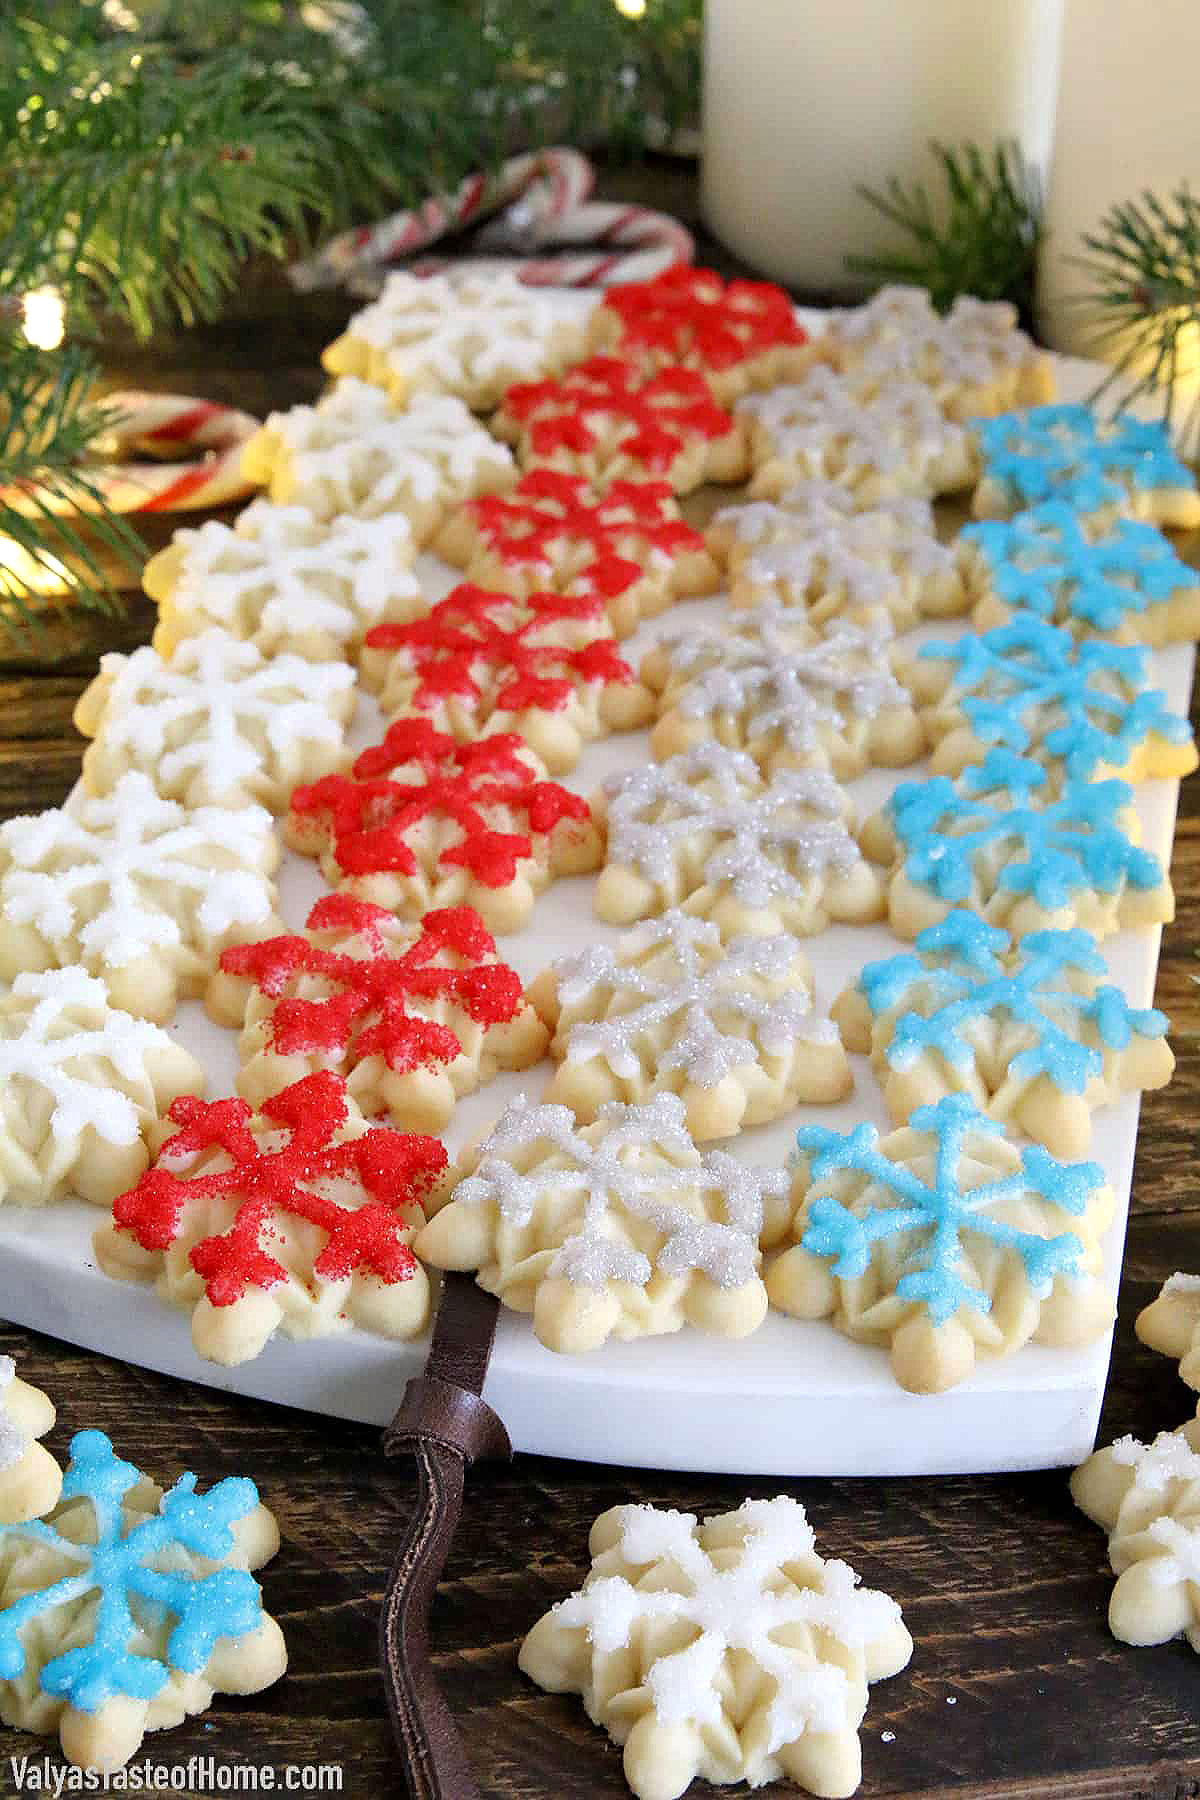
These cookies look beautiful on a holiday dinner table and are a true crowd-pleaser! Not only are the kids going to grab them and enjoy how beautiful they look, but you can expect the adults to chime in and take some pictures too!
Want to learn how to make these festive and beautiful Snowflake Cookies? Then keep on reading!
Table of Contents
- What are Snowflake Cookies?
- What Makes This Snowflakes Cookie Recipe Special?
- What You Need to Make Snowflake Cookies at Home
- How to Make Snowflake Cookies (Step-by-Step)
- Recipe Variation Ideas for Snowflake Cookies
- How to Store Leftover Snowflake Cookies
- More Cookie Recipes You'll Love
- Recipe Card
- Easiest Snowflake Cookies (Best for Holidays and Christmas!)
- Comments
What are Snowflake Cookies?
Snowflake Cookies are delicious homemade butter cookies that are then shaped into snowflakes and decorated with edible colored sugar for the most beautiful festive cookies you’ve ever seen!
They’re a true family favorite that everyone seems to love and make for a beautiful addition to a holiday table. They’re truly a décor on their own and are super easy and fun to decorate.
You can decorate them in a number of ways, but I’ll share with you the easiest and most beautiful way in this recipe. I’ve also mentioned some other variation ideas in the post down below.
What Makes This Snowflakes Cookie Recipe Special?
This Snowflake Cookies recipe is special for so many reasons! Firstly, these sparkly cookies are made with just a few simple ingredients and supplies that I bet you already have in your pantry.
They make a fantastic addition to an edible Christmas gift for anyone! These cookies are also a great way to involve the kids in some fun holiday prep.
My kids love to help create these simple cookies, so it's a wonderful opportunity to get most of the family involved. It’s a great way to come together during the holiday festivities and to create some priceless memories while doing some holiday prep.
They’re one of my all-time favorite ways to build up the excitement toward Christmas and to get the kids into the holiday spirit even more.
What’s best is that these sparkly cookies are made with just a few simple ingredients and supplies that I bet you already have in your pantry.
Plus, they make a fantastic addition to an edible Christmas gift for just about anyone you know. Trust me, when you try these cookies you’ll want to keep making them again and again!
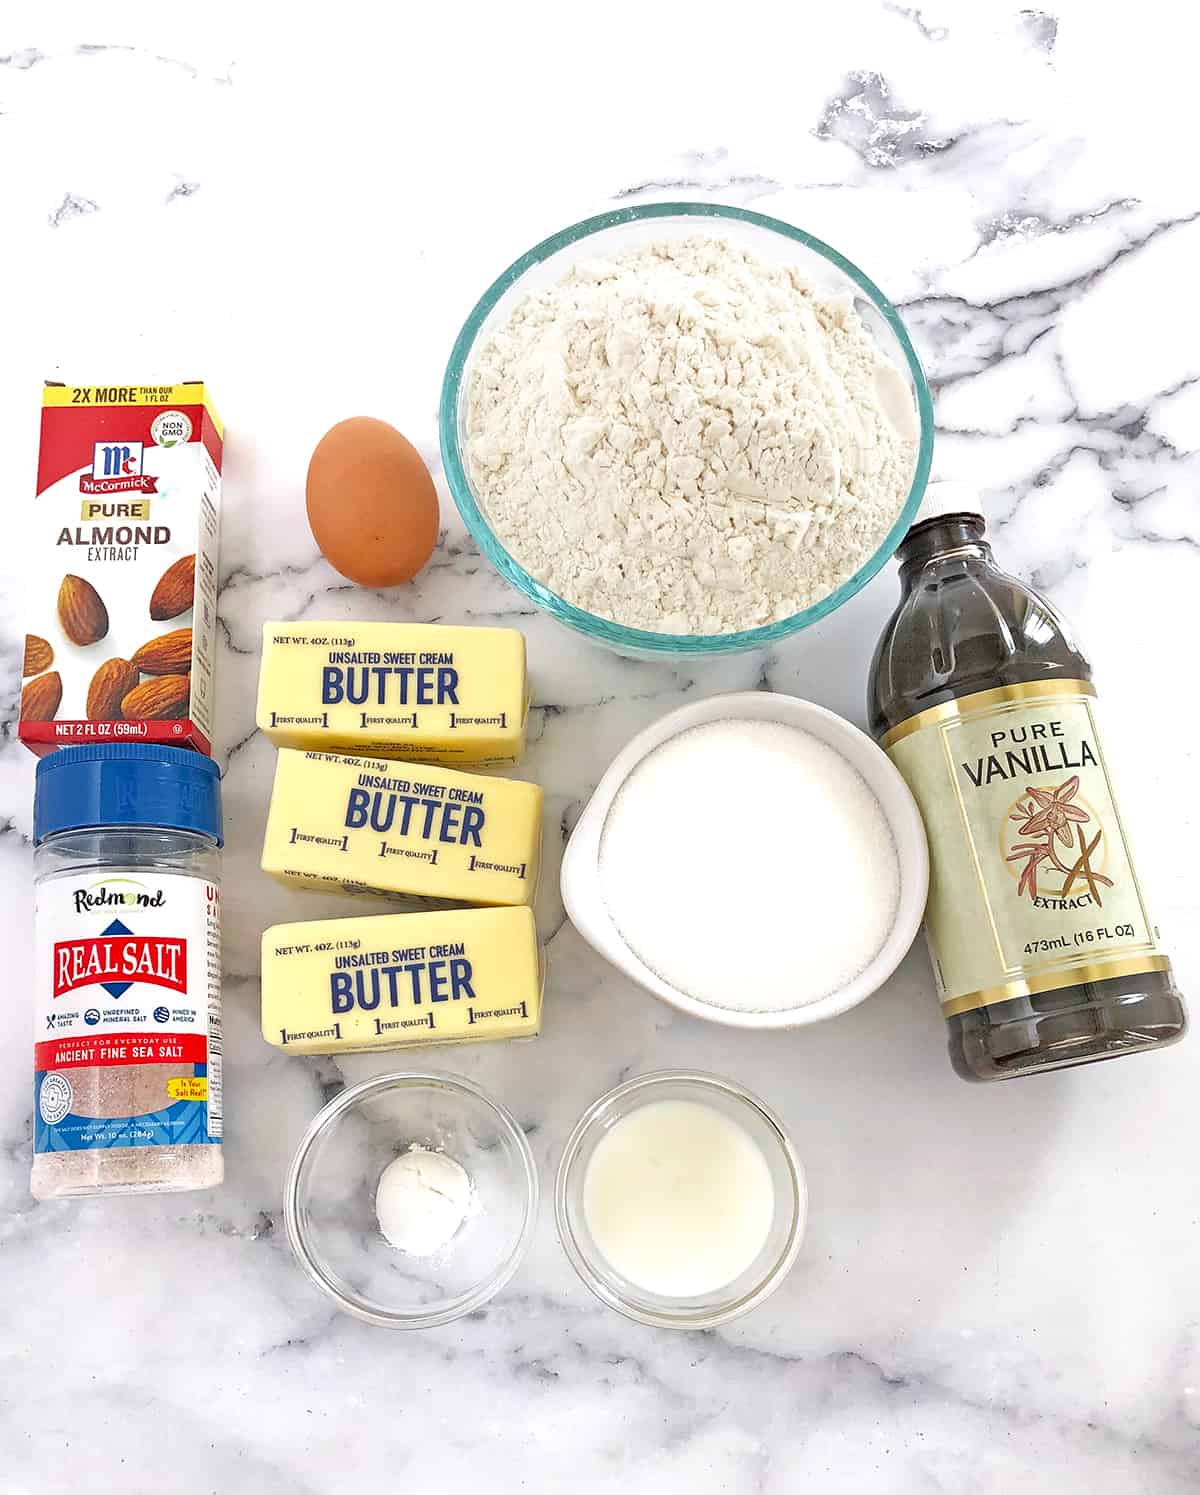
What You Need to Make Snowflake Cookies at Home
For the Cookie Batter
Flour: All you need is some simple and basic all-purpose flour to help the cookies form their structure.
Butter: You’ll also need some unsalted room-temperature butter to give the cookies the perfect flavor and texture.
Sugar: We’ll also be using some white granulated sugar to sweeten our cookies to the right level. Interestingly, sugar also adds moisture to cookies helping make them nice and soft.
Egg: You’ll also need one egg to add to our cookie batter mixture! It’ll help add flavor and leavening to the cookies for the perfect texture.
Milk: We’ll be using some whole milk as the liquid to get the right consistency for our batter and to add richness to the cookies.
Extracts: You’ll also need some vanilla extract and almond extract that will together add a beautiful flavor that has hints of vanilla and almond, making it incredibly delicious in every bite.
Baking powder: This will be our leavening agent to give you cookies that are fluffy and well-risen.
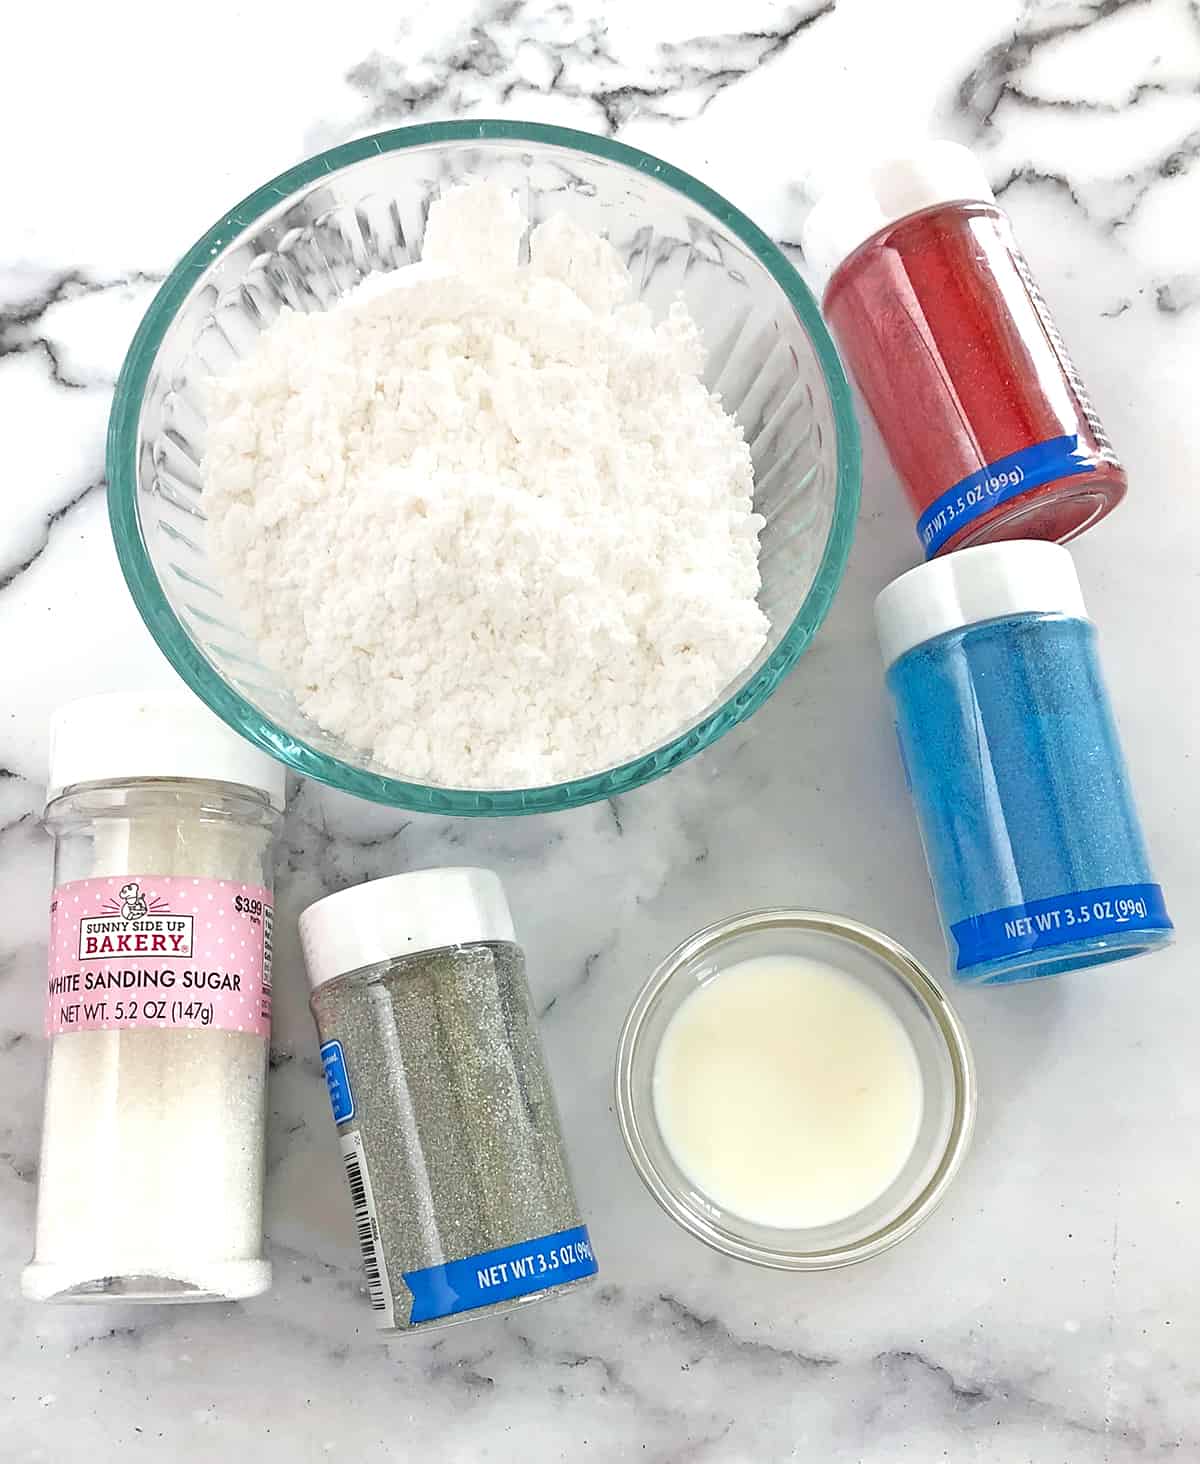
For the Cookie Icing:
- Sugar: To get that beautiful sweet flavor, we’ll be using some confectioners’ sugar to make our delicious cookie icing!
- Milk: You’ll also need some whole milk to get the right consistency that we can pipe onto the cookies easily.
For Cookie Decoration:
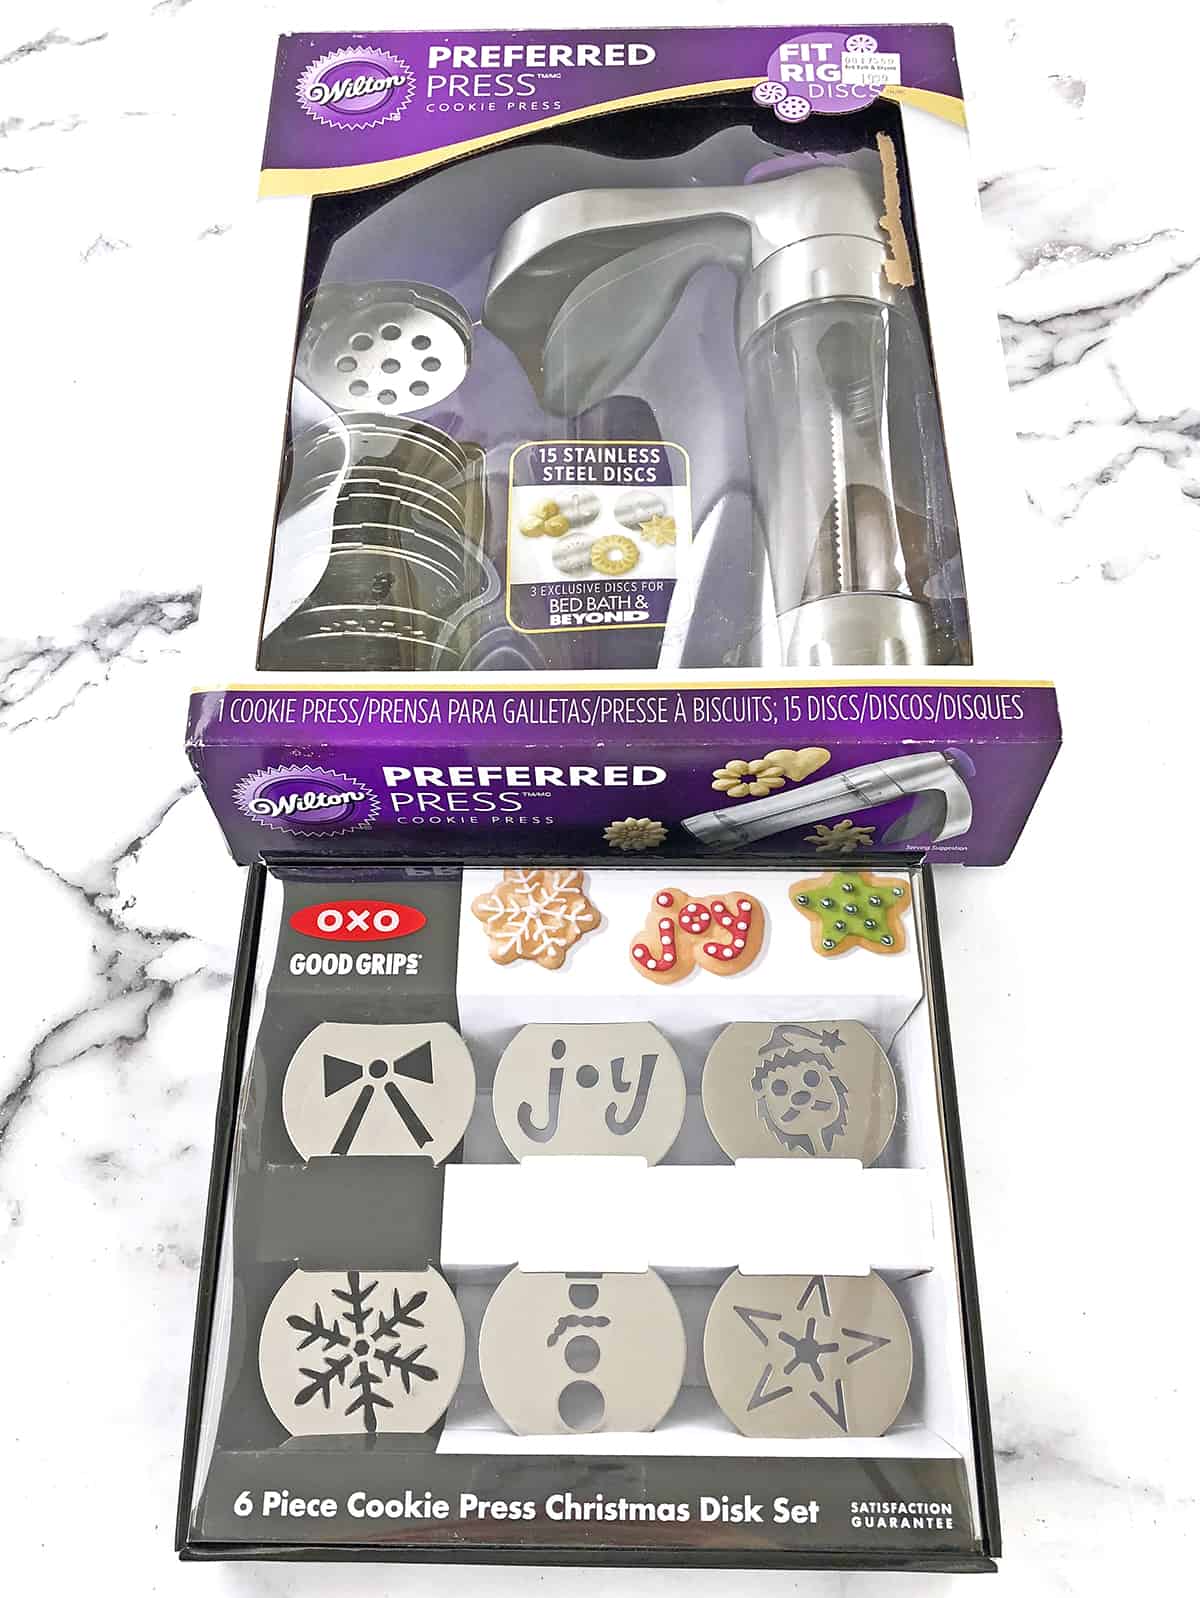
- Wilton Cookie Press: To help us shape the cookies to the perfect snowflake shape, we’ll be using this great cookie press by Wilton. If you have any other cookie presses at home already, that’ll definitely work. And in case you don’t, then I recommend you get this one!
- OXO Good Grips Cookie Press Holiday Disk Set: You’ll also need this OXO set to get this beautiful snowflake shape that’s both timeless and stunning!
- Colorful sugar: We’ll also need some colorful edible sugar to sprinkle on top of the icing for the most beautiful and festive look ever!
How to Make Snowflake Cookies (Step-by-Step)
Making these holiday cookies is incredibly fun and easy! Here’s what you need to do step by step:
How to Make Cookie Batter
Let’s start by making our cookie batter first! To do this, prepare all the dry ingredients first. Sift them all into a bowl and set it aside until ready for use.
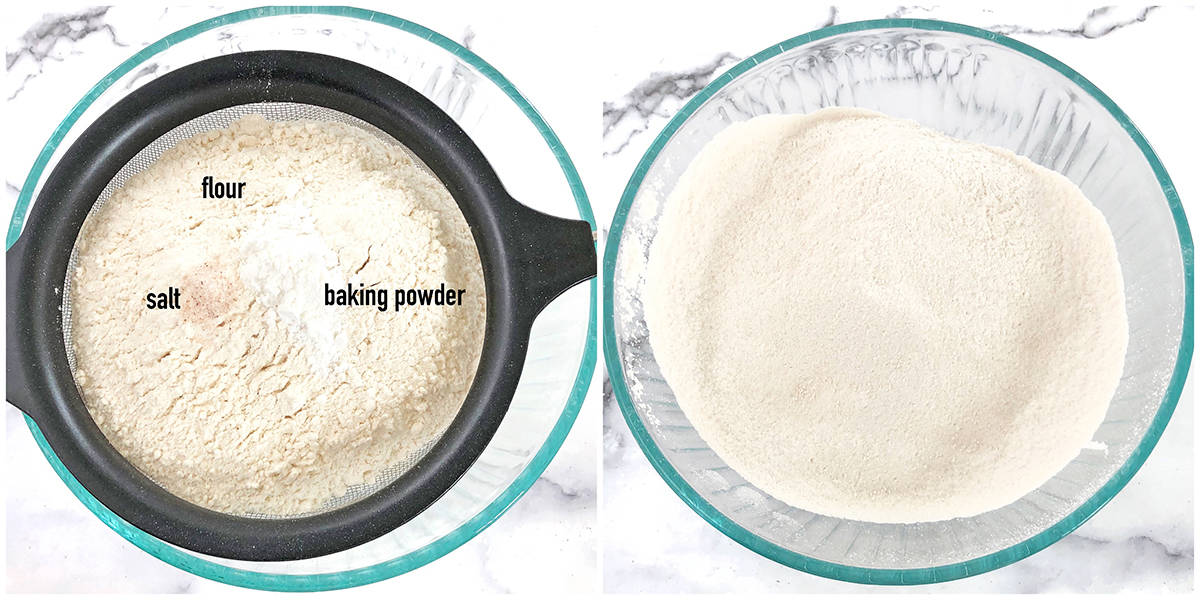
Preheat oven to 350°F and line 3 large baking sheets with parchment paper.
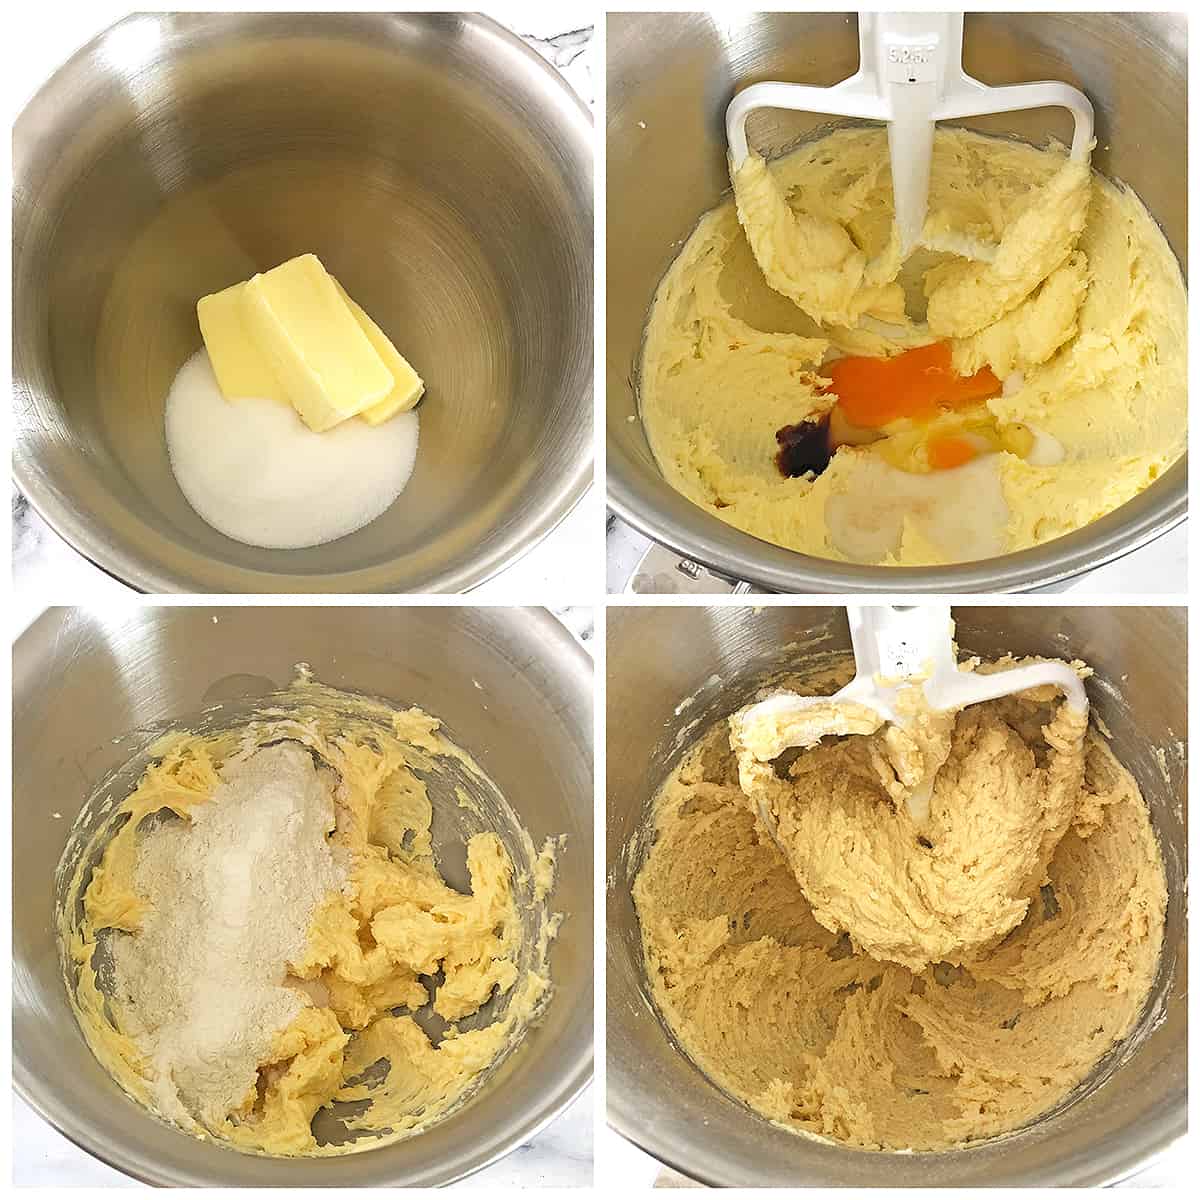
In the large bowl of a stand mixer fitted with a paddle attachment, cream the butter and sugar until smooth.
Then add egg, milk, pure vanilla, and almond extract. Beat well until smooth, for about 3 minutes on high speed.
Scrape down the sides and the bottom of the bowl, and beat again for 30 more seconds, or until well combined.
Finally, at low speed, mix in the dry ingredients prepared earlier. Scrape down the sides and bottom of the bowl again until completely combined.
How to Shape and Bake Snowflake Cookies
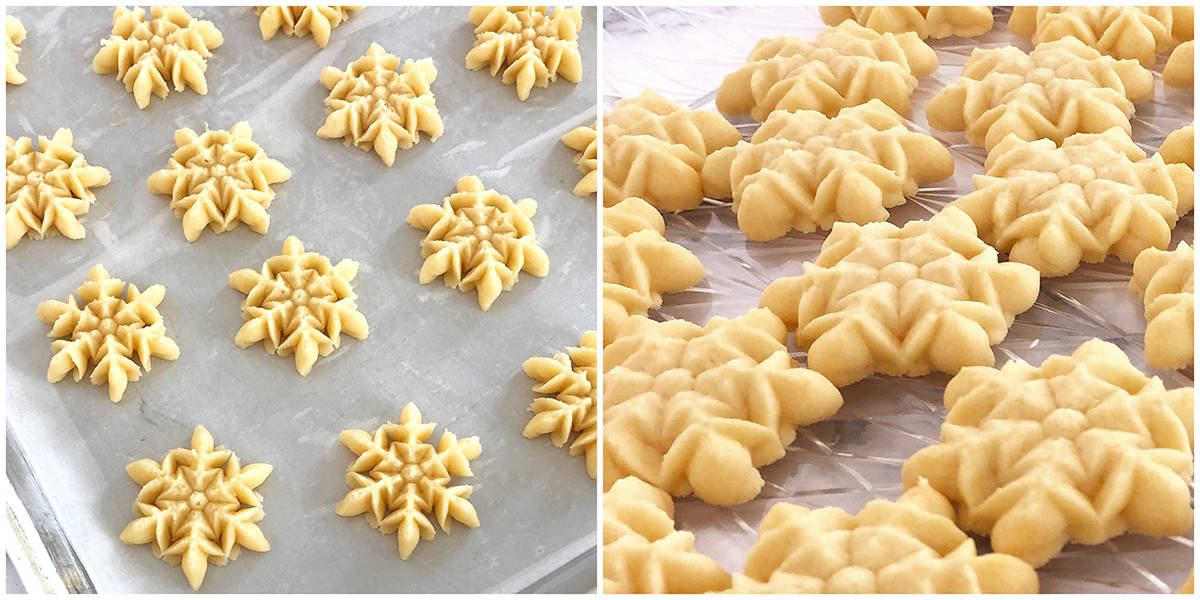
Time to shape and then bake our cookies! To do this, first hold the cookie press perpendicular to the lined baking sheet and then press out the cookies about an inch apart from each other.
Bake the cookies until just very lightly golden on the edges, about 8 minutes or so.
Once done, remove them from the oven and allow the cookies to cool on the baking sheet for 5 to 10 minutes before transferring them to a wire rack to cool completely.
How to Make Cookie Icing
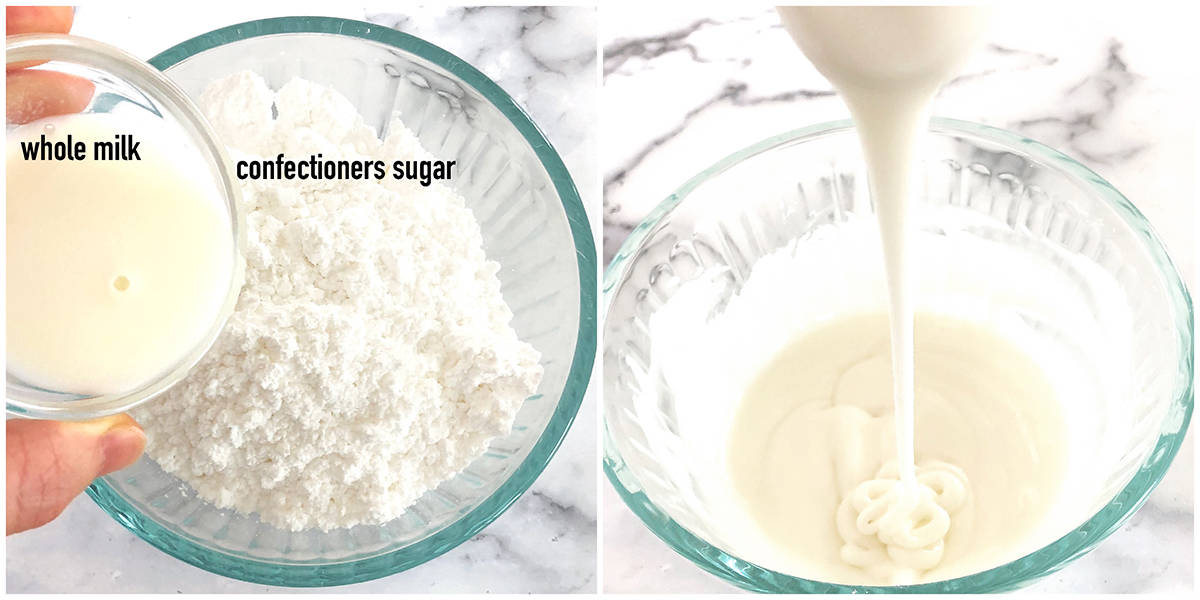
Now let’s make our cookie icing. Using a hand whisk, mix confectioners’ sugar with milk together until you get a silky-smooth consistency.
How to Decorate Snowflake Cookies
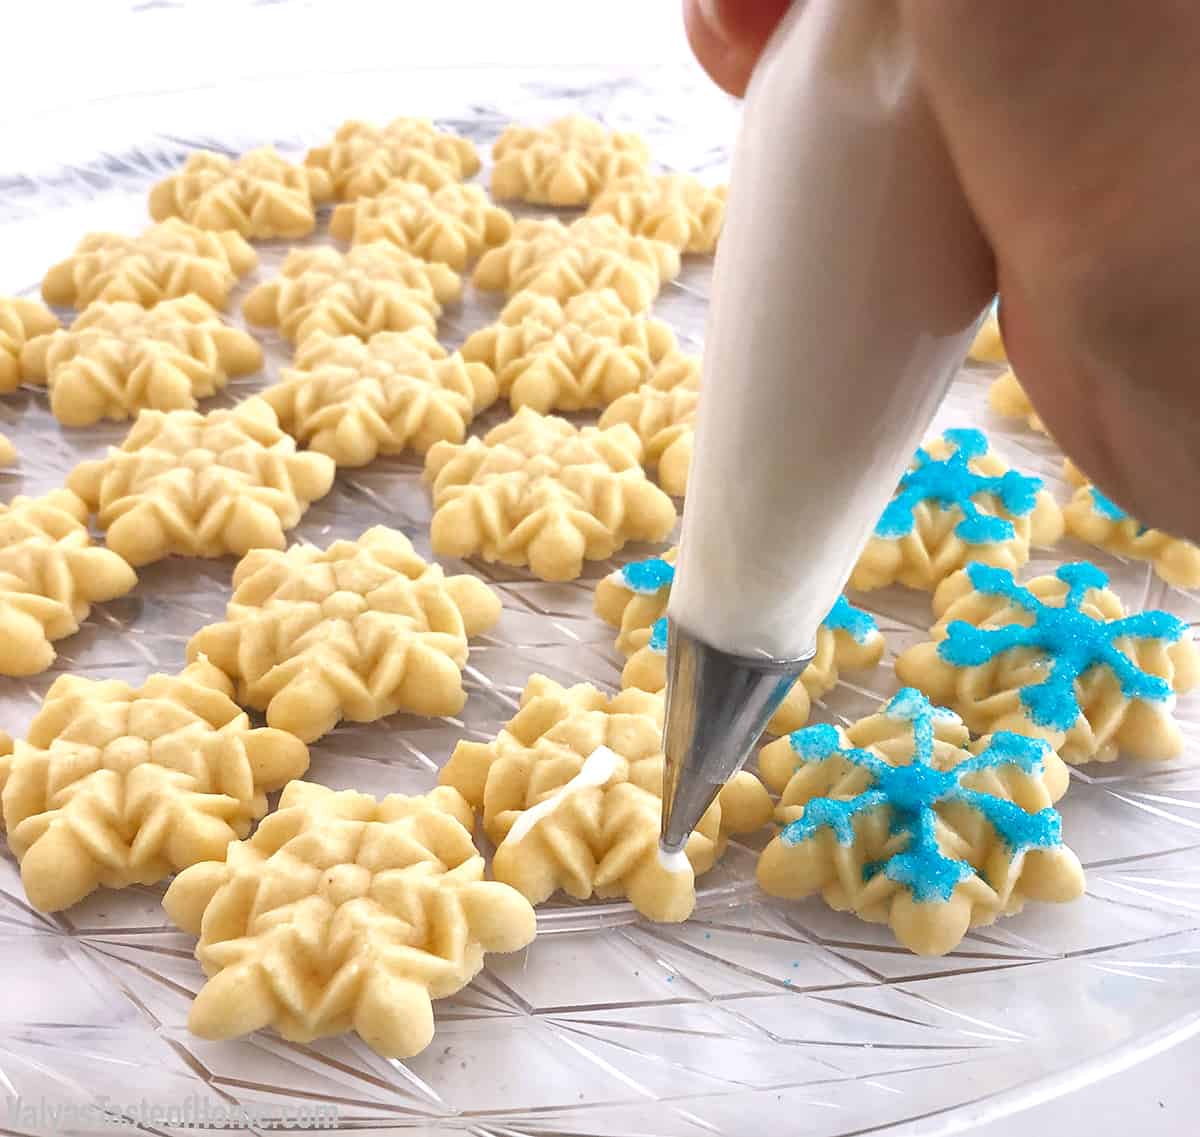
To decorate the cookies, trace the snowflake peaks with the icing of each cookie and then drench the icing lightly into sparkling colorful sugar while it’s still wet so that it sticks to the icing.
Let the icing completely dry out and set before serving. Your delicious Snowflake Cookies are ready to be served!
Recipe Variation Ideas for Snowflake Cookies
These Snowflake Cookies are true classics and beautiful as they are. But if you’re looking to personalize them, here are some ideas you can try:
- Sugar cookie variation: To make some sugar cookies instead, you can use my homemade sugar cookie dough to make these cookies and then shape them according to the recipe here.
- Cookie cutter variation: You can also use snowflake cookie cutters instead of the cookie press. To do that, allow the dough to chill in the refrigerator before rolling it out on a lightly floured surface with a rolling pin. Then cut the cookies with the cookie cutter and decorate.
- Other decoration ideas: You can also add some gel food coloring to the icing to have different colors or add sprinkles on top of the cookies instead of the edible glitter.
How to Store Leftover Snowflake Cookies
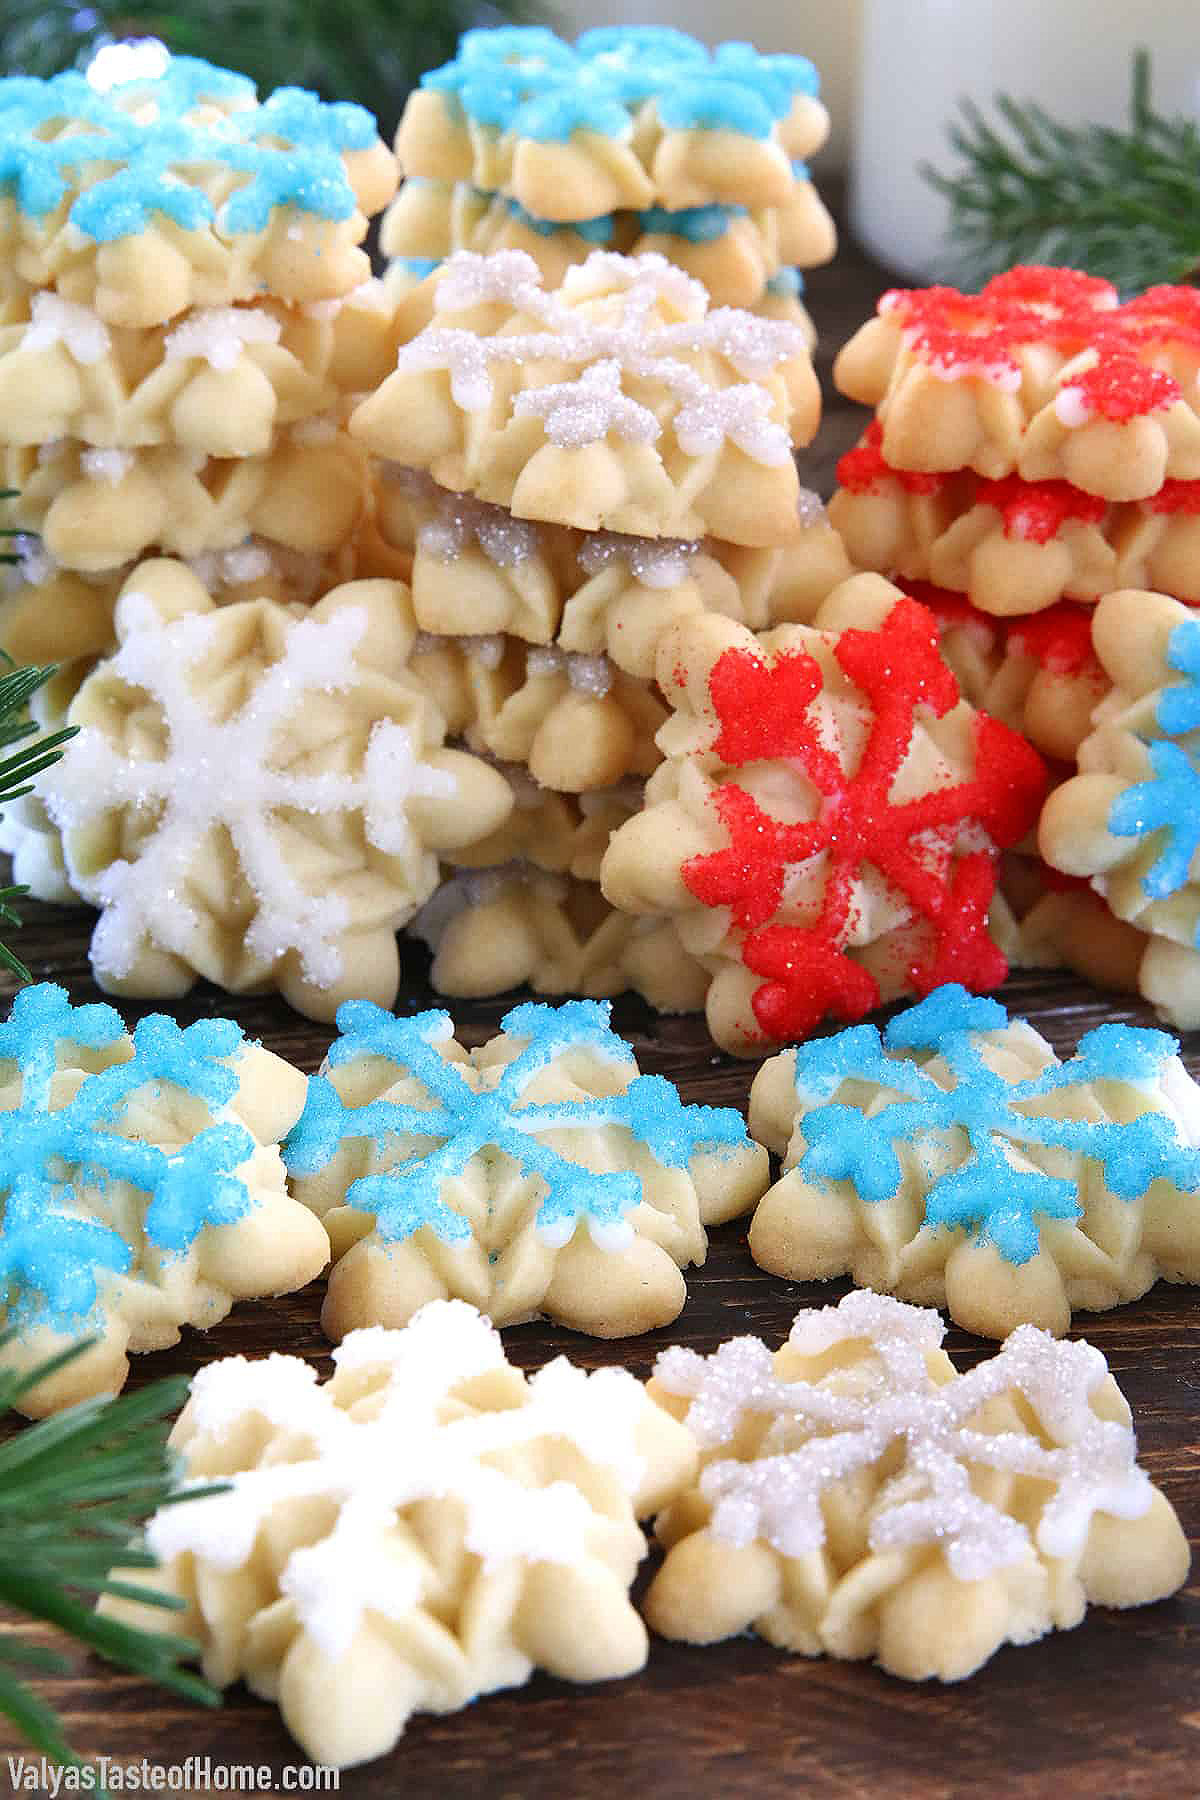
If you have any leftover cookies, you can store them in an airtight container at room temperature and they’ll stay fresh for up to one week.
You can also freeze undecorated cookies in a freezer-safe container for up to 3 months. Let them thaw overnight in the fridge and then decorate as per the recipe and serve!
More Cookie Recipes You'll Love
- Christmas Spritz Cookies
- White Chocolate Peppermint Oreo Cookies
- Easy Pistachio Dark Chocolate Drizzle Shortbread Cookies
- Easy Homemade Sugar Cookie Dough Recipe
- Chocolate Dipped Coconut Macaroons
- Sparkly Meringue Cookies
- White Chocolate Cranberry Pistachio Biscotti Recipe
- Mushroom Cookies Recipe
- Pom-Pom Cookies Recipe
- Meat Grinder Cookie Recipe
- Peppermint Glazed Cookies
See all dessert recipes.
Recipe Card
Easiest Snowflake Cookies (Best for Holidays and Christmas!)
Ingredients
Snowflake Cookie Batter
- 12 oz. – unsalted room temperature butter
- 1 cup – granulated sugar
- 1 large – egg
- 2 tbsp. – whole milk
- 1 tsp. – pure vanilla extract
- ½ tsp. – almond extract
- 3 ½ cups. – all-purpose flour
- 1 tsp. – baking powder
- Pinch of salt
Cookie Topping Ingredients
- 2 cups - confectioners’ sugar
- 2 tbsp. - whole milk
- Colorful sugar
Instructions
How to Make Cookie Batter
- Let’s start by making our cookie batter first! To do this, prepare all the dry ingredients first. Sift them all into a bowl and set it aside until ready for use.
- Preheat oven to 350°F and line 3 large baking sheets with parchment paper.
- In the large bowl of a stand mixer fitted with a paddle attachment, cream the butter and sugar until smooth.
- Then add egg, milk, pure vanilla, and almond extract. Beat well until smooth, for about 3 minutes on high speed.
- Scrape down the sides and the bottom of the bowl, and beat again for 30 more seconds, or until well combined.
- Finally, at low speed, mix in the dry ingredients prepared earlier. Scrape down the sides and bottom of the bowl again until completely combined.
How to Shape and Bake Snowflake Cookies
- Time to shape and then bake our cookies! To do this, first hold the cookie press perpendicular to the lined baking sheet and then press out the cookies about an inch apart from each other.
- Bake the cookies until just very lightly golden on the edges, about 8 minutes or so.
- Once done, remove them from the oven and allow the cookies to cool on the baking sheet for 5 to 10 minutes before transferring them to a wire rack to cool completely.
How to Make Cookie Icing
- Now let’s make our cookie icing. Using a hand whisk, mix confectioners’ sugar with milk together until you get a silky-smooth consistency.
How to Decorate Snowflake Cookies
- To decorate the cookies, trace the snowflake peaks with the icing of each cookie and then drench the icing lightly into sparkling colorful sugar while it’s still wet so that it sticks to the icing.
- Let the icing completely dry out and set before serving. Your delicious Snowflake Cookies are ready to be served!
Notes
- These cookies stay fresh in an airtight container, and at room temperature, for up to one week.
Thank you for following me on Instagram, Facebook, and Pinterest!







Comments
No Comments