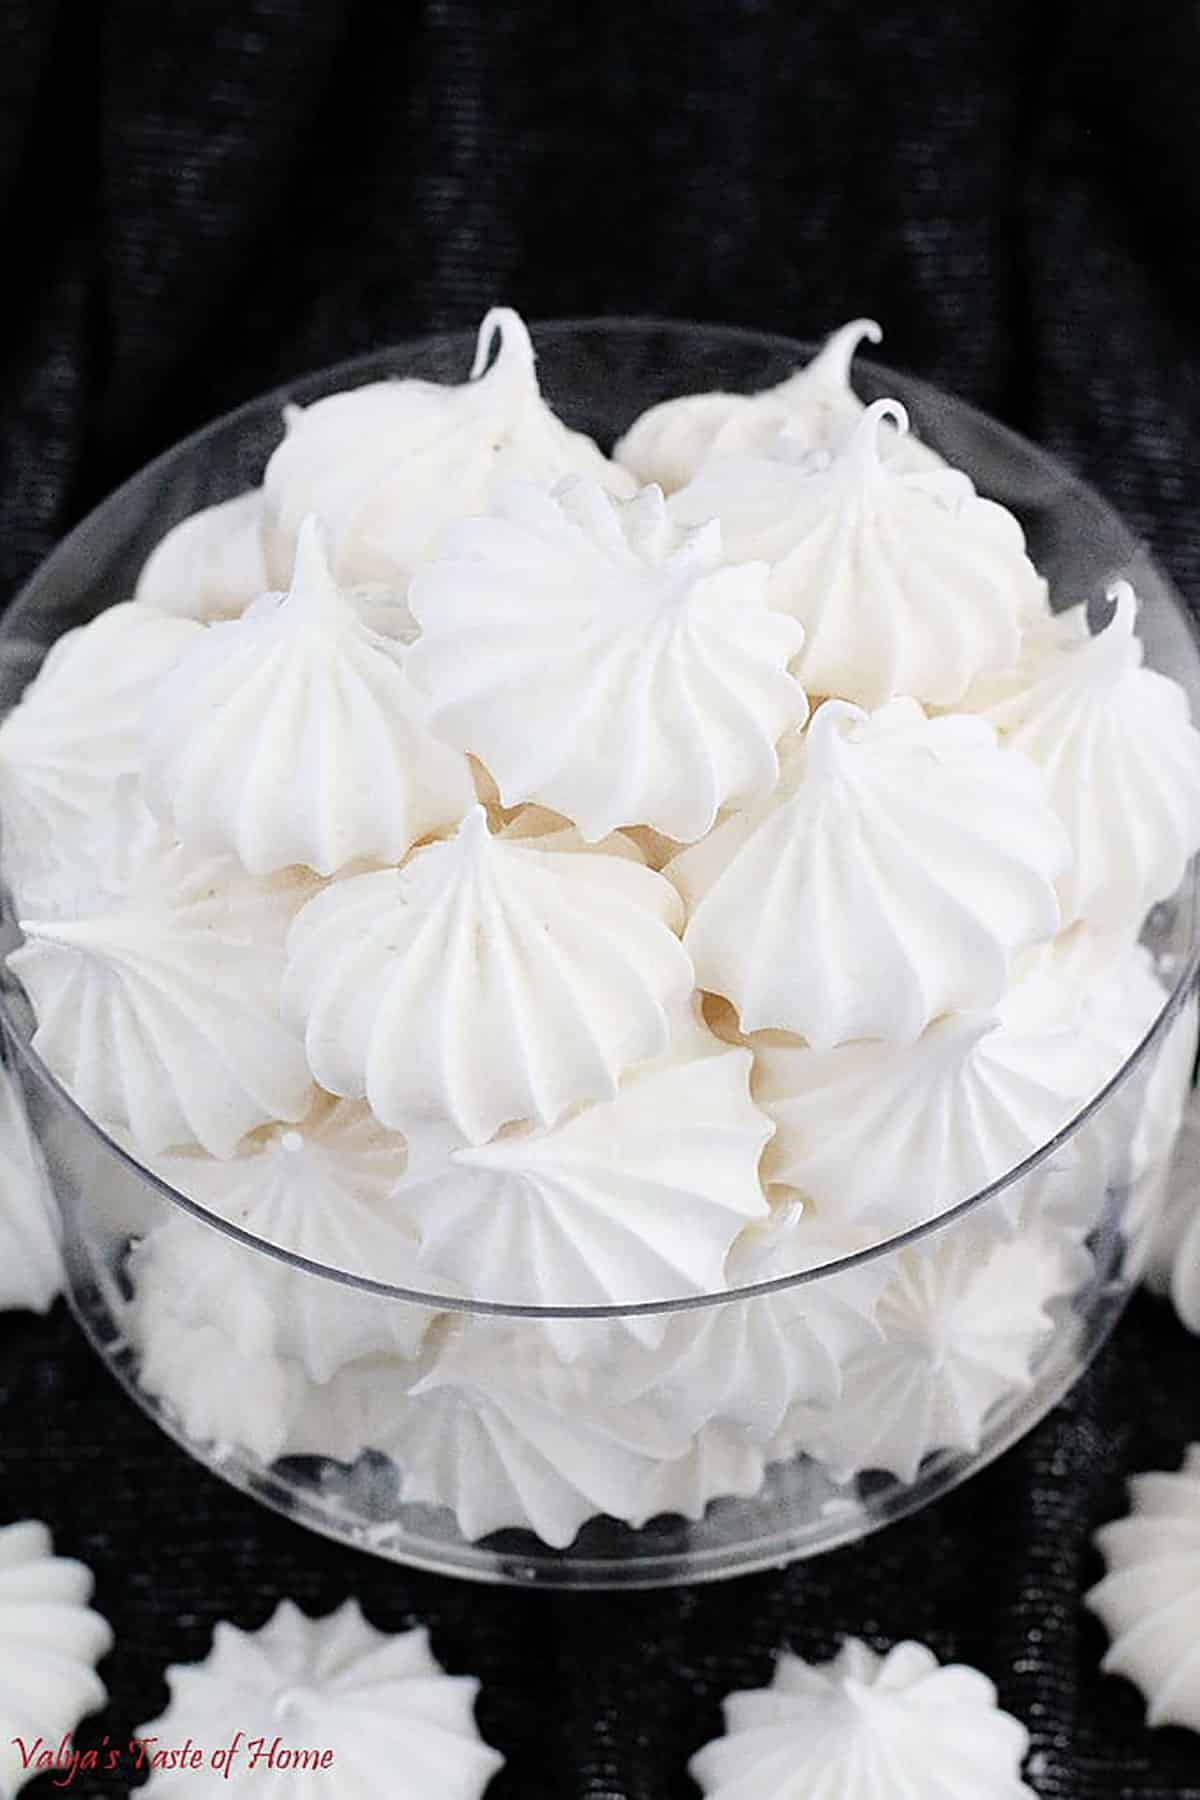
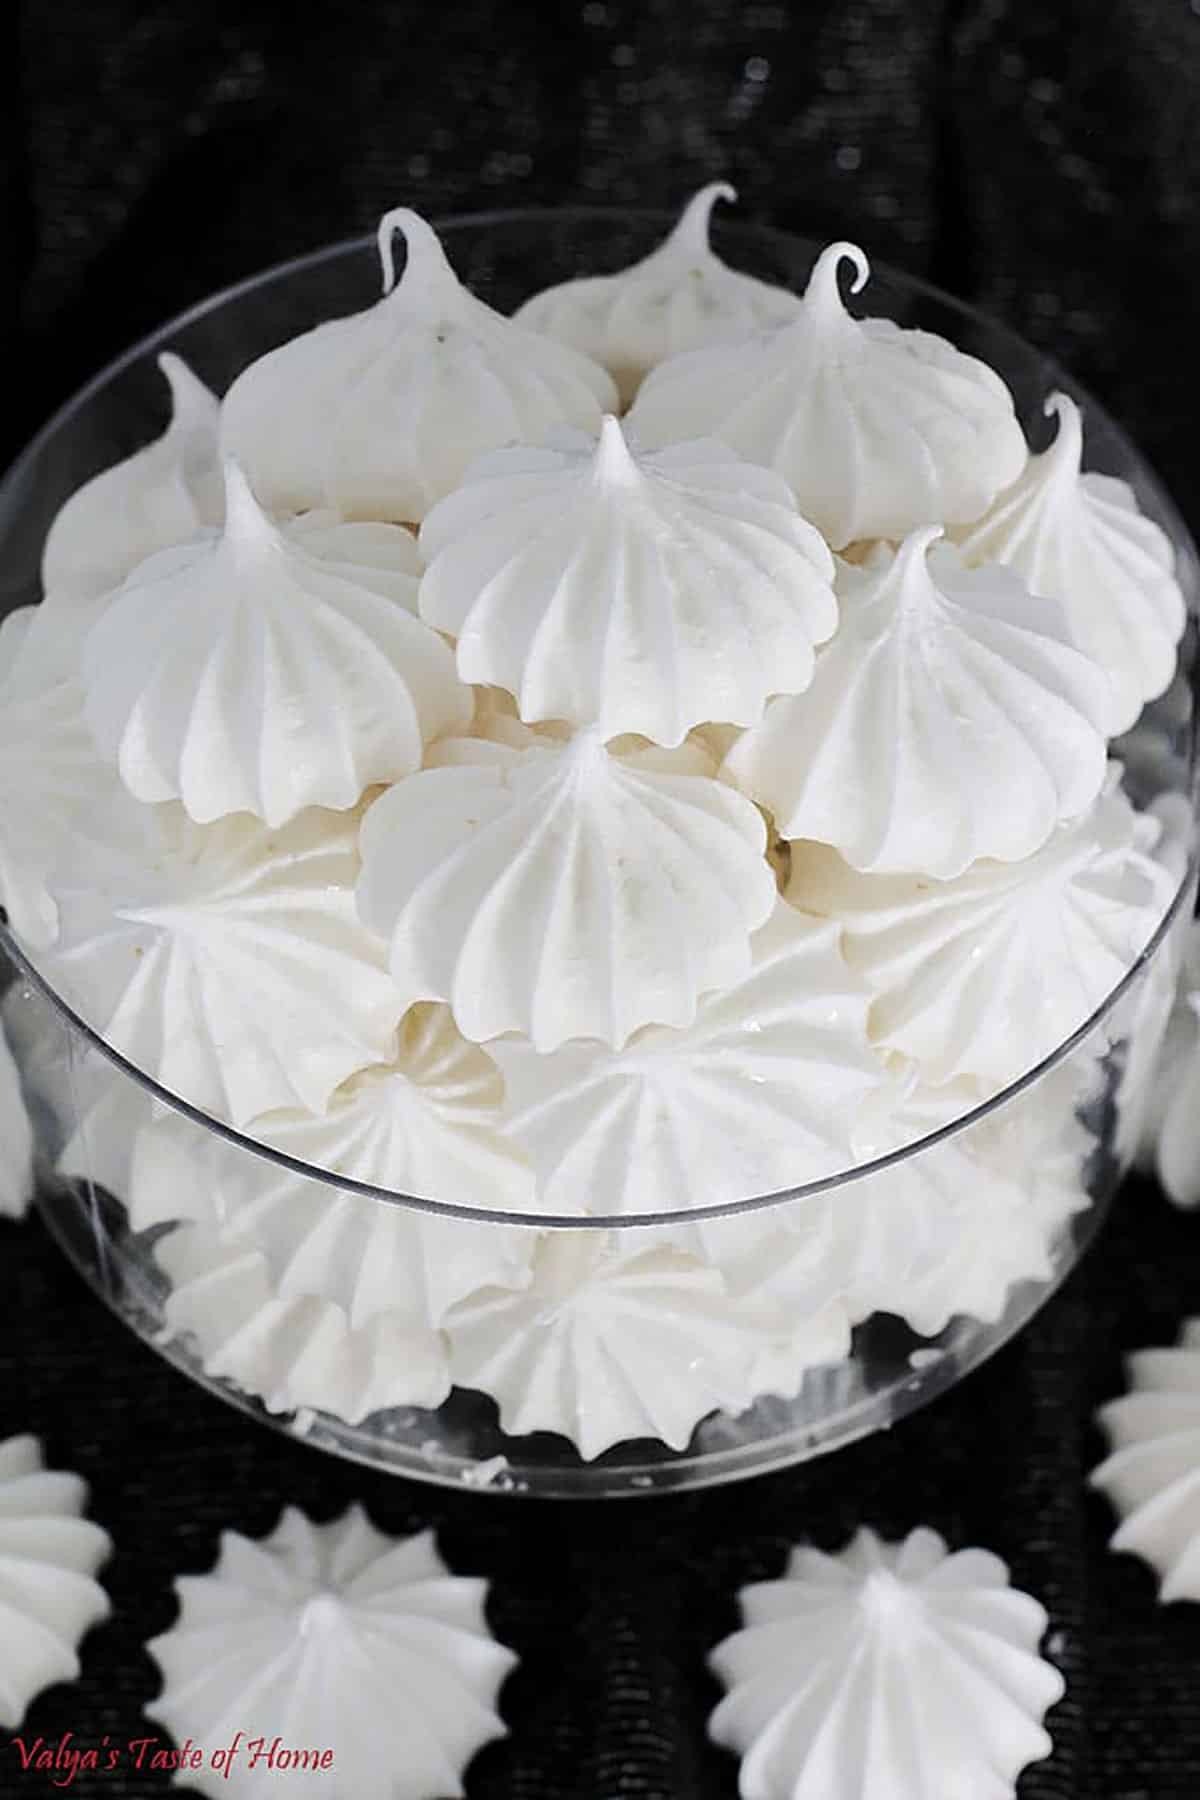
Looking for a sweet, light and crisp treat to add to your holiday cookie plate? Then these Christmas Meringue Cookies are just what you need. They're light, perfectly sweet, and look absolutely perfect for the holidays, especially Christmas!
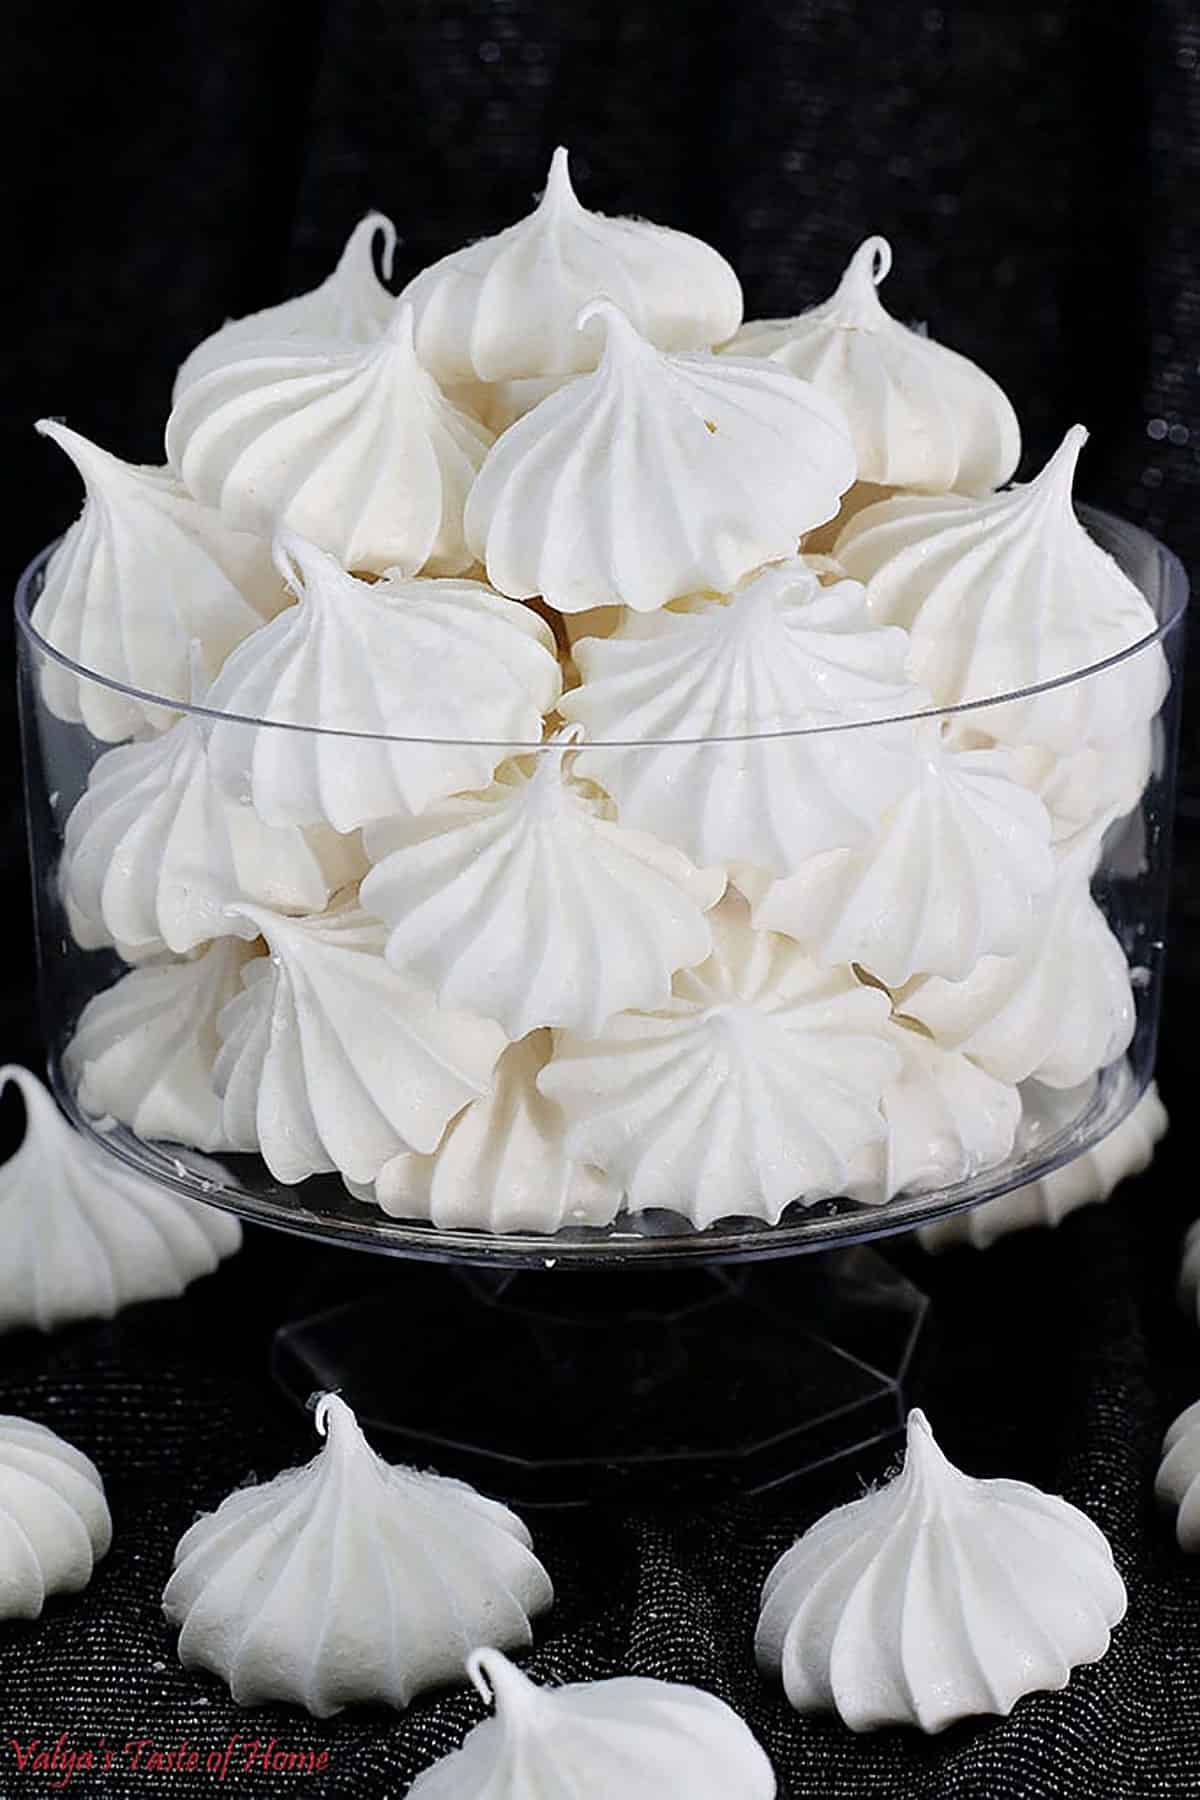
The delicate crunch of the meringue, the subtle sweetness of the baker's sugar, and festive sparkle of white glitter combine to make a cookie that's absolutely delicious!
What’s more is that the flavor is perfectly balanced, not too sweet, and the texture is just right, crisp on the outside with a melt-in-your-mouth interior.
With the sparkly edible glitter, they shine and stand out from the crowd. They’re airy, crispy, and melt in your mouth with each bite.
Not only do kids absolutely love these but so do adults. They are seriously crowd pleasers that tend to win everyone over instantaneously.
Not only are they fantastic for any occasion, but they’re particularly lovely for Christmas. If you are putting together a holiday cookie exchange or a dessert tray, they will add a beautiful and elegant touch to your presentation.
For a more color theme, add some gel food coloring and they’ll be gone as soon as they hit the table. Kids absolutely adore these bite-sized treats.
Want to learn how to make these delicious and beautiful Meringue Cookies? Then keep on reading!
Table of Contents
- What are Christmas Meringue Cookies?
- What Makes This Meringue Cookies Recipe Special?
- What You Need to Make Meringue Cookies at Home
- How to Make Meringue Cookies (Step-by-Step)
- Tips for Making the Best Christmas Meringue Cookies
- Serving Suggestions
- Variation Ideas for Christmas Meringue Cookies
- Frequently Asked Questions
- How to Store Leftover Meringue Cookies
- More Cookie Recipes You'll Love
- Recipe Card
- Christmas Meringue Cookies (Beginner Friendly Recipe)
- Comments
What are Christmas Meringue Cookies?
Christmas meringue cookies are deliciously light and airy cookies that are made from whipped egg whites and sugar that are then baked to perfection. They're usually made and served for Christmas and have a beautiful festive look.
They are perfectly sweet, crispy, and delicious in every bite and melt beautifully in your mouth. What’s best is that they are even gluten-free!
The taste of these cookies is simply heavenly, with a light, airy texture and a sweet flavor that's just right. It is like having a little piece of Christmas in every bite!
Plus, these cookies make a beautiful addition to any holiday cookie plate or a thoughtful homemade gift for loved ones.
As tasty as these delicious cookies are, they can sometimes be tricky to make. And that’s why my recipe is here to save the day! You’ll end up with perfect cookies every single time once you follow the instructions in my recipe!
What Makes This Meringue Cookies Recipe Special?
- Easy to make: Don't be intimidated by the idea of making meringue cookies. This recipe breaks down the process into simple steps.
- Family-favorite: These sparkly meringue cookies are a hit with both kids and adults. The white glitter gives them a magical touch that is especially loved during the holiday season. Plus, they're gluten-free, making them a great option for those with dietary restrictions.
- Versatile: This recipe is versatile too. You can add flavor to these cookies by using peppermint or vanilla extract. You can even color them with green food coloring to make Christmas tree meringue cookies or sprinkle them with crushed candy cane for an extra festive touch.
- Crowd pleaser: These Christmas meringue cookies are not just delicious, they're also visually appealing. Their light, crisp texture and subtle sweetness make them a delightful addition to any holiday cookie plate. They're guaranteed to impress at your next Christmas party.
What You Need to Make Meringue Cookies at Home
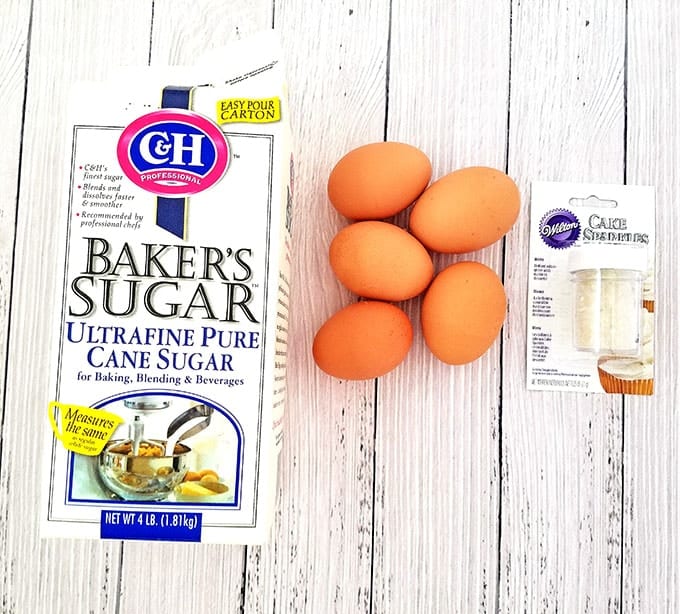
All you need are four simple ingredients to make these incredible meringue cookies at home. Let’s look at each of these in more detail:
- Eggs: The eggs, specifically the egg whites, are the key ingredient in this recipe. They are whipped to stiff peaks to create the light and airy texture of the meringue cookies. Make sure they are at room temperature for easier whipping and better volume.
- Bakers Sugar: This fine-grain sugar dissolves more quickly than regular granulated sugar, making it perfect for meringue cookies. It sweetens the cookies and helps achieve a smooth, glossy meringue mixture.
- White Glitter: This is a fun and optional addition to make your meringue cookies sparkle and shine like a snowy Christmas day.
- Cream of Tartar: This ingredient is optional but helps stabilize the egg whites when you whip them, making it easier to achieve those stiff peaks required for meringue cookies.
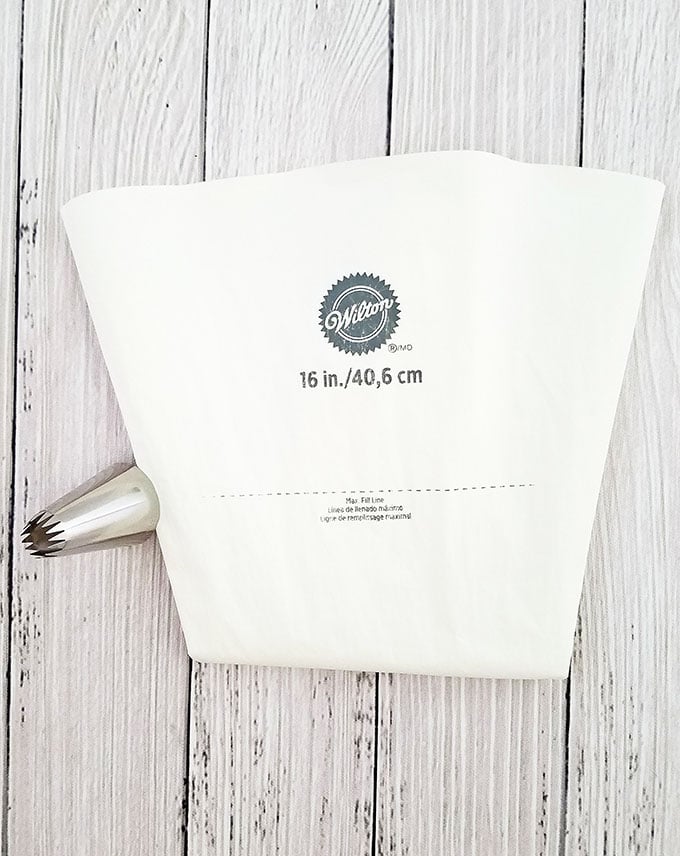
- Wilton piping bag: To be able to pipe our delicious meringue cookies, we’ll be using a 16-inch piping bag but you can use any that you may already have at home.
- Wilton piping tip: You’ll also need a large star tip to get the perfect and classic meringue cookie look!
- Parchment paper: We’ll also be lining our cookie sheet with parchment paper to prep the sheet and to also draw circles on it so that we get perfectly uniform meringue cookies that look stunning on the table when served.

How to Make Meringue Cookies (Step-by-Step)
Making these delicious Meringue Cookies is easier than you think, especially if you follow my recipe. Here’s what you need to do step by step:
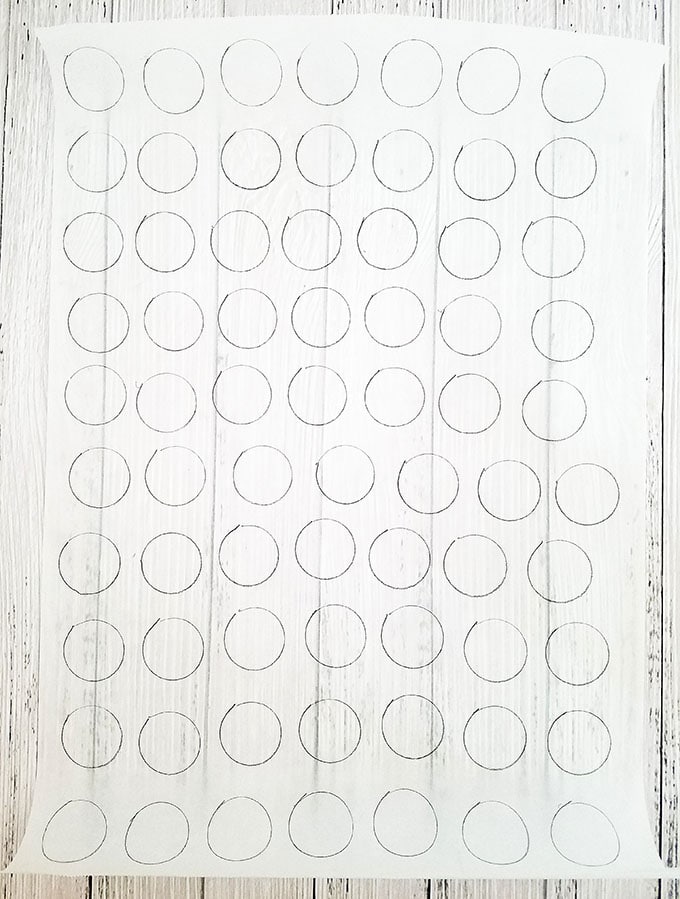
Step 1: Preparing Your Parchment Paper
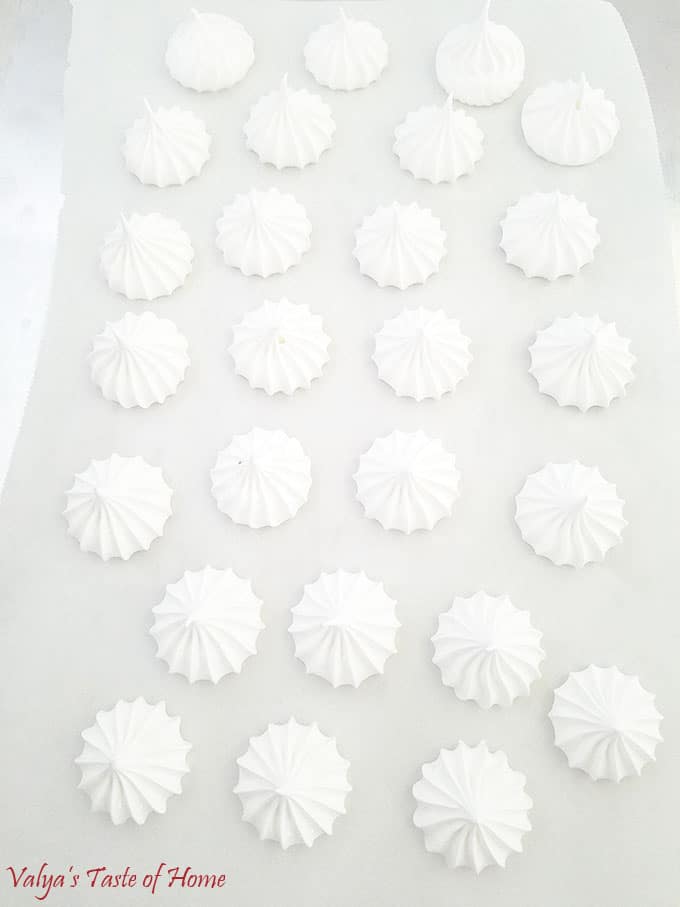
Before you start, you might find it helpful to draw one-inch circles on your parchment paper. This can act as a guide when it's time to pipe your meringue cookies.
However, this step isn't strictly necessary and can be skipped once you're comfortable with the piping process.
Step 2: Preheating the Oven
Next, it is time to preheat your oven. Set it to a low temperature of around 175 F (79 C).
Meringue cookies require slow, gentle baking to achieve their distinctive light, crisp texture.
Step 3: Preparing Your Tools
Grease is the enemy of a good meringue! Make sure all your tools are squeaky clean and dry before you start.
Some people even like to use white vinegar or lemon juice to wipe down their mixing bowl to guarantee that there's no residual grease.
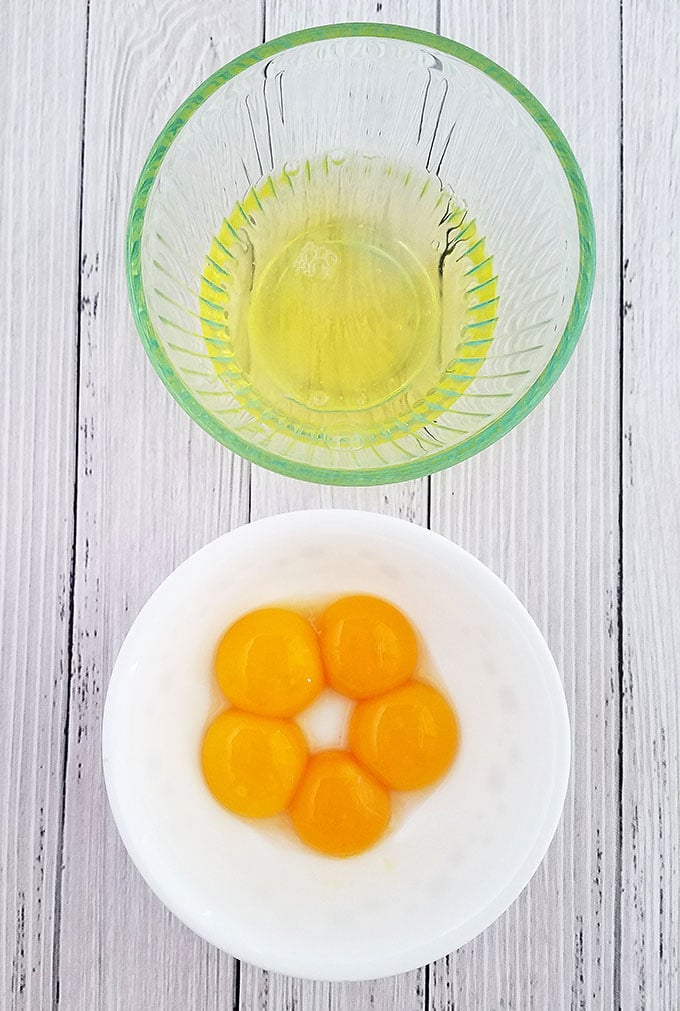
Step 4: Separating the Eggs
Next up, you'll need to separate your egg yolks from the egg whites.
It is absolutely crucial to keep the egg whites free from any yolk, as even a tiny bit can prevent your meringue from reaching stiff peaks.
Crack your eggs into a separate bowl when separating to avoid any mishaps.
Step 5: Making the Meringue Mixture
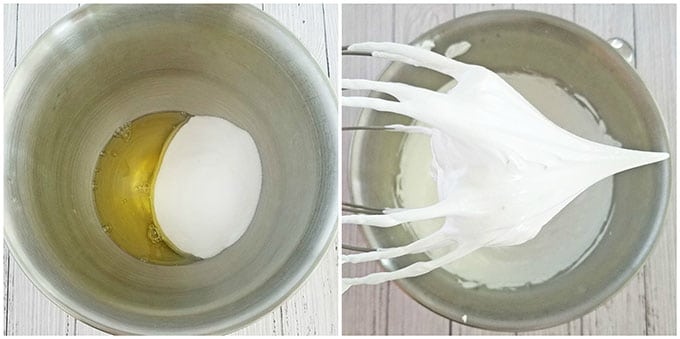
Now it is time to make the meringue. Place your egg whites and baker’s sugar into a stand mixer with a whisk attachment. Beat these together on a medium-high speed for a couple of minutes before adding cream of tartar.
Continue to beat the mixture for about ten more minutes on medium speed, until you achieve glossy, stiff peaks that hold their shape without falling.
Step 6: Piping the Meringue Cookies
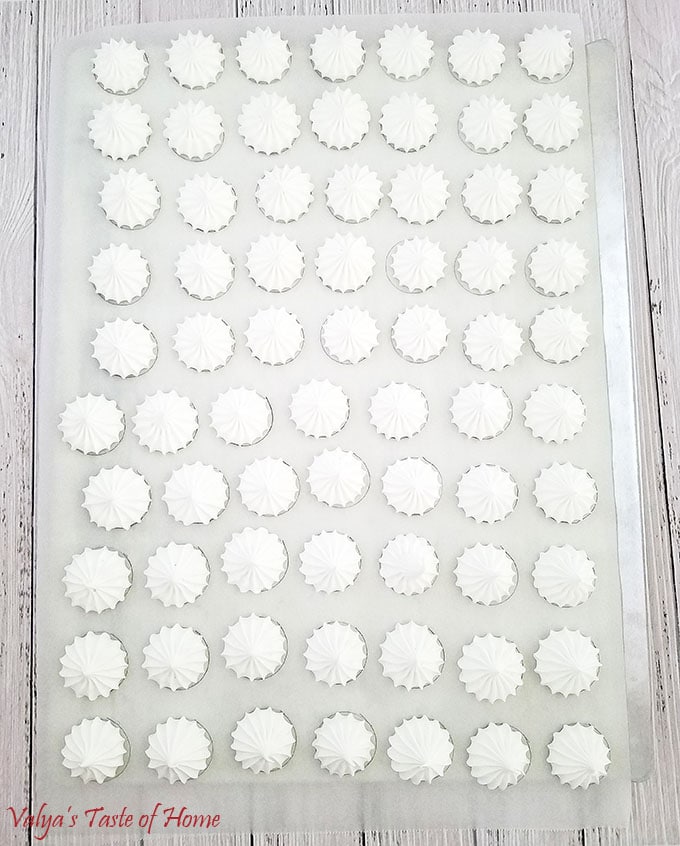
Fill your piping bag with the meringue mixture and pipe out cookies about one inch in diameter. For a festive touch, sprinkle some white edible glitter over your piped cookies.
Step 7: Baking the Meringue Cookies
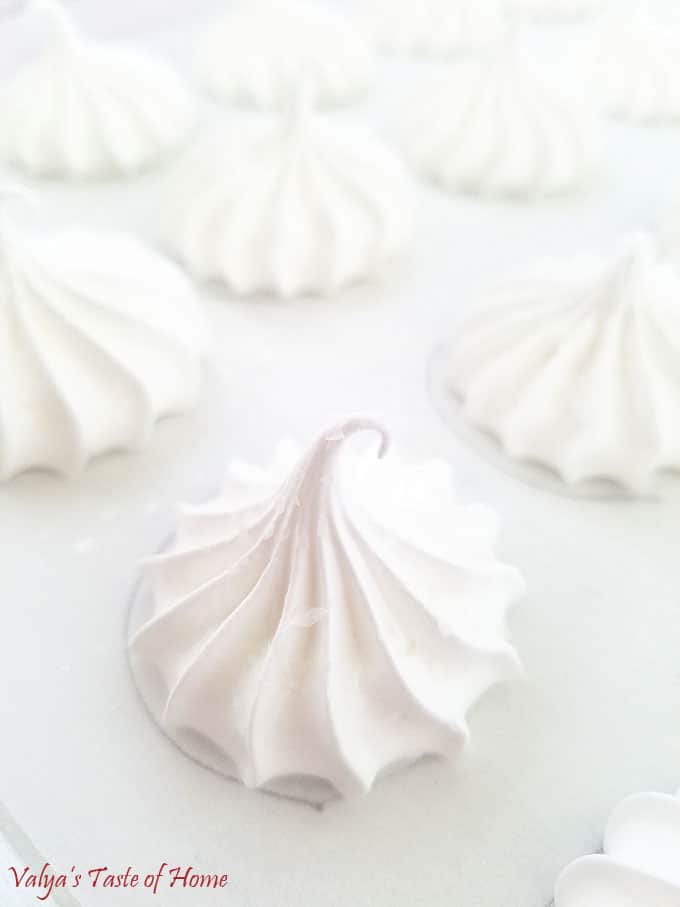
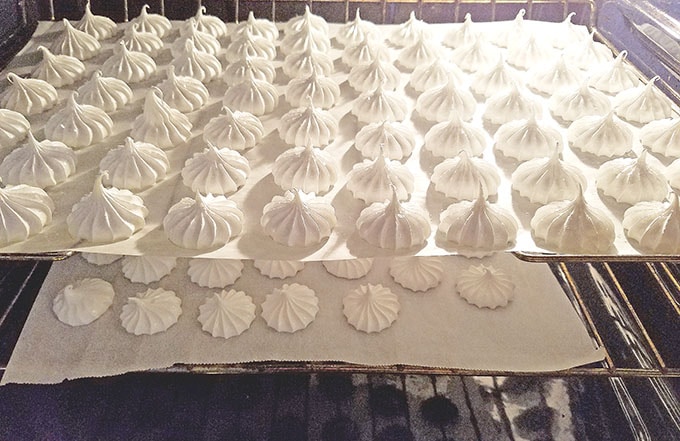
Using a flat baking sheet, transfer the parchment paper with your piped meringue cookies straight onto the oven racks. Bake your meringue cookies for around three hours at the same temperature you preheat your oven to (175 F/79 C).
Step 8: Cooling the Meringue Cookies
Once the cookies are done baking, turn off the oven but leave the cookies inside to cool. This step allows the cookies to crisp up as the oven dries out all the remaining moisture in the egg whites. Expect this cooling process to take about four hours.
Step 9: Serving the Meringue Cookies
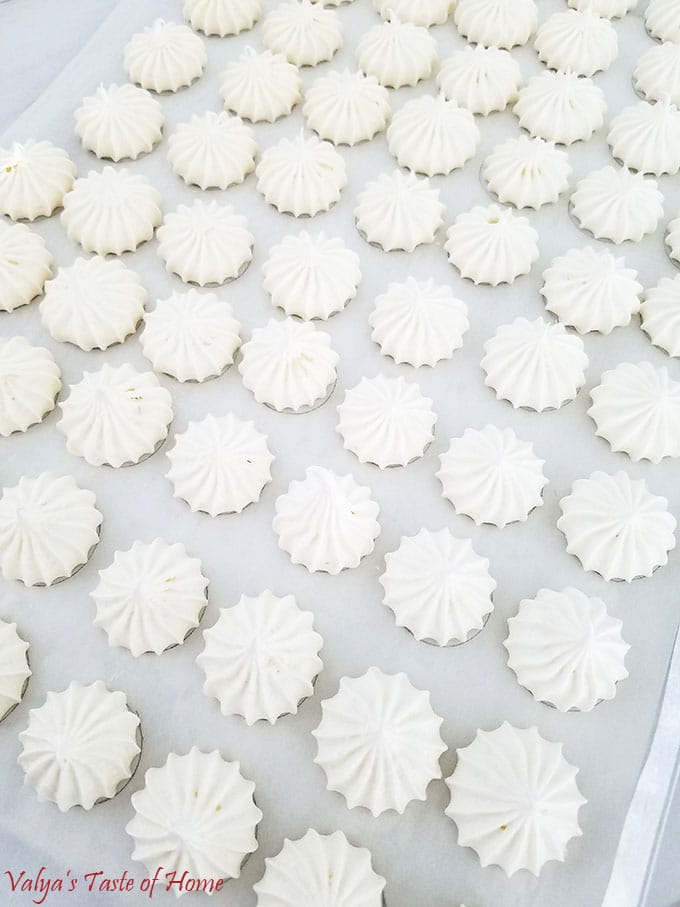
Finally, once your meringue cookies have cooled and crisped up, remove them from the oven. You're now ready to serve your delicious, sparkly Christmas Meringue Cookies. Enjoy!
Once done, remove from the oven. Your delicious, sparkly Meringue Cookies are ready to be served.
Tips for Making the Best Christmas Meringue Cookies
- Clean your tools thoroughly: Grease can ruin your meringue cookies. Be sure to clean your bowl, whisk attachment, and piping bag meticulously. Wiping them down with white vinegar or lemon juice can help eliminate any lingering grease.
- Be careful when separating eggs: When separating the egg whites from the yolks, it is crucial to make sure that no yolk gets mixed with the whites. Even a small amount of yolk can prevent your meringue mixture from forming stiff peaks. Always crack your eggs into a separate bowl to avoid this.
- Beat until stiff peaks form: When using your stand mixer to whip the egg whites and sugar, it is important to beat until you achieve stiff, glossy peaks. This is the key to the perfect texture for your meringue cookies.
- Use a piping bag for uniform cookies: Filling a piping bag with your meringue mixture and using it to pipe out your cookies will guarantee that they are all the same size. This not only makes your cookies look more professional, but it also helps them bake evenly.
- Sprinkle with glitter for a festive touch: After piping, sprinkle your meringue cookies with white edible glitter. This will give your Christmas tree meringue cookies an extra festive sparkle.
- Bake low and slow: Meringue cookies need to be baked at a low temperature for a long time. This helps them dry out and become crisp, while also avoiding any browning.
- Let cookies cool in the oven: After baking, turn off the oven and leave the cookies inside to cool. This extra time in the oven helps the cookies become even more crisp and prevents them from becoming chewy.
Serving Suggestions
- Make your Christmas morning extra special by serving these sparkly meringue cookies with a glass of warm milk or a cup of hot chocolate. The contrast of warm beverage and the crisp meringue cookie will surely satisfy.
- These meringue cookies are a perfect addition to your holiday cookie plate. Pair them with traditional Christmas cookies like gingerbread or shortbread, and you'll have a festive and delightful dessert spread.
- For an elegant dessert option, serve these meringue cookies with a scoop of vanilla ice cream. The creamy texture of the ice cream compliments the crispness of the meringue perfectly.
- Add a pop of color to your Christmas party by serving these meringue cookies with a bowl of red and green M&M's or candy cane. The vibrant colors and different flavors will create a fun and festive dessert table.
- Why not turn these meringue cookies into a delicious dessert sandwich? Pipe a little whipped cream between two cookies for a light and airy treat.
- For a delightful afternoon tea, serve these meringue cookies with your favorite herbal or black tea. The sweetness of the cookie pairs wonderfully with the bitterness of the tea, creating a balanced flavor profile.
- These meringue cookies also make a great edible Christmas gift. Pack them in a decorative tin or box, add a festive ribbon, and you have a homemade, gluten-free gift that everyone will appreciate.
Variation Ideas for Christmas Meringue Cookies
These delicious and beautiful meringue cookies are absolutely perfect as is, but if you’re looking to customize them here are a few ideas for you to try out:
- Flavor: You can add some flavoring to change up the taste of your cookies! Try adding a teaspoon of vanilla extract, almond extract, or lemon extract to your cookies for a different flavor profile. You can even add a pinch of salt to bring out all the flavors.
- Color: If you want to make these for a themed party or occasion, you can add gel food coloring to the meringue batter and gently fold it in. This will allow you to have just about any colored meringue cookie you’d like!
- Chocolate: You can even make some chocolate meringue cookies by folding in some cocoa powder with a rubber spatula. Top them off with some chocolate chips for a beautiful touch.
Frequently Asked Questions
To pipe the meringue mixture, first, fill the pastry bag with the meringue. Then, pipe out cookies that are one inch in diameter on your parchment paper.
Separating the egg yolks from the egg whites is a crucial step in making meringue cookies. Even a tiny bit of egg yolk can prevent your meringue batter from forming the stiff peaks needed for these cookies.
You will know that your meringue mixture has formed stiff peaks when you lift the whisk attachment of your stand mixer, and the meringue holds its shape without falling down. This usually happens after about ten minutes of beating at medium speed.
Letting the cookies cool in the oven helps to dry out all the moisture in the egg whites. This step is crucial as it helps your cookies to crisp up, preventing them from ending up chewy.
How to Store Leftover Meringue Cookies
You can store these meringue cookies in an airtight container at room temperature for up to three weeks. It’s not recommended to store them in the fridge or freezer since the moisture will change the texture of these cookies and make them chewy.
More Cookie Recipes You'll Love
- The Easiest Chocolate Dipped Coconut Macaroons
- Pom-Pom Cookies Recipe
- Meat Grinder Cookie
- Mint Candy Cane Cookies
- Chocolate Cranberry Granola Clusters
Recipe Card
Christmas Meringue Cookies (Beginner Friendly Recipe)
Ingredients
For Christmas Meringue Cookies
- 5 large – eggs
- 2 cups – bakers sugar
- White glitter
- ⅛ tsp. – cream of tartar optional
- 16 " - Wilton piping bag
- 6 B - Wilton piping tip
- Parchment paper
Instructions
Step 1: Preparing Your Parchment Paper
- Before you start, you might find it helpful to draw one-inch circles on your parchment paper. This can act as a guide when it's time to pipe your meringue cookies.
- However, this step isn't strictly necessary and can be skipped once you're comfortable with the piping process.
Step 2: Preheating the Oven
- Next, it is time to preheat your oven. Set it to a low temperature of around 175 F (79 C).
- Meringue cookies require slow, gentle baking to achieve their distinctive light, crisp texture.
Step 3: Preparing Your Tools
- Grease is the enemy of a good meringue! Make sure all your tools are squeaky clean and dry before you start.
- Some people even like to use white vinegar or lemon juice to wipe down their mixing bowl to guarantee that there's no residual grease.
Step 4: Separating the Eggs
- Next up, you'll need to separate your egg yolks from the egg whites.
- It is absolutely crucial to keep the egg whites free from any yolk, as even a tiny bit can prevent your meringue from reaching stiff peaks.
- Crack your eggs into a separate bowl when separating to avoid any mishaps.
Step 5: Making the Meringue Mixture
- Now it is time to make the meringue. Place your egg whites and baker’s sugar into a stand mixer with a whisk attachment. Beat these together on a medium-high speed for a couple of minutes before adding cream of tartar.
- Continue to beat the mixture for about ten more minutes on medium speed, until you achieve glossy, stiff peaks that hold their shape without falling.
Step 6: Piping the Meringue Cookies
- Fill your piping bag with the meringue mixture and pipe out cookies about one inch in diameter. For a festive touch, sprinkle some white edible glitter over your piped cookies.
Step 7: Baking the Meringue Cookies
- Using a flat baking sheet, transfer the parchment paper with your piped meringue cookies straight onto the oven racks. Bake your meringue cookies for around three hours at the same temperature you preheat your oven to (175 F/79 C).
Step 8: Cooling the Meringue Cookies
- Once the cookies are done baking, turn off the oven but leave the cookies inside to cool. This step allows the cookies to crisp up as the oven dries out all the remaining moisture in the egg whites. Expect this cooling process to take about four hours.
Step 9: Serving the Meringue Cookies
- Finally, once your meringue cookies have cooled and crisped up, remove them from the oven. You're now ready to serve your delicious, sparkly Christmas Meringue Cookies. Enjoy!
- Once done, remove from the oven. Your delicious, sparkly Meringue Cookies are ready to be served.
Thank you for following me on Instagram, Facebook, and Pinterest!
The post may contain affiliate links. Read my disclosure.



Olga says
Hello Valya.
Thanks for sharing this recipe with us, i want to try it out tomorrow but didn't get it,so after turning the oven off let them sit for 4 more hrs or its the tottal time from start to finish? Merry Christmas and a happy blessed new year to your family!!a😊🎄💖
Valya's Taste of Home says
It is an additional 4 hrs. The meringue needs time to cool gradually otherwise the cookies will crack. I hope it helps.
Dana Rodriguez says
Those are almost too pretty to eat. Thanks for the recipe. I pinned it!
www.valyastasteofhome.com says
You are very welcome and thank you for pinning! ?
Tanya says
I tried a batch of these today with adding pink coloring to them, they taste yummy, the only thing I was wondering if u know why mine cracked a bit the ones that were at the bottom layer, the layer were all good. Maybe the cream stayed out too long? Or maybe I had to use convection mode on them? What do u think the cause is or what can I do to avoid them from cracking the bottom layer.?
Thank you in advance...
www.valyastasteofhome.com says
Convention setting helps to spread even temperature throughout the oven. It could be that the temperature on the lower rack was too high.
Tanya says
I have figured out the problem, I set them on convection oven mode and they don't crack while baking. Very yummy and love that they can be made ahead ???
www.valyastasteofhome.com says
That is so awesome! I'm glad you figured it out.? Oven differs from the oven, so sometimes the recipe needs just a bit of tweaking! Thank you for sharing your experience with me! ☺
Nadya says
They look adorable Valya! Love these cookies. Thank you for the recipe!
www.valyastasteofhome.com says
You are very welcome! Enjoy! ?