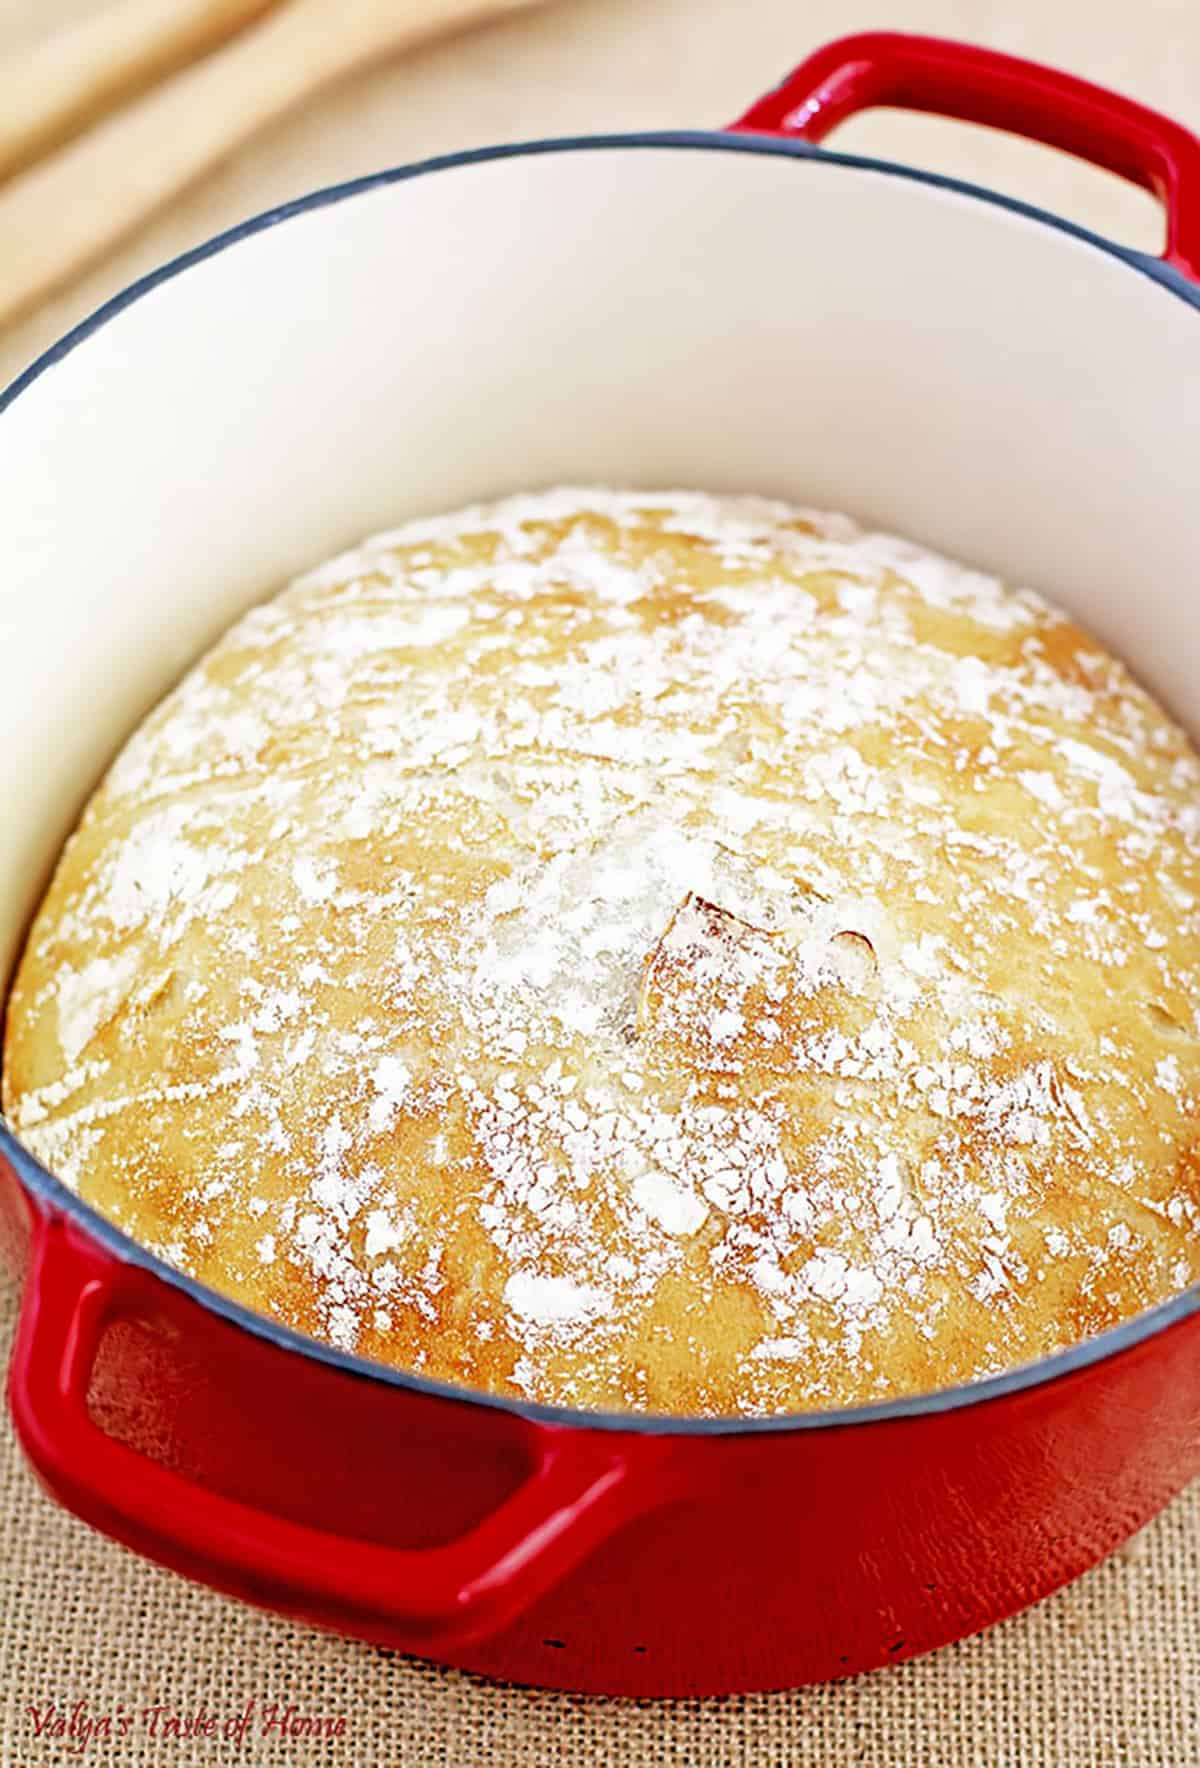
The Perfect Crusty Bread Recipe (Made in a Dutch Oven)
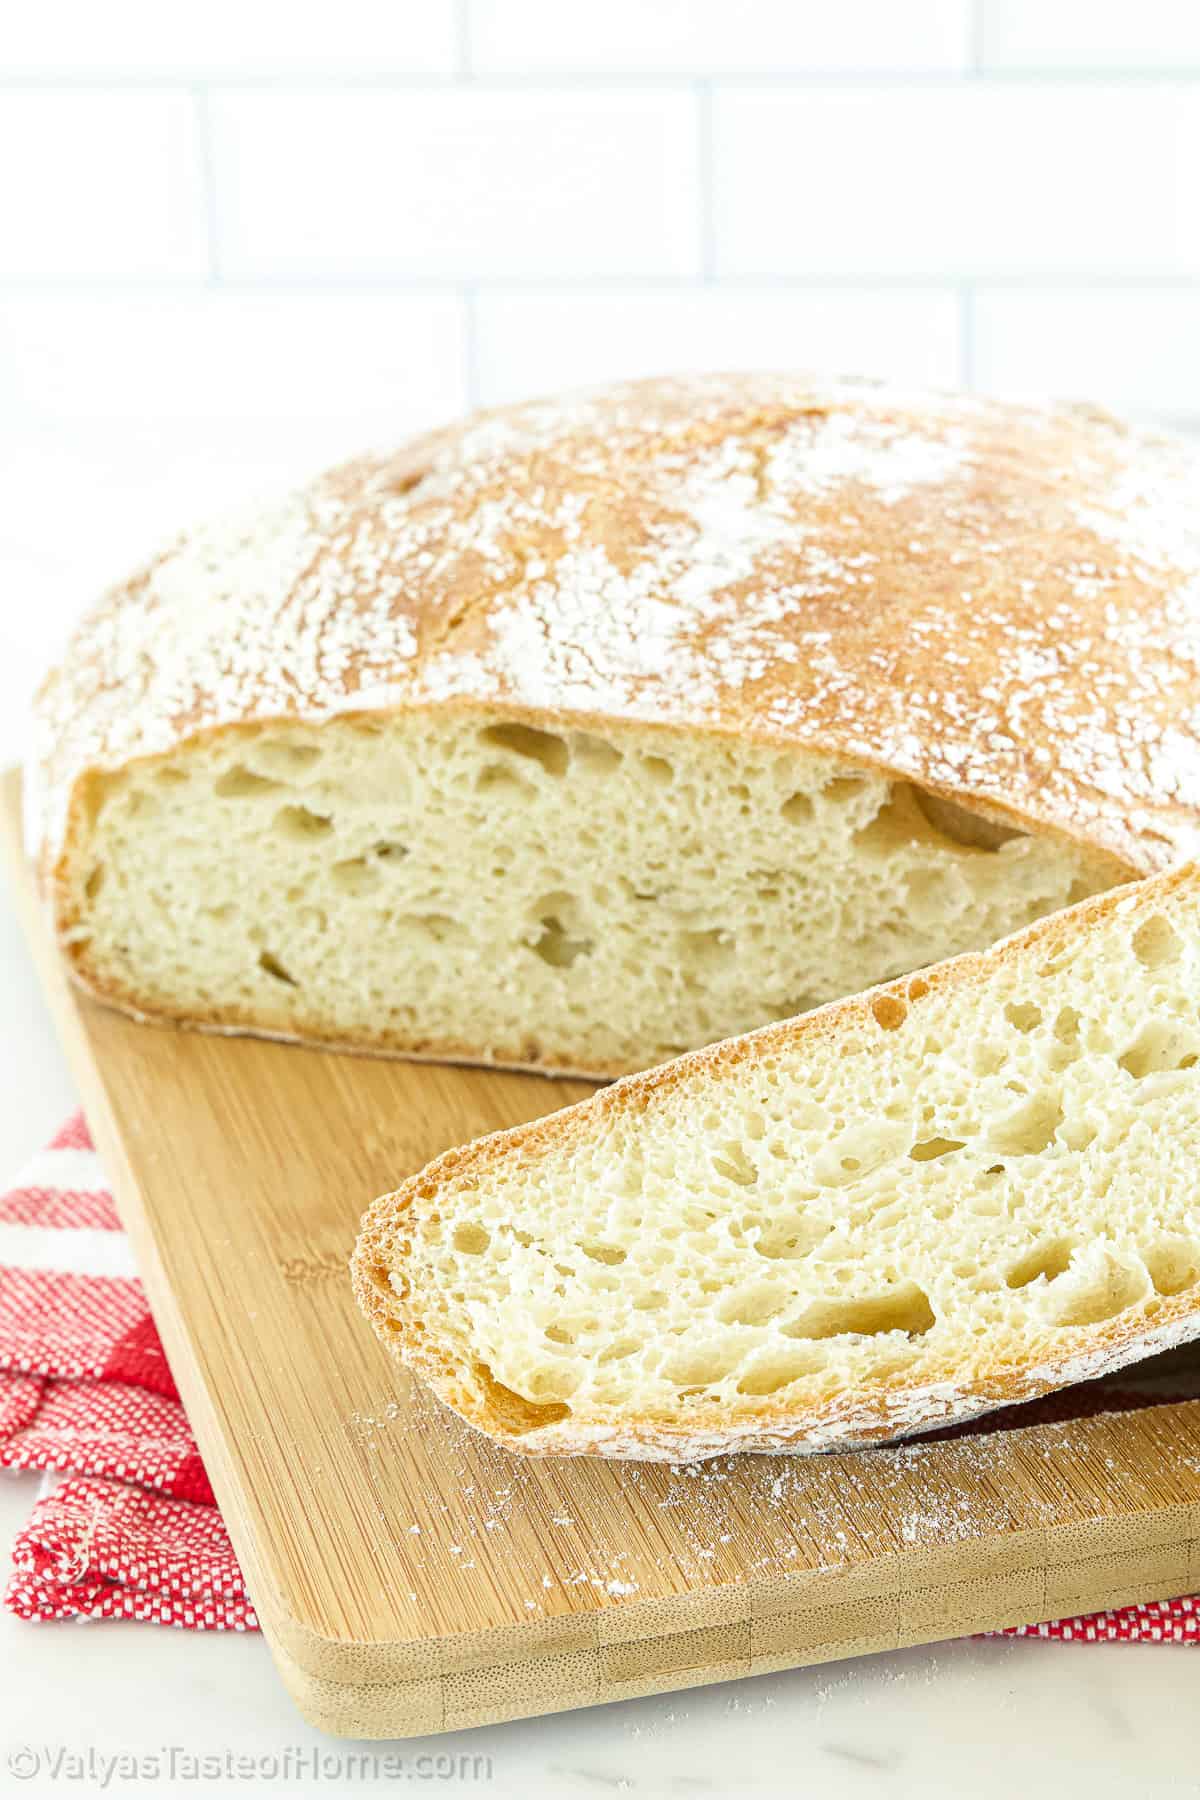
This Crusty Bread Recipe will give you the most delicious homemade bread that’s crusty and has a chewy crust, but a soft and delicious interior.
It’s the perfect bread recipe for any beginner to try, but will even satisfy seasoned bakers looking for their next favorite bread recipe.
With a flavor that’s simple but classic, you can enjoy this delicious Crusty Bread with some soup or even have it on its own with some butter. It’s a family favorite here, and I’m sure yours will love it too.
Want to learn how to make this delicious Crusty Bread Recipe? Then keep on reading!
What Is A Crusty Bread?
Crusty bread is simply any bread that has a soft interior and a crunchier exterior. It’s not necessarily sweet, although some varieties are.
And it doesn’t always need to be made into sandwich bread. Some crusty bread are baked right out of the oven, while others are baked in loaf pans or Dutch ovens.
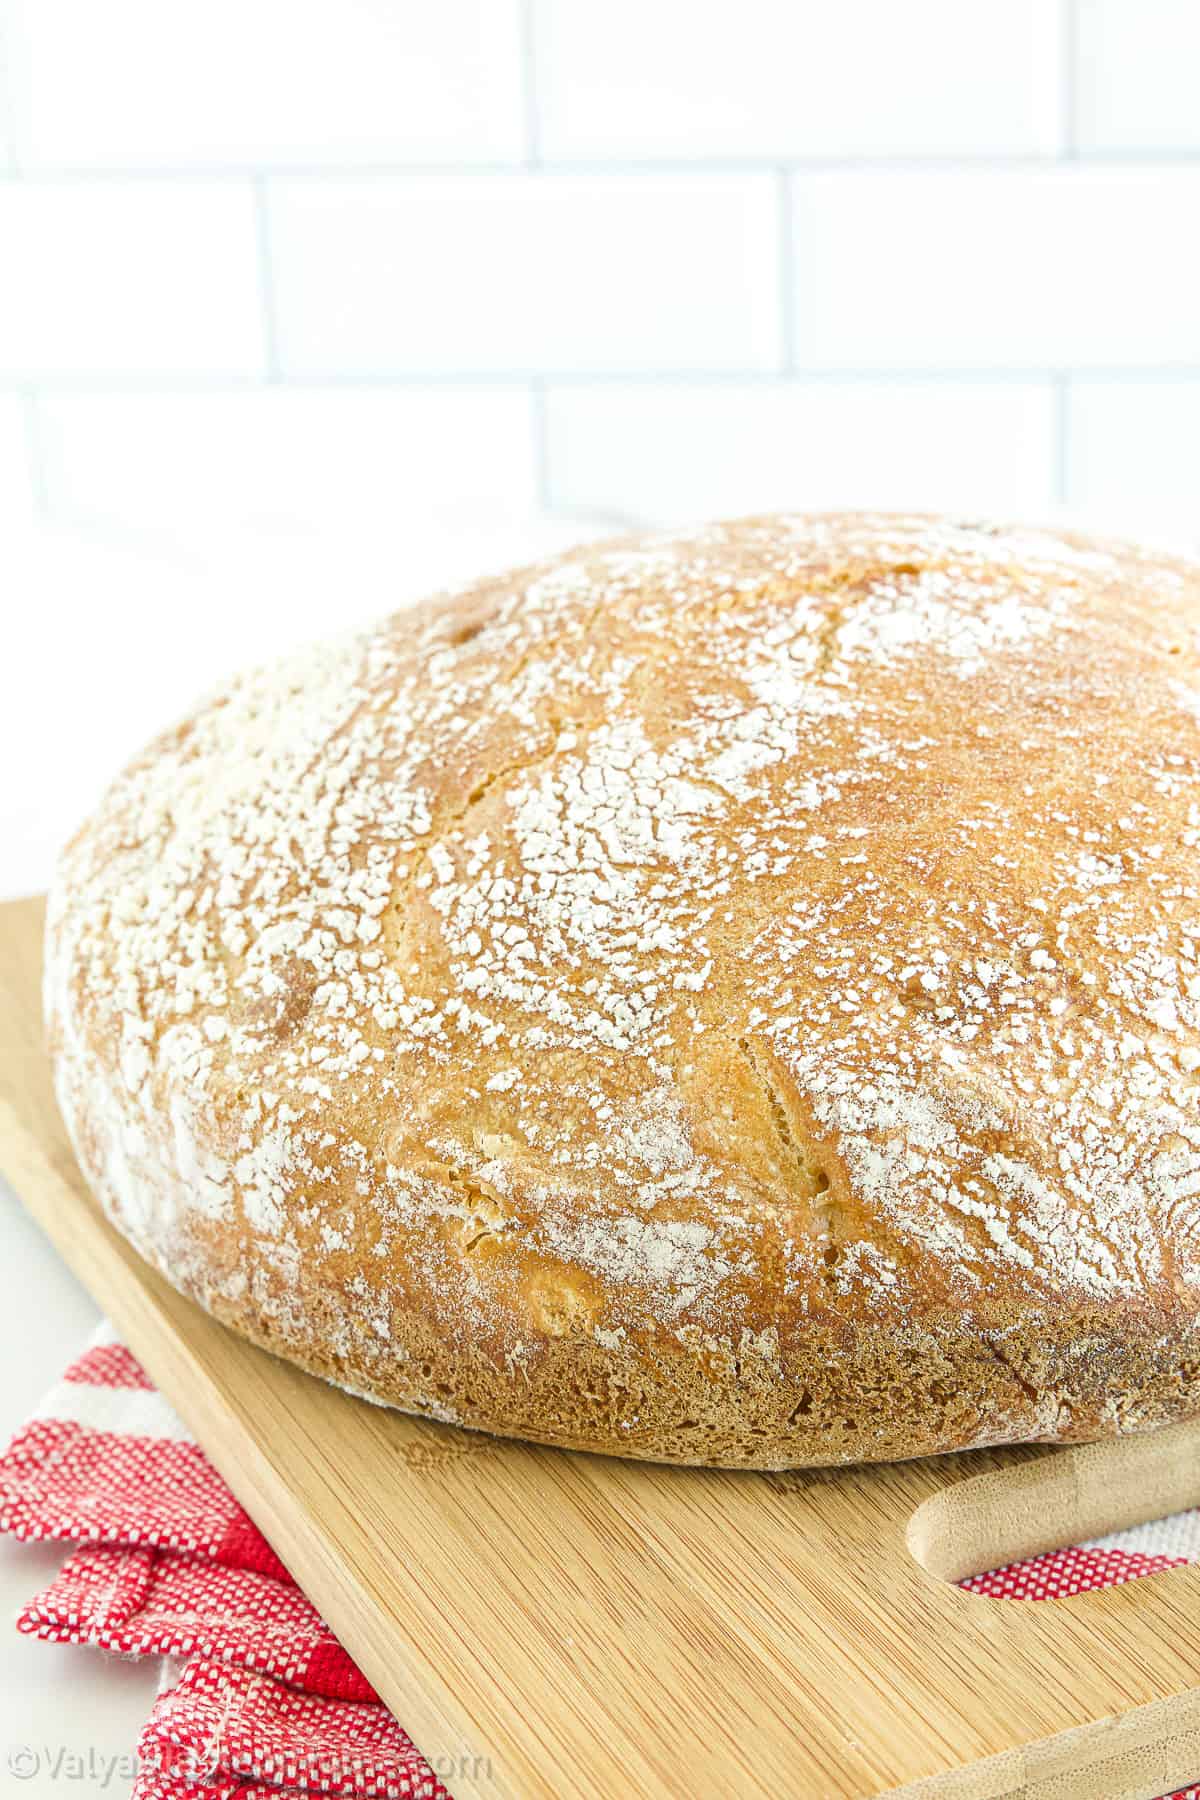
It usually comes out of the oven looking kind of brownish and crusty. Some come out of the oven looking golden brown while others may even be dark brown.
These types of crusty breads are very popular among bakers because they are delicious and pretty easy to make. They are also perfect for sandwiches.
What Makes This Crusty Bread Recipe Special
Crusty bread is one of those things that we all love but never really know how to make. We’ve seen recipes online, but they’re usually just too complicated for us to follow. But now I’m going to show you how simple it is to make crusty bread!
Bread making is a kind of art, I would say. There’s a certain kind of feeling of satisfaction you get when your work turns out into a fantastic loaf of bread that everyone enjoys.
Beautiful and wonderful tasting. Making this absolutely delicious and unique Dutch Oven White Crusty Bread Recipe in a cast iron pot is fairly simple.
A Dutch oven isn’t the first thing that comes to mind in bread making, but this piece of an “oven in a pot” is wonderfully versatile.
I think everyone loves a good crusty bread, especially after having a long day at work. It’s great for breakfast, lunch, dinner, or snacks. Plus, it’s very versatile. You can have it plain, or you can load it up with anything you like.
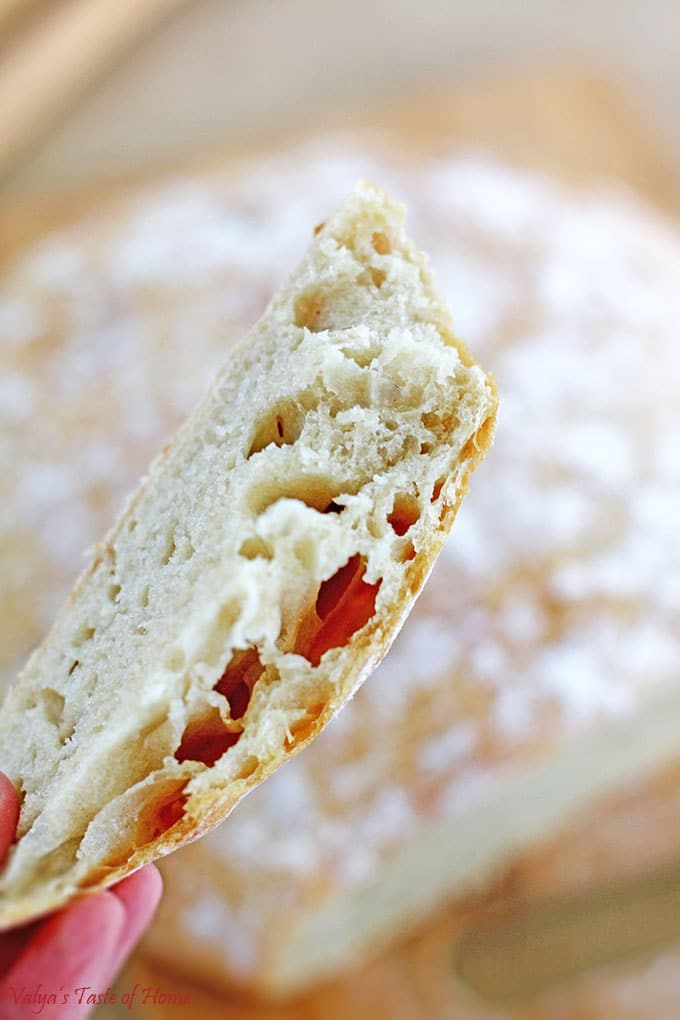
Finding a great loaf of bread that the whole family loves is a great score. Imagine making it yourself? Homemade, oven-fresh, and delicious. I like this bread crusty on the outside, light, fluffy, and kind of airy and chewy on the inside.
This bread is hard to describe but absolutely scrumptious. I would say the texture and taste are somewhere between Costco’s long baguette and Torta bread. Fantastic for sandwiches or to be enjoyed by itself.
I begin making this bread the night before, giving it time to ferment and develop into that amazing goodness the family adores, and then baking it in the early afternoon so it has enough time to cook for dinner. It goes great with just about anything.
Or simply with a little butter and a cup of coffee, which seems to be the favorite way it is enjoyed at my house. It is also eaten plain just because it’s an incredible bread.

What You Need to Make this Crusty Bread Recipe at Home
Making this Crusty Bread at home is the perfect recipe for beginners! It’ll give you beautiful, artisan bread with a chewy crust. Here are the ingredients you’ll need to make it:
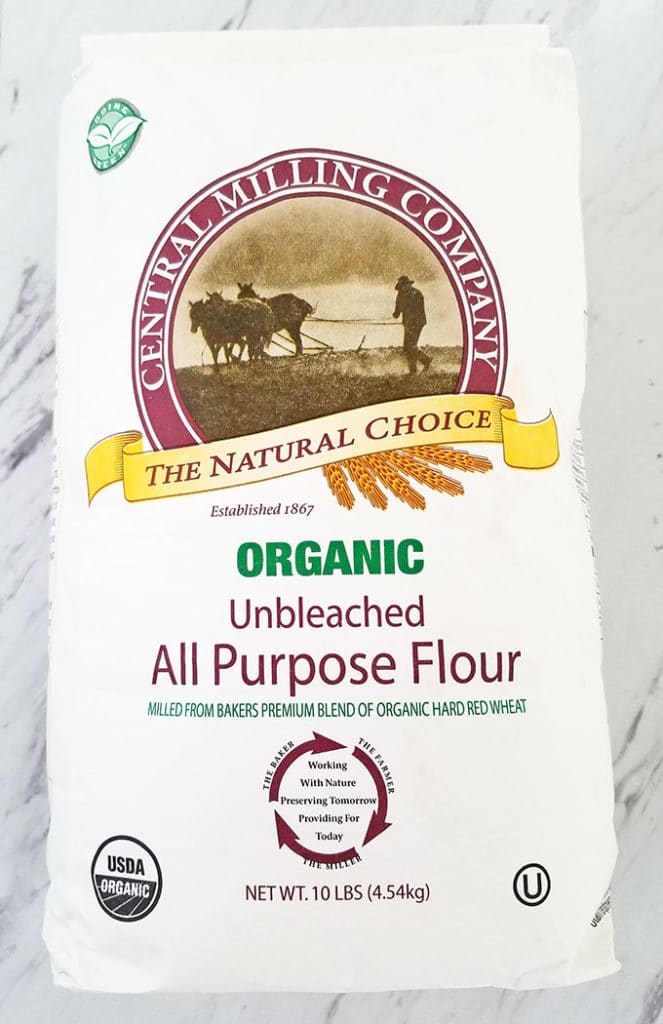
- All-purpose flour: All you need is some basic all-purpose flour to make this crusty white bread. No need for any bread flour at all!
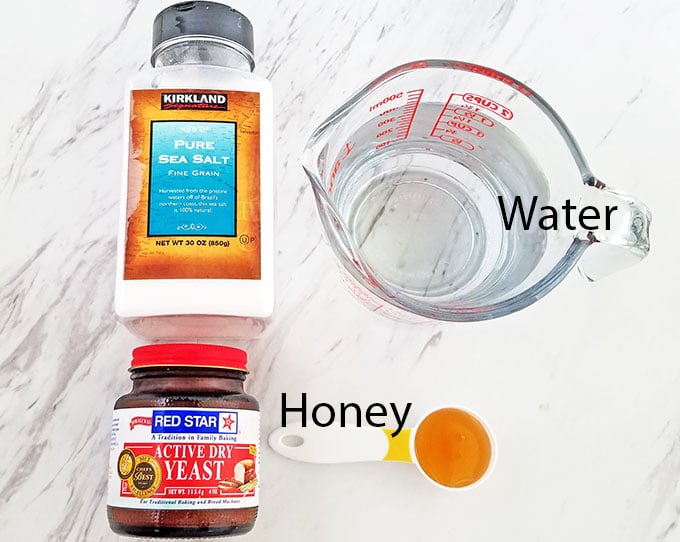
Sea salt: We’ll need some sea salt or kosher salt to add the right level of flavor to our delicious bread so that it goes with just about anything:
Warm water: Another ingredient we’ll need is water. It needs to be lukewarm water in this recipe and it’s important that it’s warm. The temperature of the water must be between approximately 95 to 105 degrees Fahrenheit (35 to 40 degrees Celsius), as anything warmer will kill the yeast. This will be water that feels tepid to the touch.
Honey: You’ll also need some honey to activate the yeast and give it something to eat. It also helps to make the bread softer as some of the water will be absorbed by it and it slows down the formation of gluten strands.
Active dry yeast: We’ll be using some active dry yeast in this recipe to get the most delicious crusty bread you’ve ever tried!
How to Make Crusty Bread (Step-by-Step)
Making this bread is super simple for beginners and more experienced bakers. To make things simple, this recipe has been broken down into two days. Here’s what you need to do step by step:
What to do to Make Crusty Bread Recipe on Day 1
To start off, combine yeast, honey, and water.

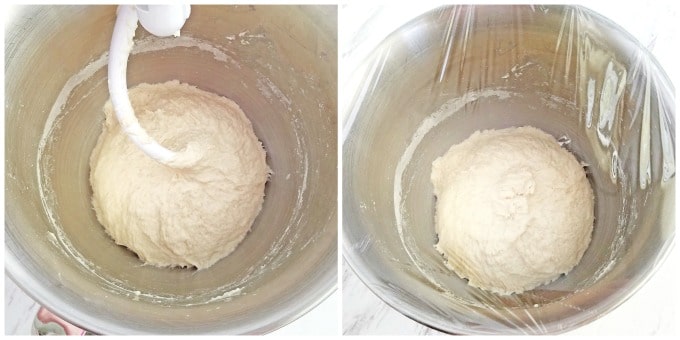
Next, sift the flour into the stand mixer bowl, add salt, and pour in the yeast mixture. Using the mixer’s dough hook attachment knead the dough for a couple of minutes until the liquid combines well with some flour.
Then scrape down the sides and bottom of the mixer bowl with a silicone spatula to mix in all of the flour.
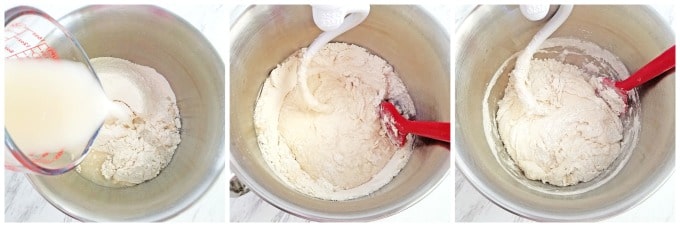
Continue kneading for 5 more minutes or until all the flour is incorporated. The dough will be very sticky (this is why a silicone spatula is a lifesaver).
Cover the bowl with plastic wrap or transfer it into another large bowl and then cover it. Puncture 3 holes for the dough to breathe, and let it sit at room temperature on the countertop for 12 to 15 hours to rise.
What to do to Make Crusty Bread Recipe on Day 2
Start by preheating the oven to 450 F. (235 C).
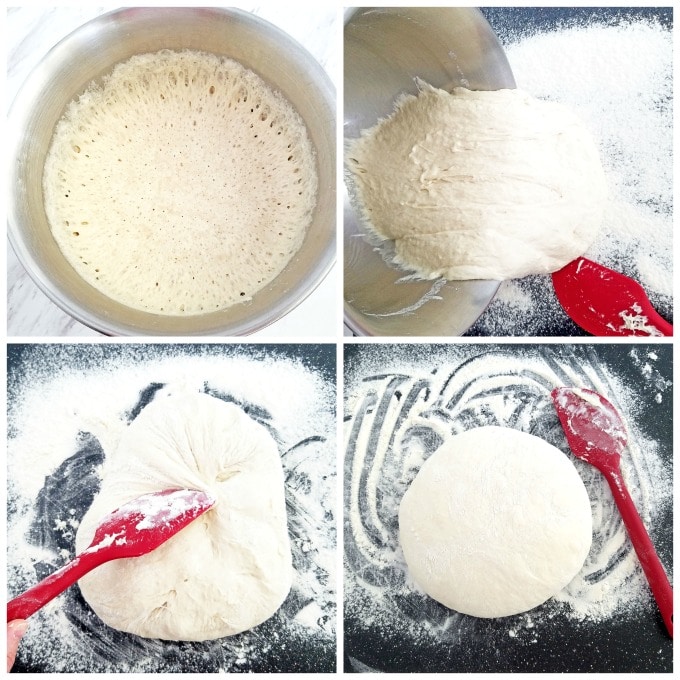
Use a silicone spatula to scrape down the dough off the sides and bottom of the bowl.
Transfer the dough onto a well-floured surface with the help of the spatula and shape it into a sphere. When shaping the dough, make sure to fold it over on itself several times until it feels tight and starts to resist folding.
How to Bake Crusty Bread
Sprinkle some flour on the bottom of your cast iron (mine is a 5 quart).
Transfer the dough into the pot.
Cover the cast iron pot with the lid and bake it in the oven on the middle rack for 30 minutes. Remove the lid from the pan and bake the bread for an additional 15 minutes.
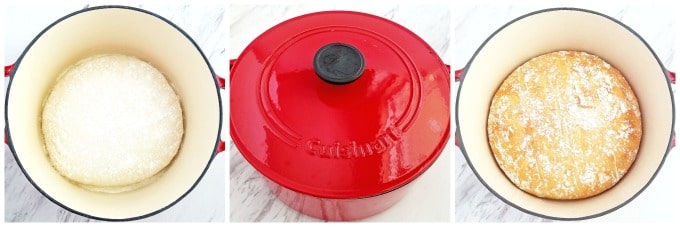
Remove the bread from the oven and let the bread sit in the Dutch oven for 15 minutes.
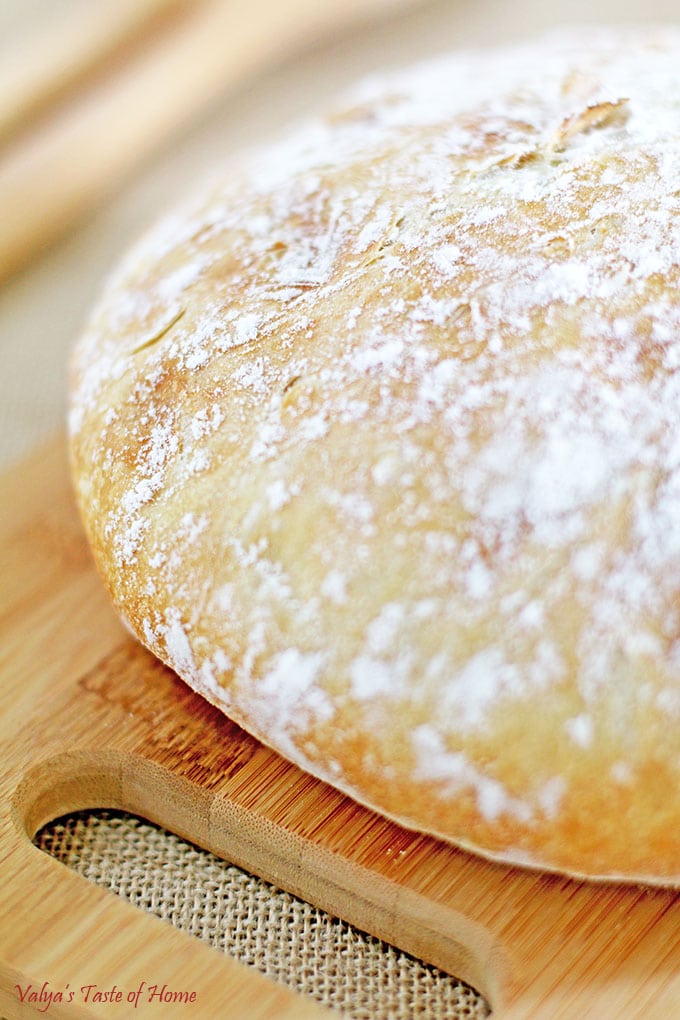
Let me cool completely before slicing with a sharp knife. Your delicious homemade crusty bread is ready to be served! It’s great served with some soup or stew.
What You Can Have With Crusty Bread
You can eat crusty bread plain, or you can stuff it full of whatever you like.
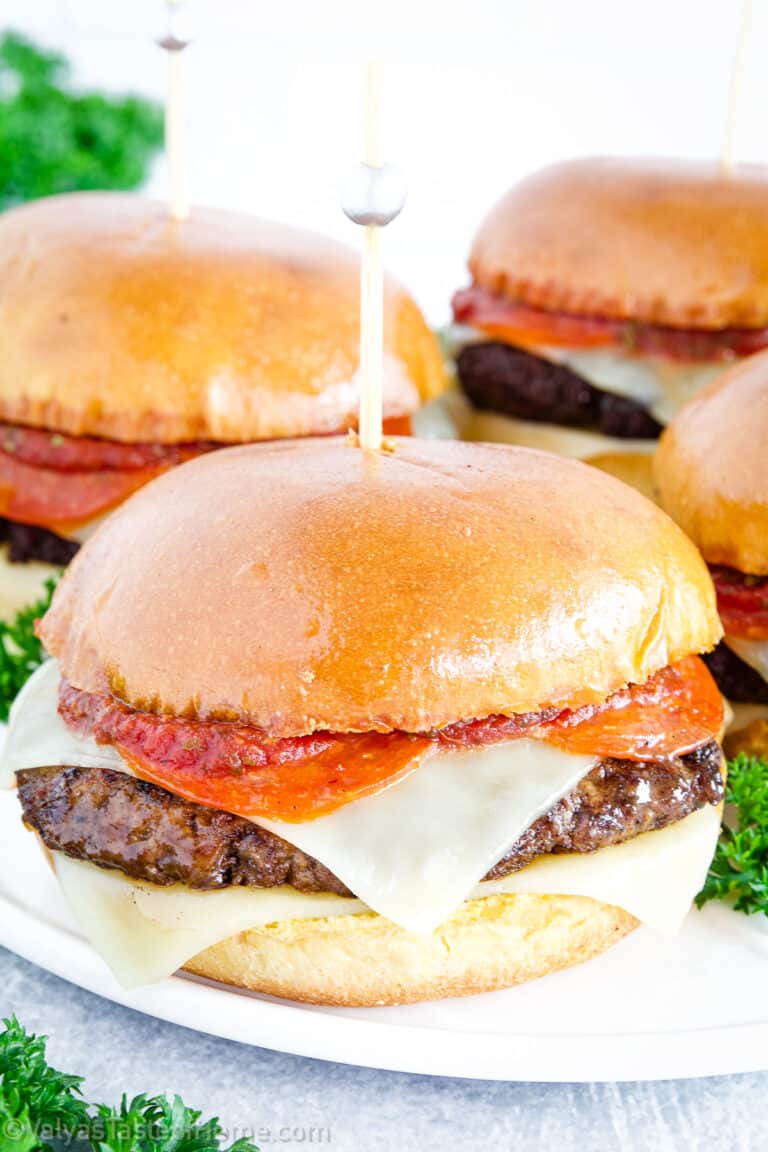
Try spreading butter on top, then sprinkling brown sugar on top of that. Then, drizzle some honey over the top. Next, cut slices off the loaf and serve them with jam. They’re perfect for breakfast sandwiches, or even dessert.
Why Does My Bread Dough Seem Too Wet?
The dough should feel quite wet, sticky, and loose when mixed. So if that’s what yours feels like, that’s absolutely okay and you don’t need to worry at all. This is what will give it that crusty outside.
What Kind of Dutch Oven Should I Use?
Any brand of Dutch oven will work as long as it’s a 6 – Quart in size.
Is Preheating the Dutch Oven Necessary?
If you want the bread to be very crispy on the outside then you may preheat your Dutch oven. I like mine to be a bit chewy, so I bake the bread in a Dutch oven that hasn’t been preheated.
Should I Use Parchment Paper When Baking Bread in a Dutch Oven?
A parchment paper is not necessary to produce good bread. The coating of flour creates a non-stick surface which prevents the dough and baked bread from sticking to it.
The only challenge with using only dusting flour is in the process of transferring your proofed dough onto the hot baking surface which I scrape off after the bread cools down.
Do I Have to Cover Dutch Oven with a Lid While Baking?
Yes, this is a crucial step to achieving moist bread with a perfectly crusty crust.
Bread needs to be baked in a humid environment and keeping the lid on to the Dutch oven traps the steam resulting in sticky and moist dough on the inside.
How to Store Leftover Crusty Bread
Store bread in an airtight container for up to 3 days. To preserve crispy crust and moist bread keep cut-side down in a bread box with the lid open for up to 24 hours. You can also store it in the fridge for up to 3 days.
How to Freeze Crusty Bread
Store sliced bread in an airtight container in the freezer for 2 – 3 months. I prefer slicing the bread before freezing, which enables you to take out one slice at a time. Let it thaw on the kitchen counter before using.
Similar Bread Recipes
See all bread recipes.

The Perfect Crusty Bread Recipe (Made in a Dutch Oven)
Ingredients
Dutch Oven White Crusty Bread Ingredients
- 5 cups – all-purpose organic flour
- 1 tbsp. – sea salt
- 2 cups – luke warm water
- 1 tbsp. – honey
- 1 tsp. – dry active yeast
Instructions
What to do to Make Crusty Bread Recipe on Day 1
- To start off, combine yeast, honey, and water.
- Next, sift the flour into the stand mixer bowl, add salt, and pour in the yeast mixture. Using the mixer’s dough hook attachment knead the dough for a couple of minutes until the liquid combines well with some flour.
- Then scrape down the sides and bottom of the mixer bowl with a silicone spatula to mix in all of the flour.
- Continue kneading for 5 more minutes or until all the flour is incorporated. The dough will be very sticky (this is why a silicone spatula is a lifesaver).
- Cover the bowl with plastic wrap or transfer it into another large bowl and then cover it. Puncture 3 holes for the dough to breathe, and let it sit at room temperature on the countertop for 12 to 15 hours to rise.
What to do to Make Crusty Bread Recipe on Day 2
- Start by preheating the oven to 450 F. (235 C).
- Use a silicone spatula to scrape down the dough off the sides and bottom of the bowl.
- Transfer the dough onto a well-floured surface with the help of the spatula and shape it into a sphere. When shaping the dough, make sure to fold it over on itself several times until it feels tight and starts to resist folding.
How to Bake Crusty Bread
- Sprinkle some flour on the bottom of your cast iron (mine is a 5 quart).
- Transfer the dough into the pot.
- Cover the cast iron pot with the lid and bake it in the oven on the middle rack for 30 minutes. Remove the lid from the pan and bake the bread for an additional 15 minutes.
- Remove the bread from the oven and let the bread sit in the Dutch oven for 15 minutes.
Thank you for following me on Instagram, Facebook, and Pinterest!


I don’t have a dutch oven. Is there anything else I can use.
No, you need a dutch oven for this recipe. The bread will not be moist and have the same texture.
I just made this dough without reading the full instructions (oops) and wondered can I leave it longer than 15 hours or bake it earlier than 12 otherwise I will be up at 3am putting it into the oven lol
Leaving the dough for longer than 15 hours will make the dough taste sour. It’s ok to bake the dough as early as 8 hours after rising.
This bread was so easy and so fantastic!! I let it rest for 12 hours overnight and finished in the morning. Finally a Dutch oven recipe that is soft and crunchy, the bread turned out beautifully. Thank you!
I’m pleased to hear that. This is one of my family favorites as well. Thank you for an amazing review!
I don’t eat honey. Do you think maple syrup would be an acceptable replacement in this recipe?
I’ve never used maple syrup in this recipe. I think it should work. Try using actual 100 % maple syrup. Let me know how it goes. I will try using maple syrup next time I make this bread. Thanks for the idea!
Can i use parchment paper inside dutch oven for easier removal after baking? Thanks
Absolutely!
Just made this bread, like the crust but i used 5 cups of Canadian flour instead of organic one and i think its too much, next time i’ll try to use a little bit less and see how it turns out. Thank you for this recipe!
You are more than welcome! 🙂
Thank you for posting this recipe. Your thoughtful steps and pictures made it really easy to put together. Can not wait to sink my teeth into this delicious bread. Thank you
I’m so glad to hear that! I love that bread very much 😀 You are very certainly welcome, enjoy!
I just made Dutch Oven White Crusty Bread. It looks great, nice and crusty on top. My problem is that I can’t get it out of the pan.
You probably didn’t sprinkle enough flour to cover the floor of the pot. Let it stand for 15 to 30 minuets for the bottom to moisten then, run the silicone spatula along the side of the pan as well. It should come out easily.
Would Canadian flour work for this recipe? thanks
Canadian flour works as well.
Does it matter what size Dutch oven you use?
No, it doesn’t not. The wider the pot the flatter the bread will be, and vise versa, the smaller the pot the taller it will rise. I hope this helps 🙂
Hi Valya! I love your website. I just have a question for you, where do you buy your organic flour? Thank you!
Hi dear! I get this flour that used in this recipe (and for most of my recipes) at Costco. Thanks for the kind words 🙂
Do you need to preheat the empty dutch oven before placing a dough in it? Thanks
No I don’t preheat Dutch oven before placing the dough into it. That’s a great question, thank you so much for asking.
Do I need to adjust the recipe if I have a 3qt. Pot?
Yes, it will not fit.
This bread looks amazing! I have to have bread with most of my meals, and love bread very much as well. Thank you for another delicious recipe. I will start making this bread tonight. I hope it will and taste as good as yours!
Aww… you are so sweet! Thank you! I’m sure it will, enjoy! 😀