When I stated my blog this cake was my first post. I had no step by step photo instructions for this recipe. I had several request for step by step photo instructions. I promised to my readers that when I will be making this cake for Thanksgiving, I'll take and add some photos. I revised this recipe (found few mistakes like longer baking time needed and less amount of dark chocolate needed for the glaze) and decided to make a new post of it. So here you go my friends… you got it!
This is my husband’s favorite cake, (Mmm... I love it too, with a cup of freshly brewed coffee). He is very happy to have this cake for his B-Day or Father’s Day. It’s not too sweet but it does have a lot of flavor. I get lots of compliments from guests about it, and I am always asked for the recipe. So here you go, in case you too, wanted to ask. 🙂 I hope you enjoy it as much as we do.
Ingredients you will need:
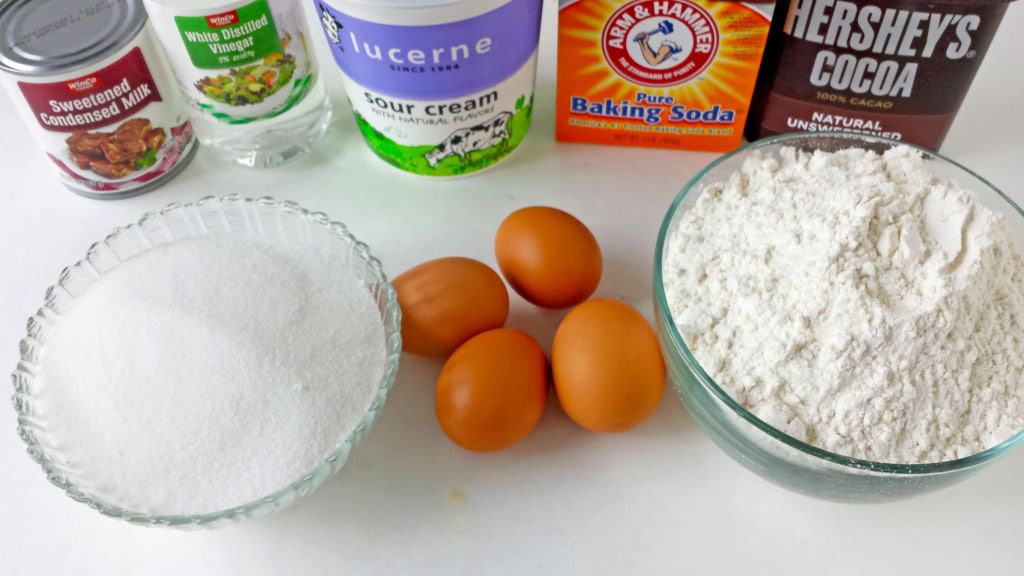
Batter Ingredients:
4 – large eggs
2 cups – sugar
1 can – condensed milk
1 tub (16 oz.) – sour cream
1 tbsp. – baking soda
1 tbsp. - vinegar
4 cups – flour
3 tbsp. – Hershey cocoa
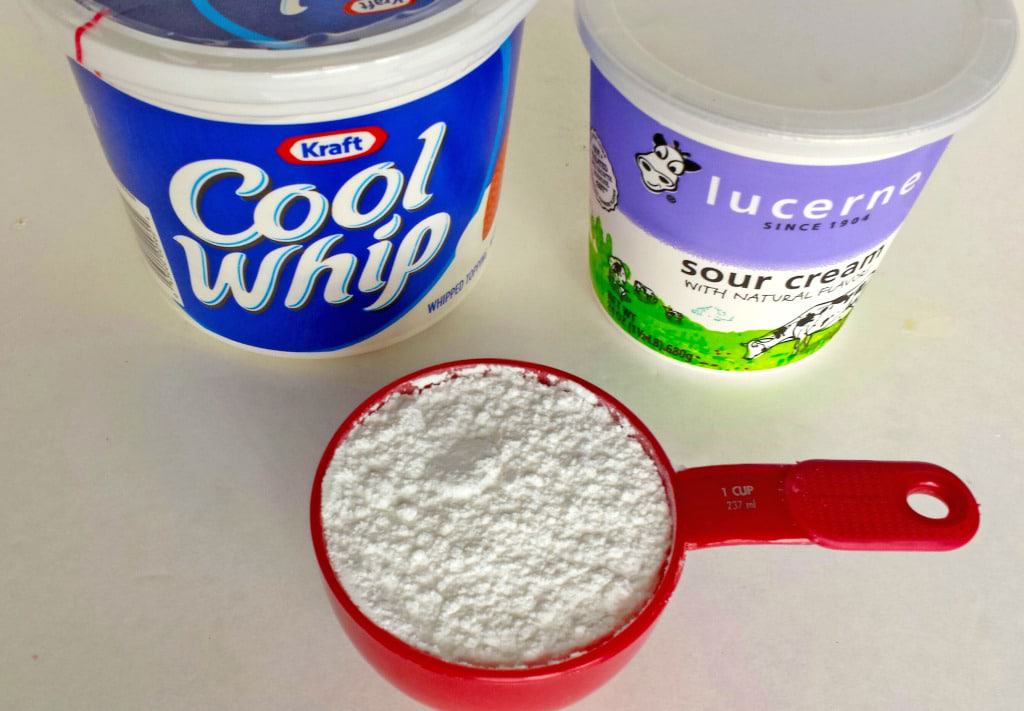
Cream Ingredients:
16 oz. – cool whip
1 tub (24oz.) – sour cream
½ cup – powdered sugar
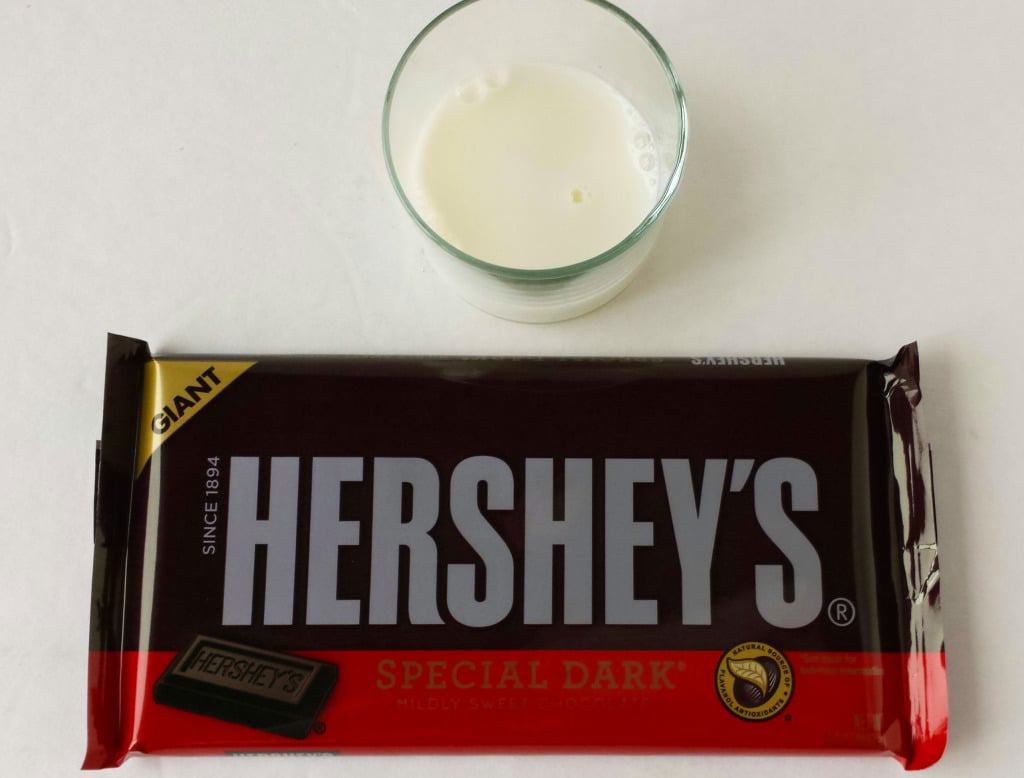
Chocolate Glaze ingredients:
1 bar (6.8 oz.) – chocolate
4 tbsp. – 1 % milk
Instructions
How to make cake batter:
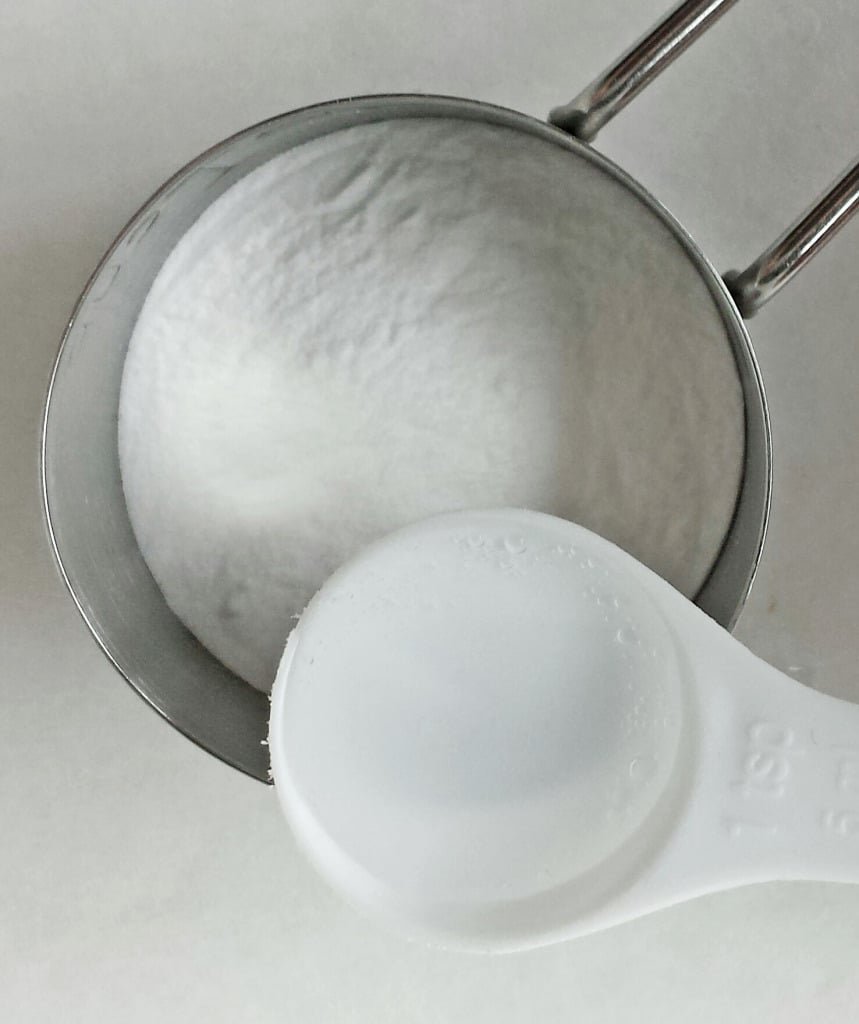
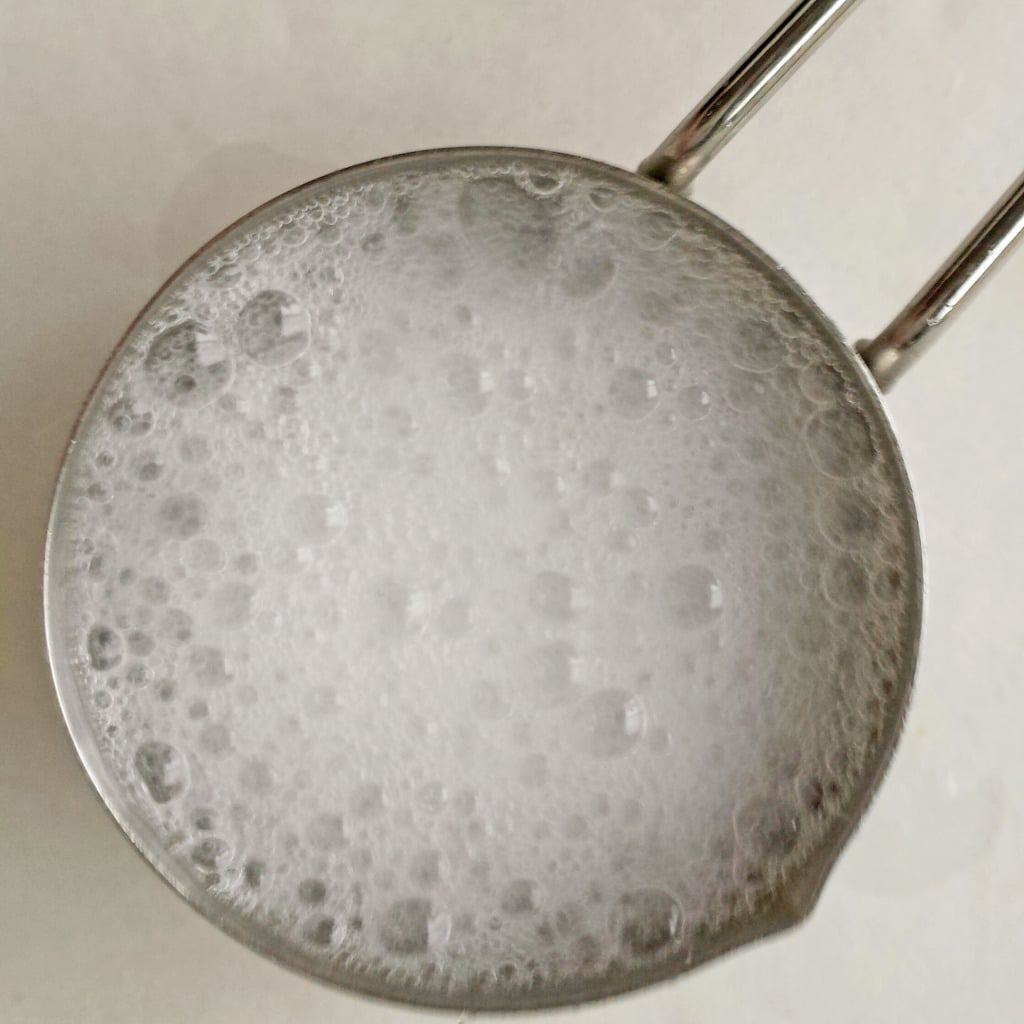
1. In a small bowl combine sour cream, baking soda activated with vinegar. Mix it well with hand mixer for 2 minutes. Set aside and let it stand for 15 minutes. The mixture will rise.
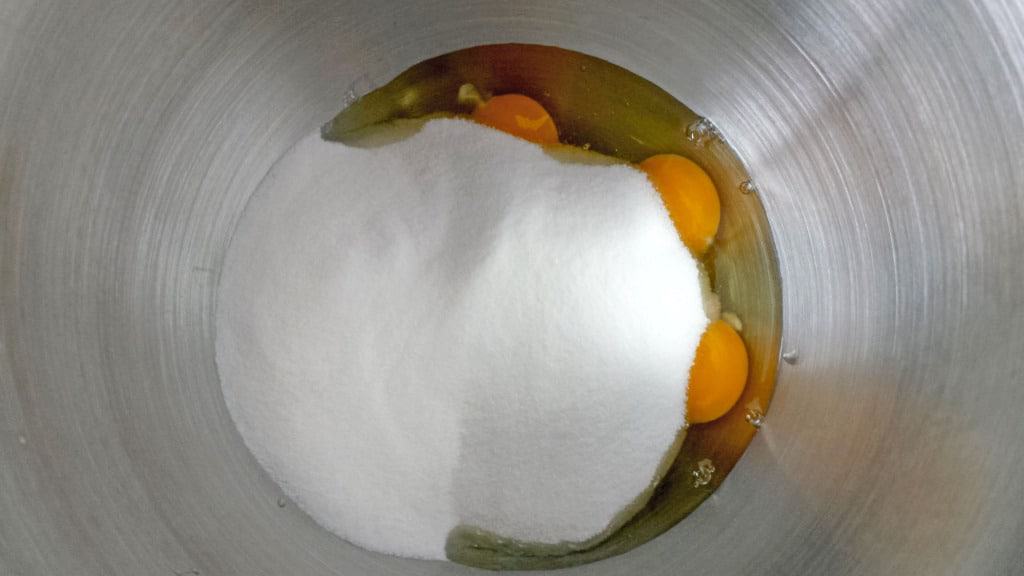
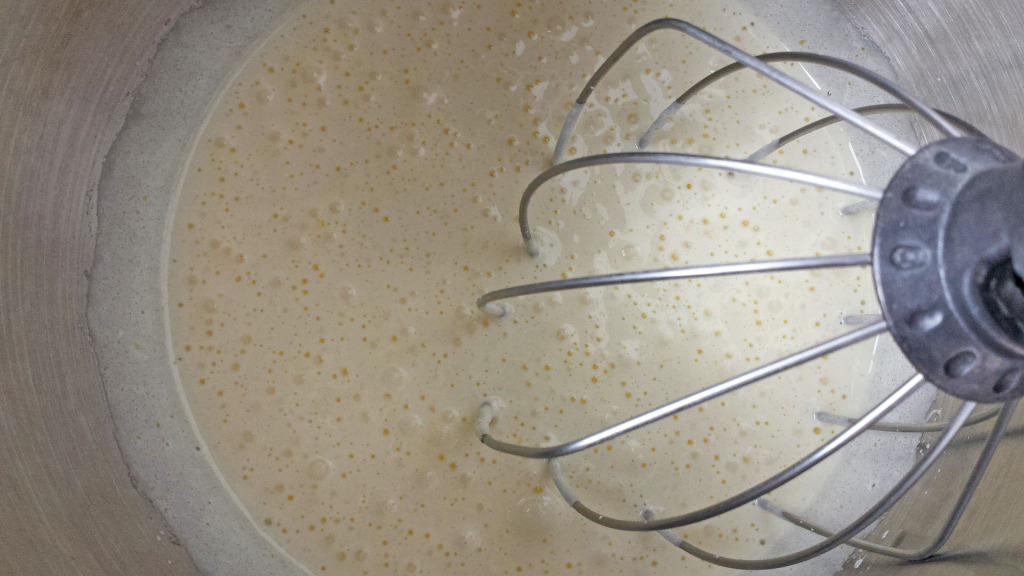
2. Preheat oven to 350 F. In a bowl of an electric mixer combine room temperature eggs with sugar. Beat on high for 10 minutes.
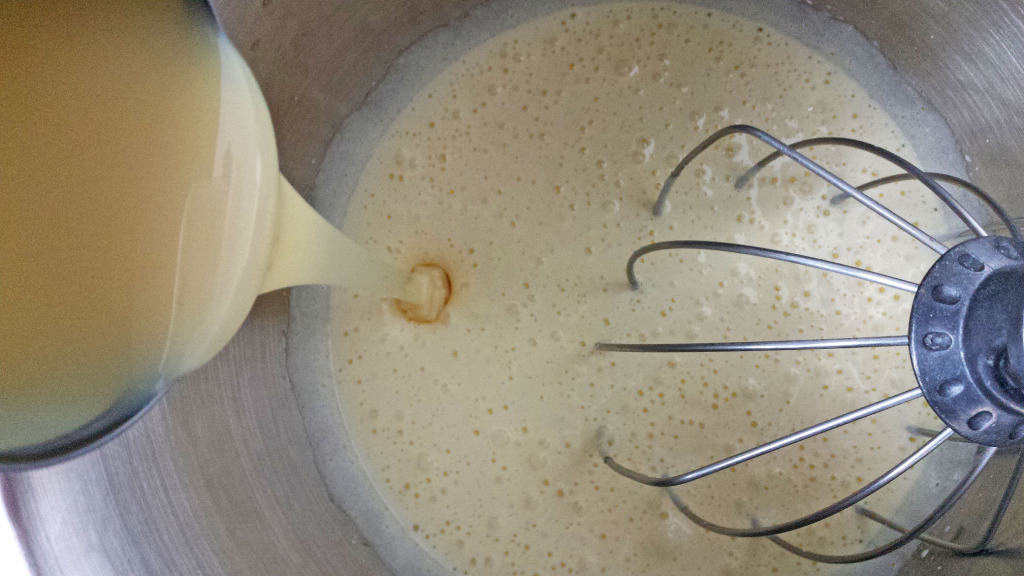
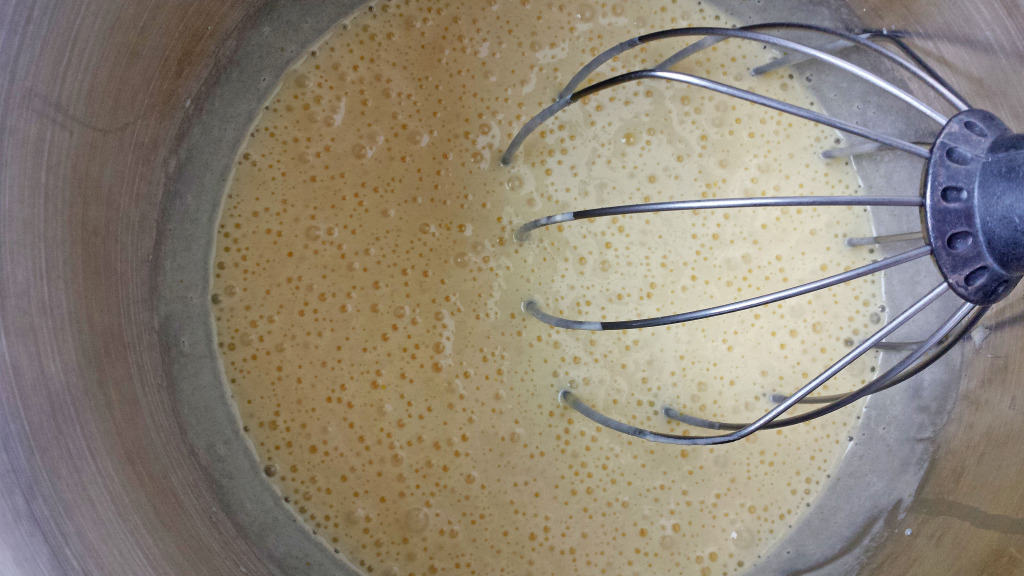
3. Add condensed milk and let it beat for another 5 minutes.
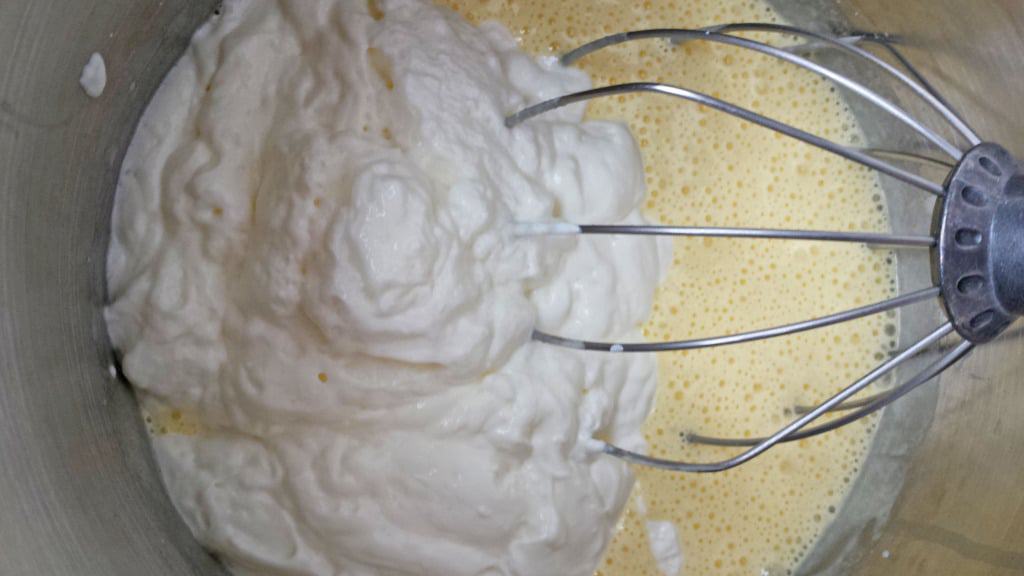
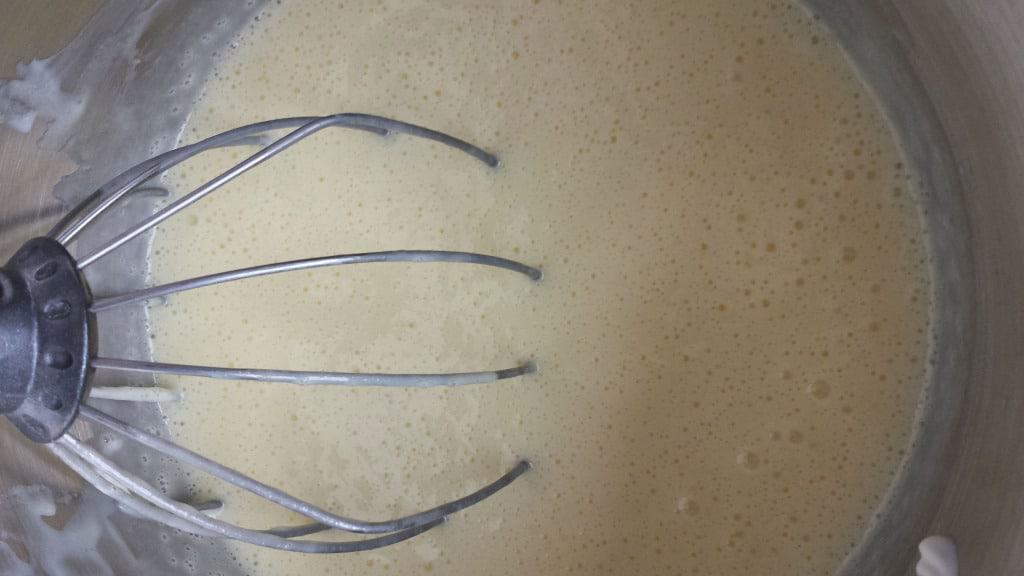
4. Reduce speed to medium then add the sour cream mixture and let it mix for 1 minute or until well combined (don’t over beat it because you don’t want the mixture to become very runny).
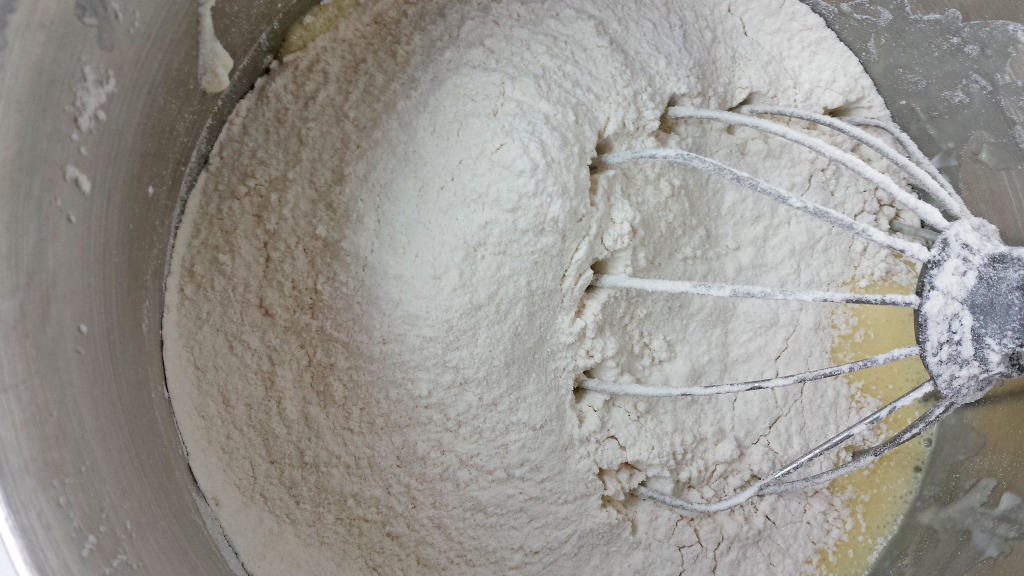
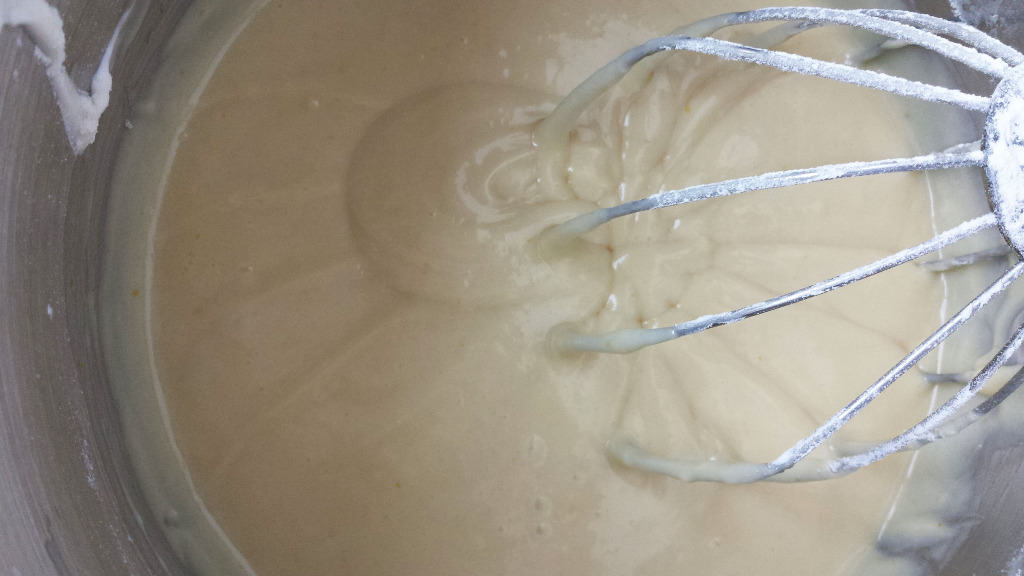
5. Add sifted flour. Stir sifted flour just until combined.
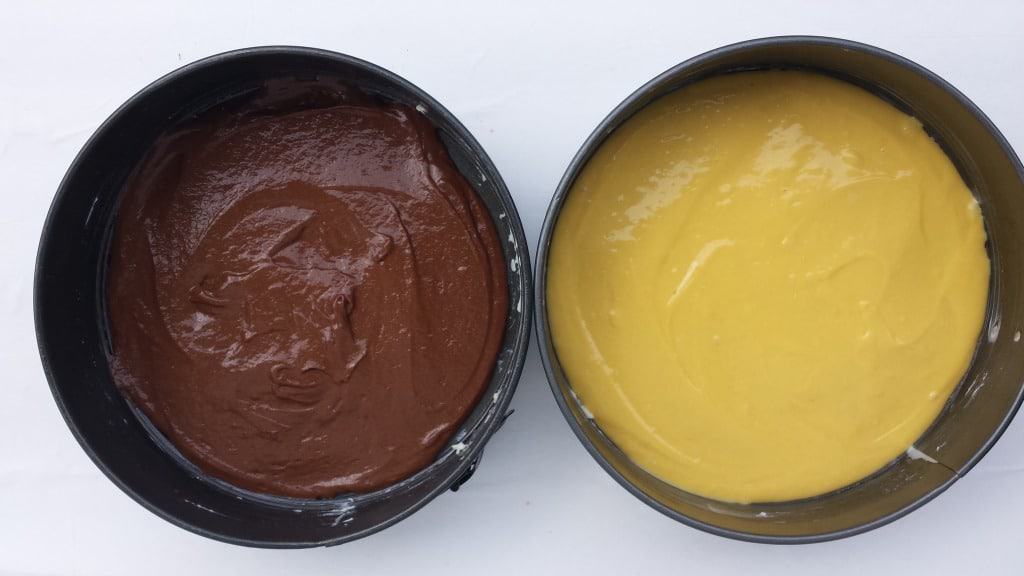
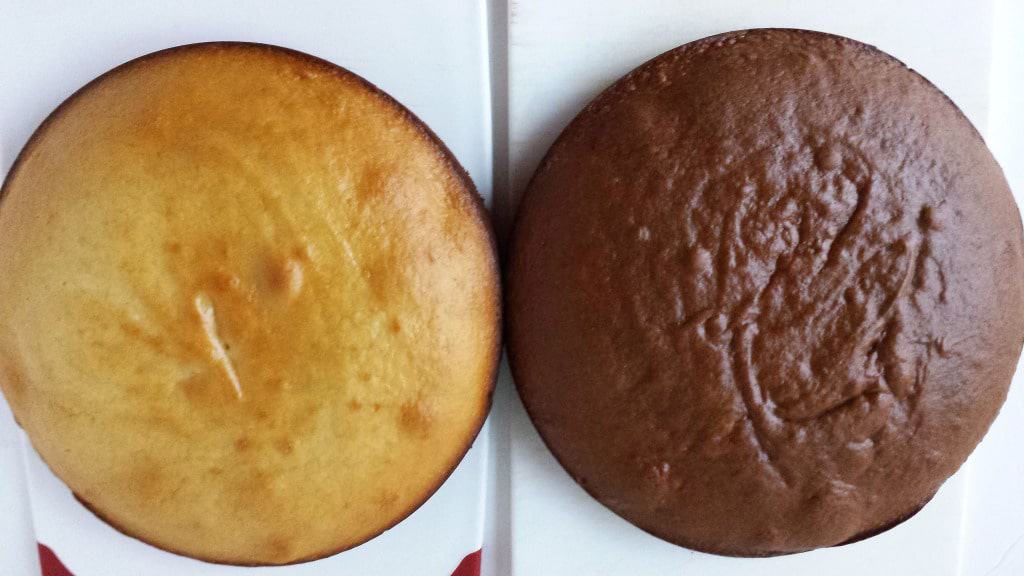
6. Pour little more than half of the batter into well-greased 9-inch pan. For the second batter add sifted Hershey cocoa powder mix well until well combined. Pour the cocoa batter into another 9-inch pan. Bake both batters at 350 degrees for 30 minutes.
7. Remove from the oven. Take it out of the baking pans and let it cool completely.
How to make the cream:
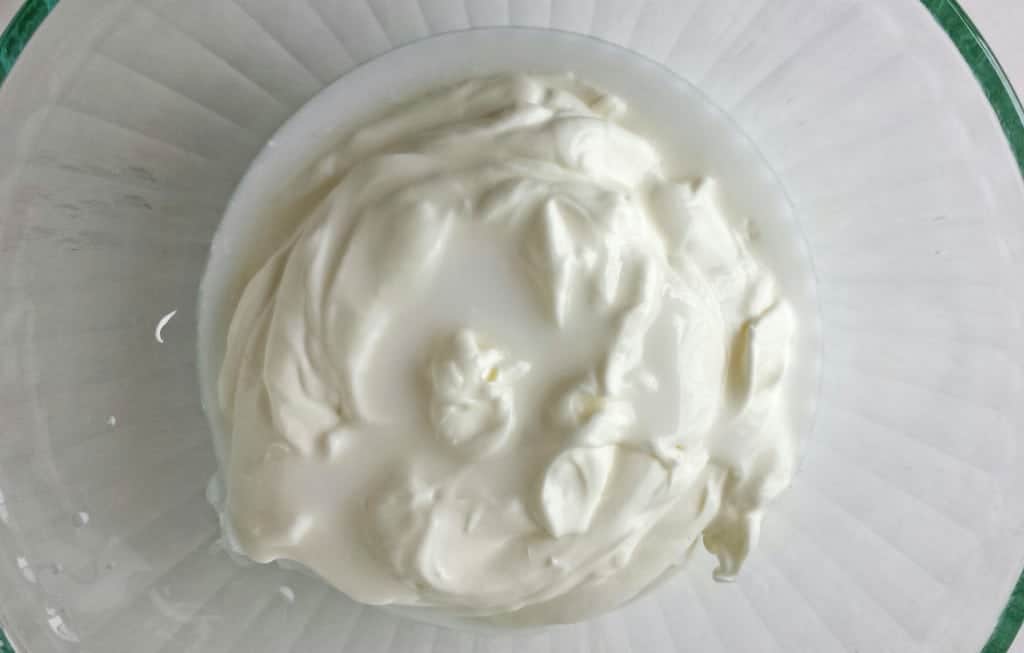
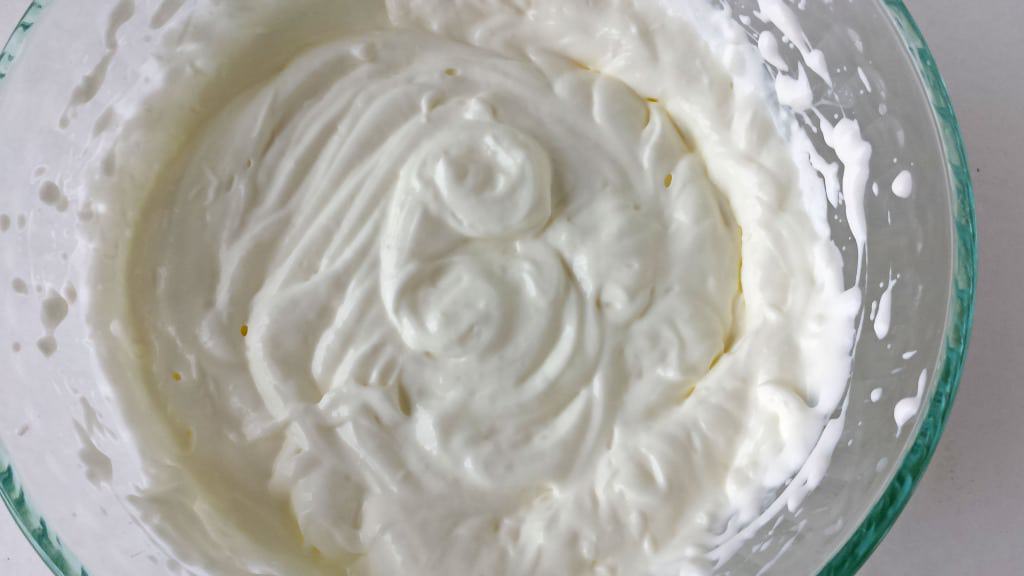
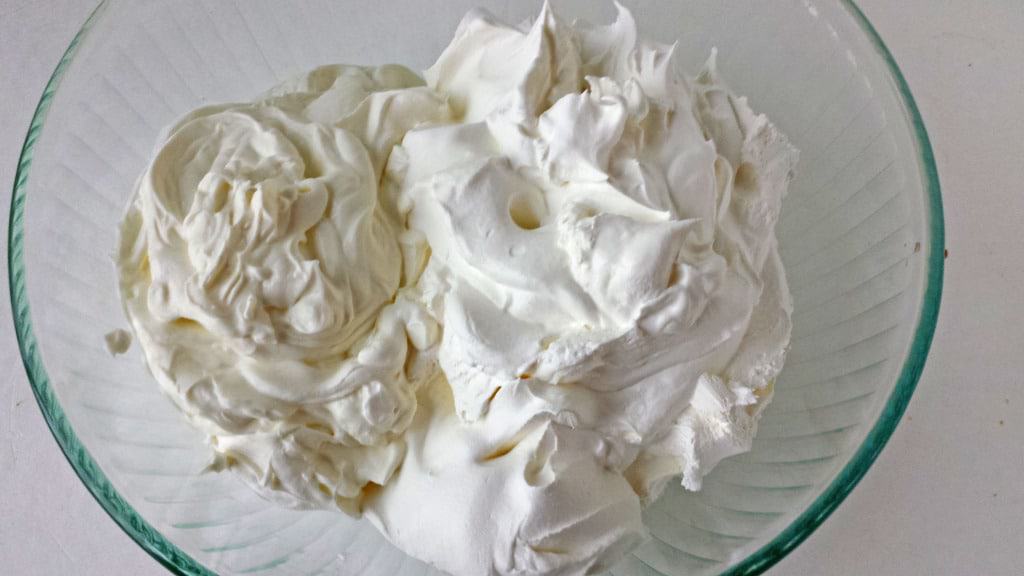
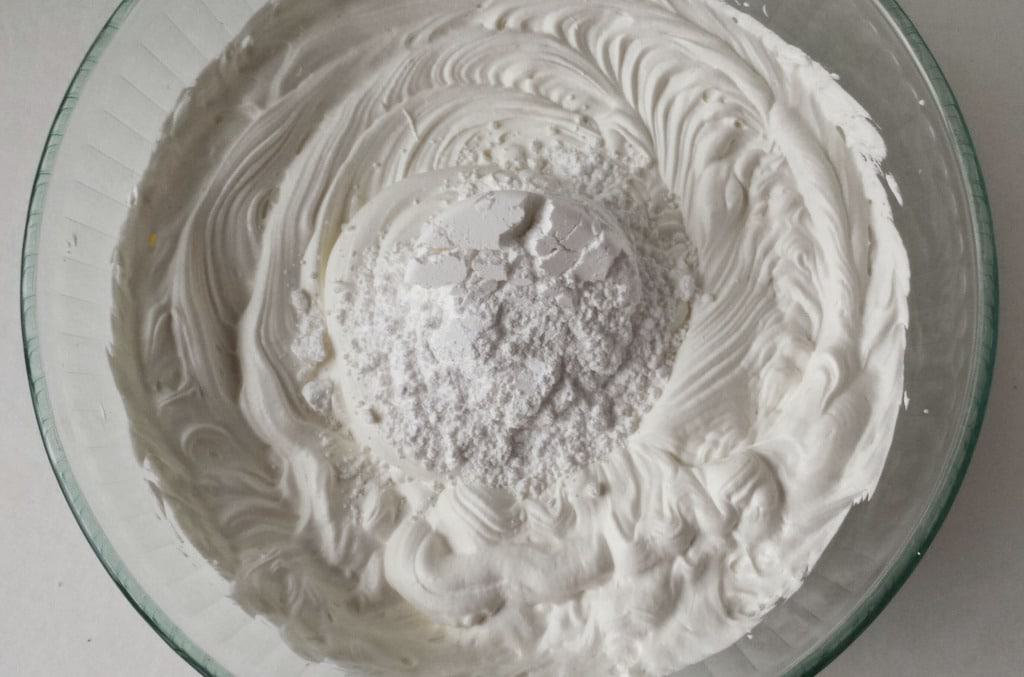
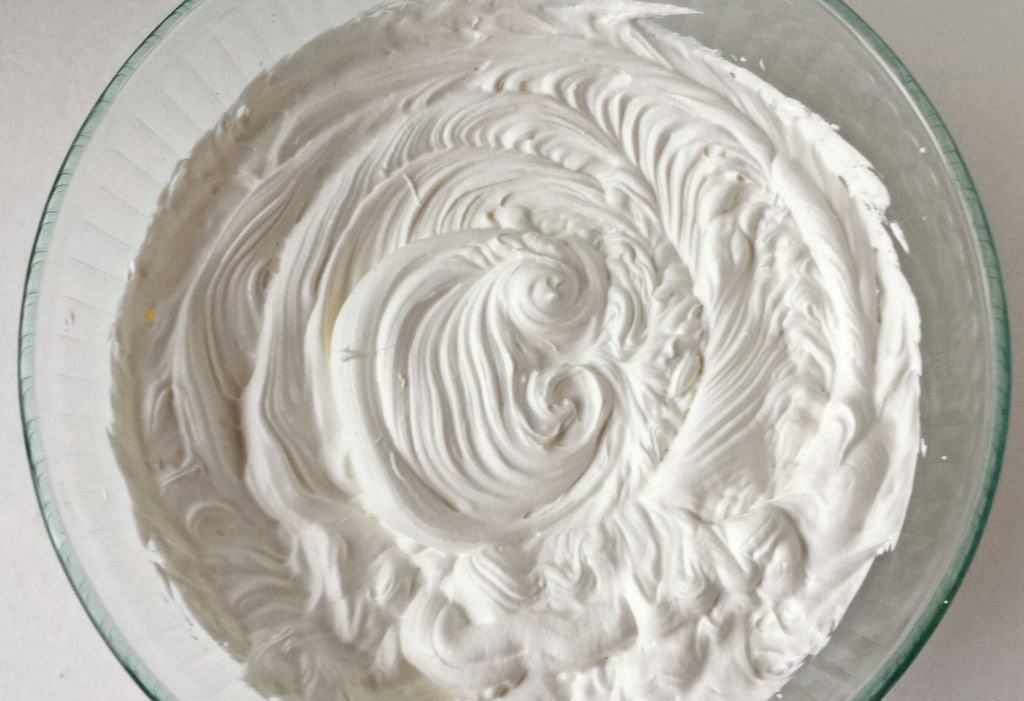
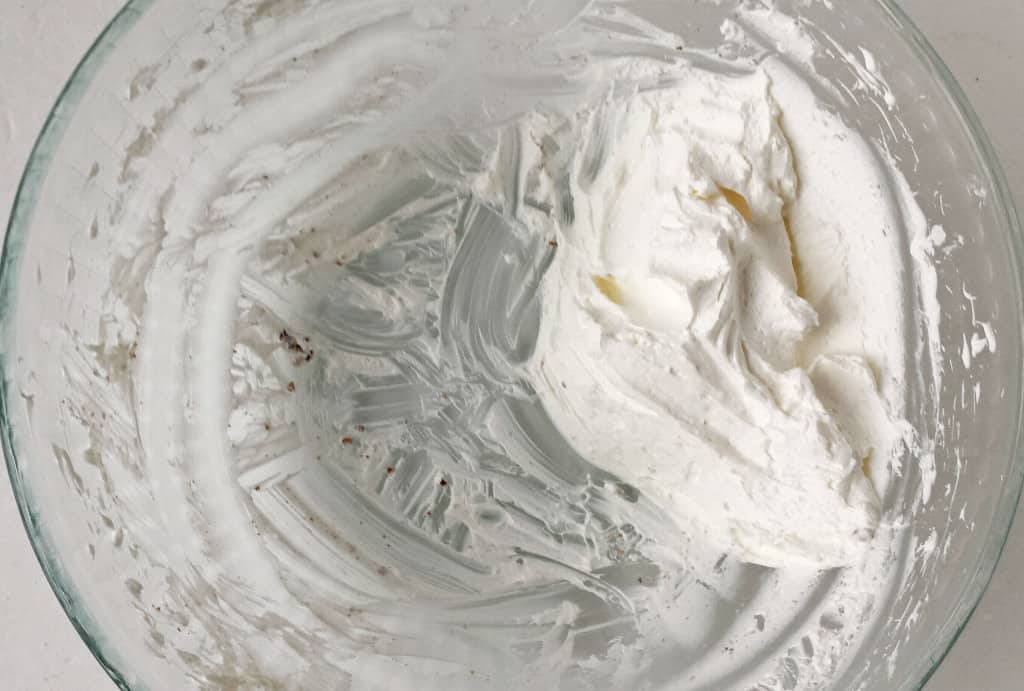
1. Beat sour cream and cool whip together for about 2 minutes. Add powdered sugar and beat it for another minute or until well combined. Set aside.
How to assemble the cake:
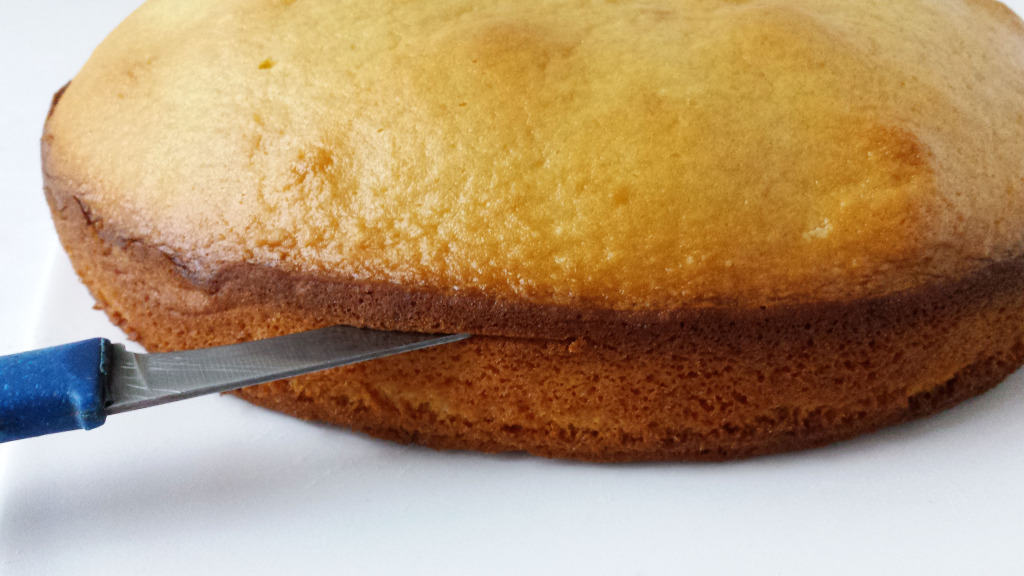
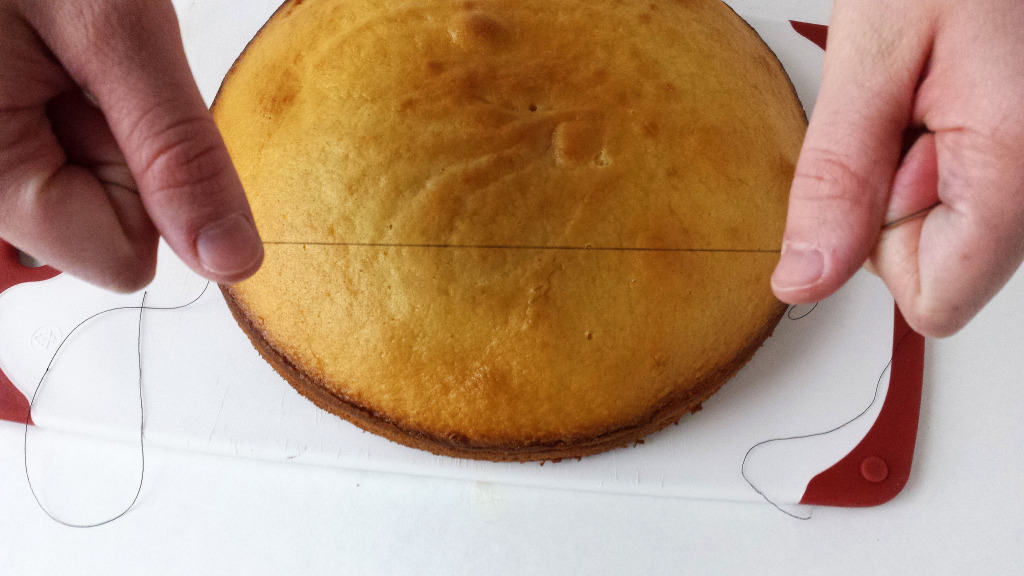
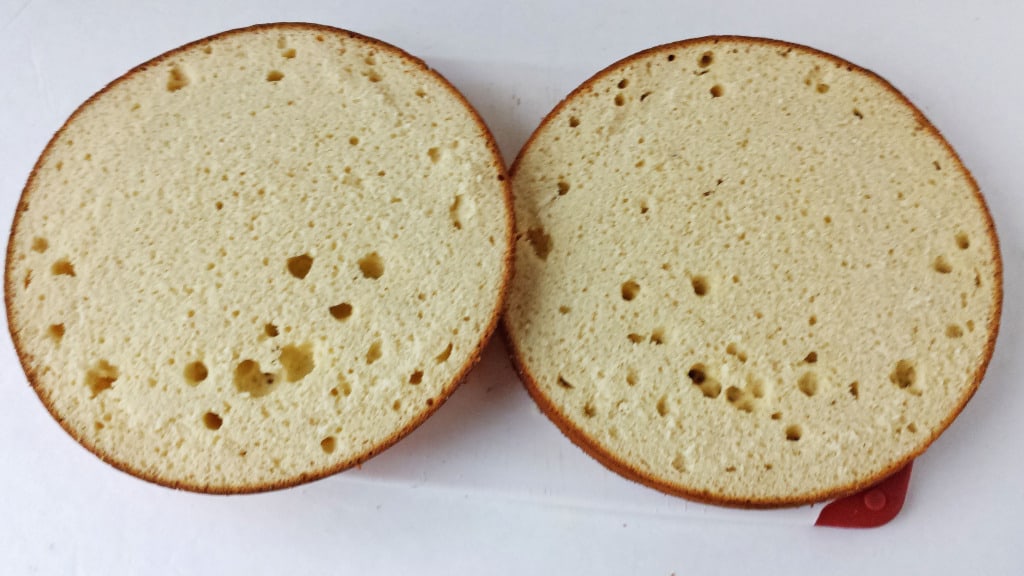
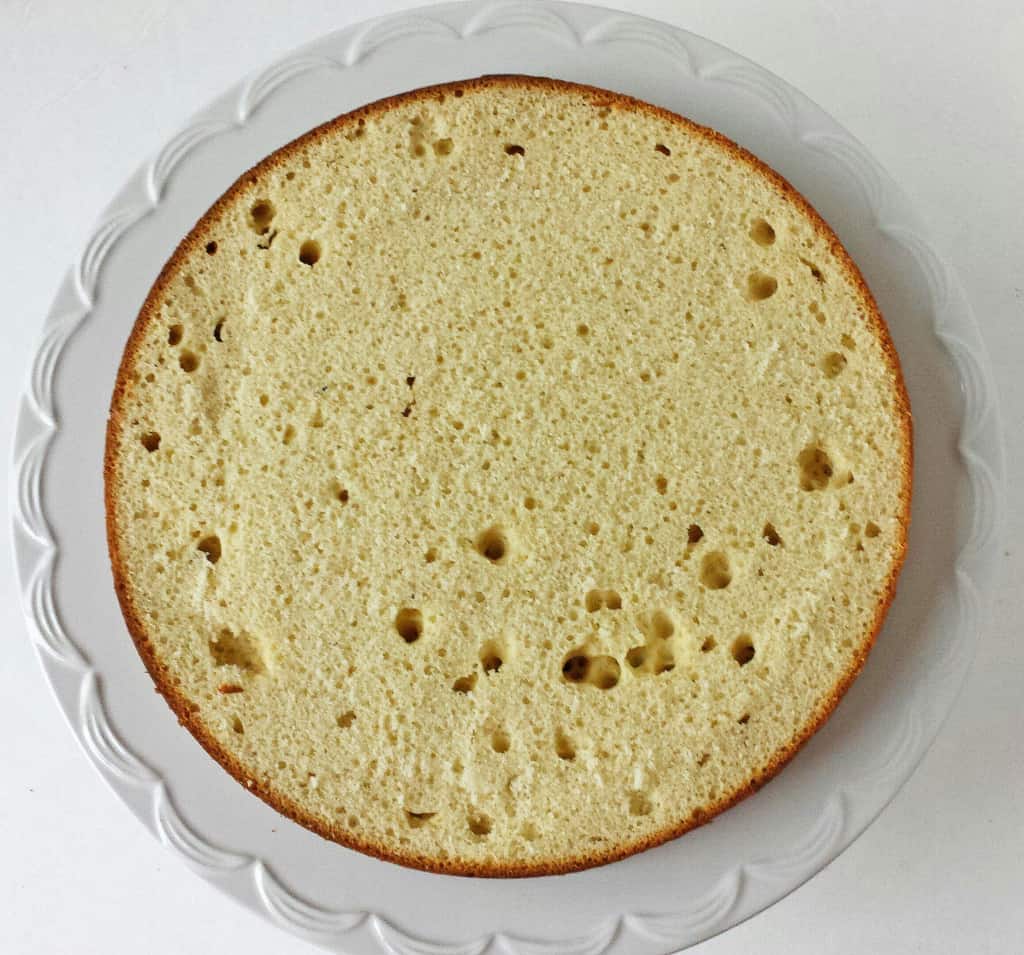
1. Cut the white cake horizontally in half (I cut it more towards of the top line, then your cake cut will be more in the center). Then I take about 2 feet string and cut it with a string (I always cut cakes this way, and never found any other ways to cut it this perfectly, no matter what things I tried).
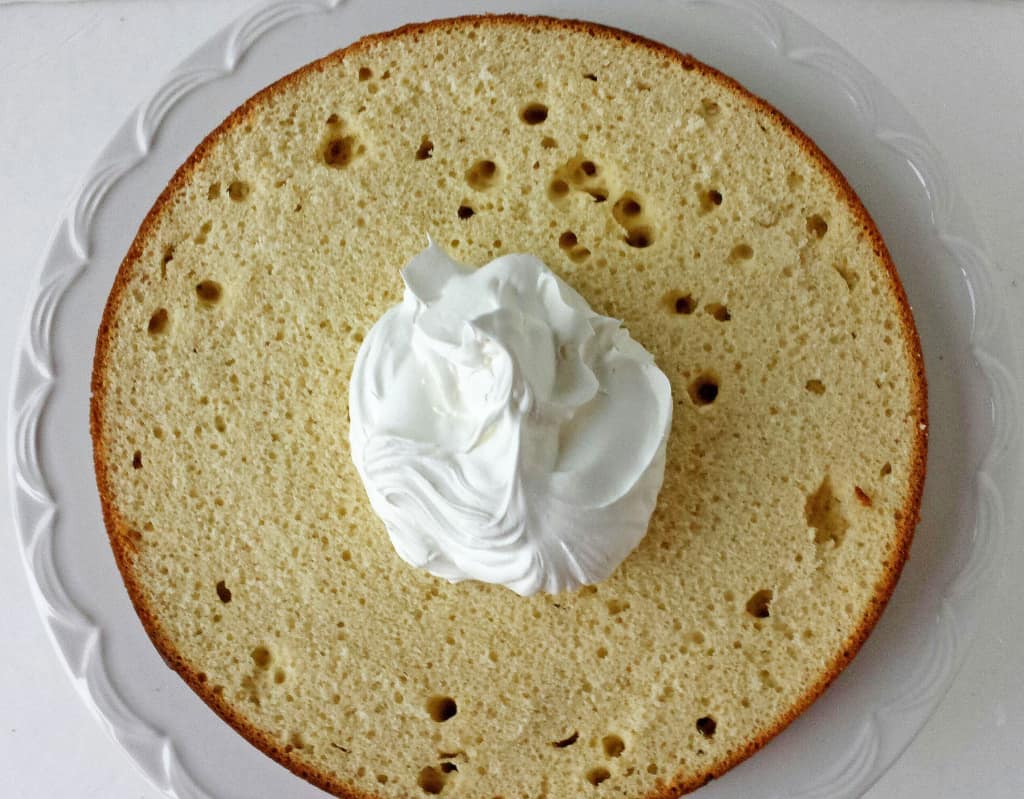
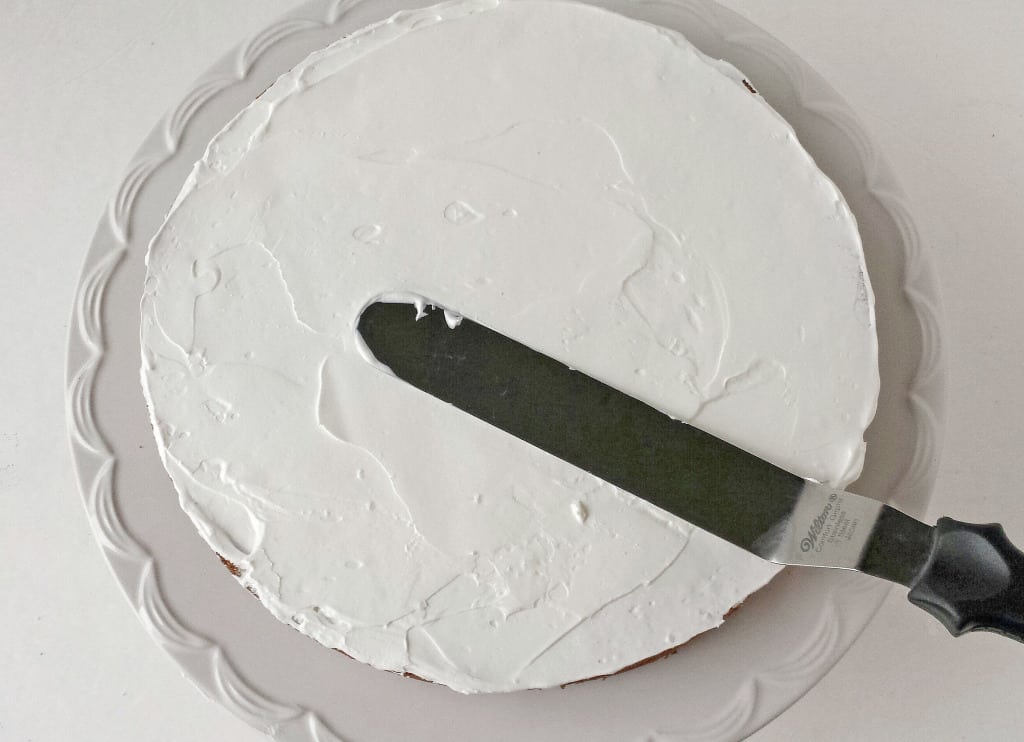
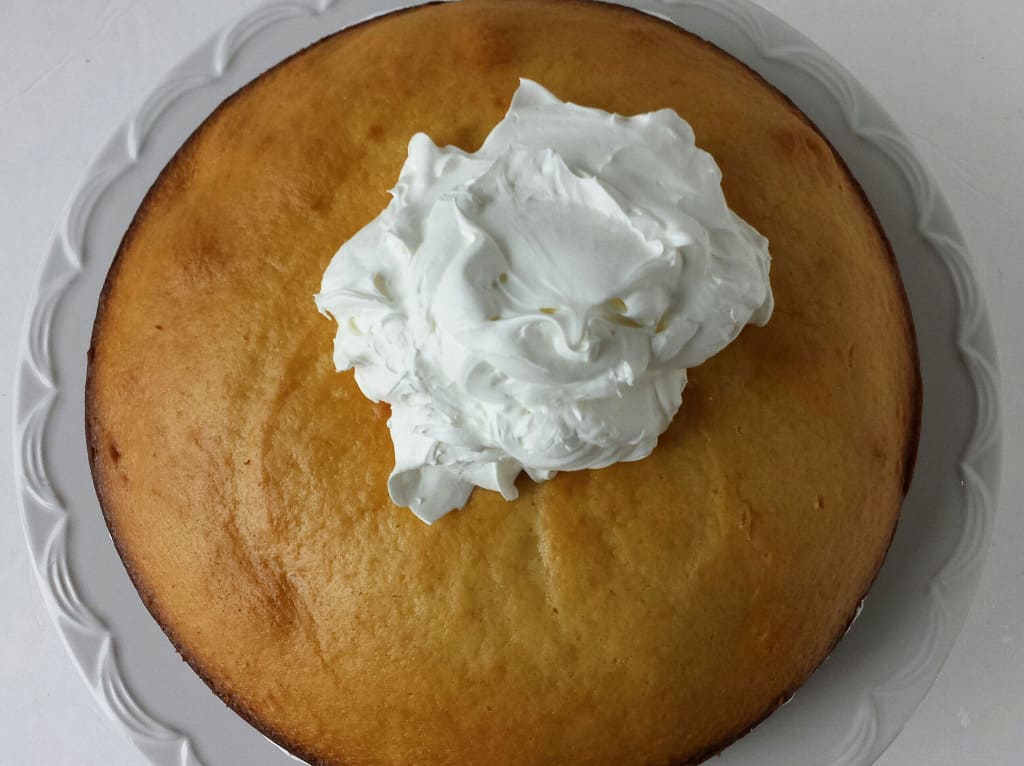
2. Place bottom layer onto a cake platter. Put 1 ½ cups of cream on the bottom layer, spread it out evenly.
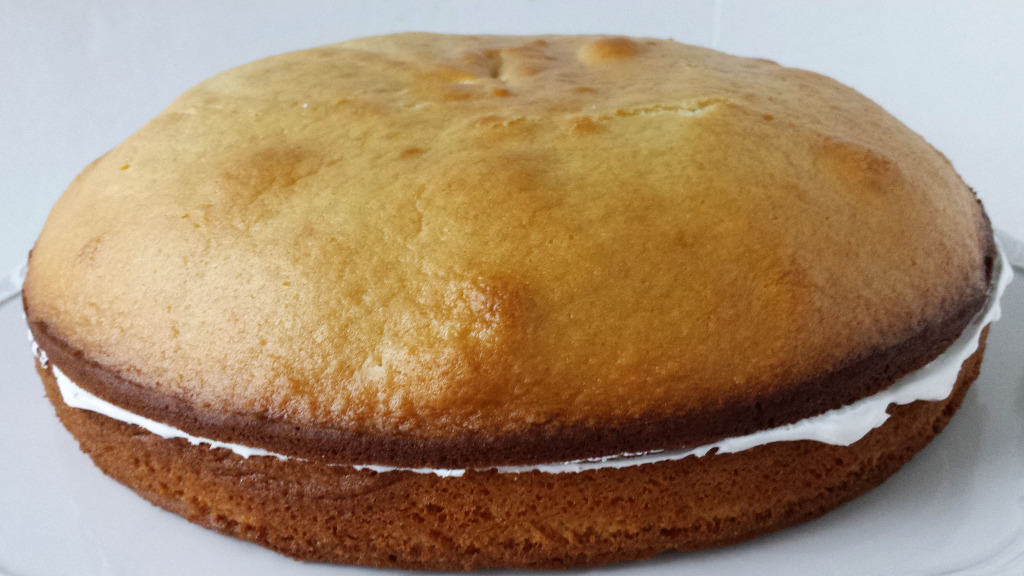
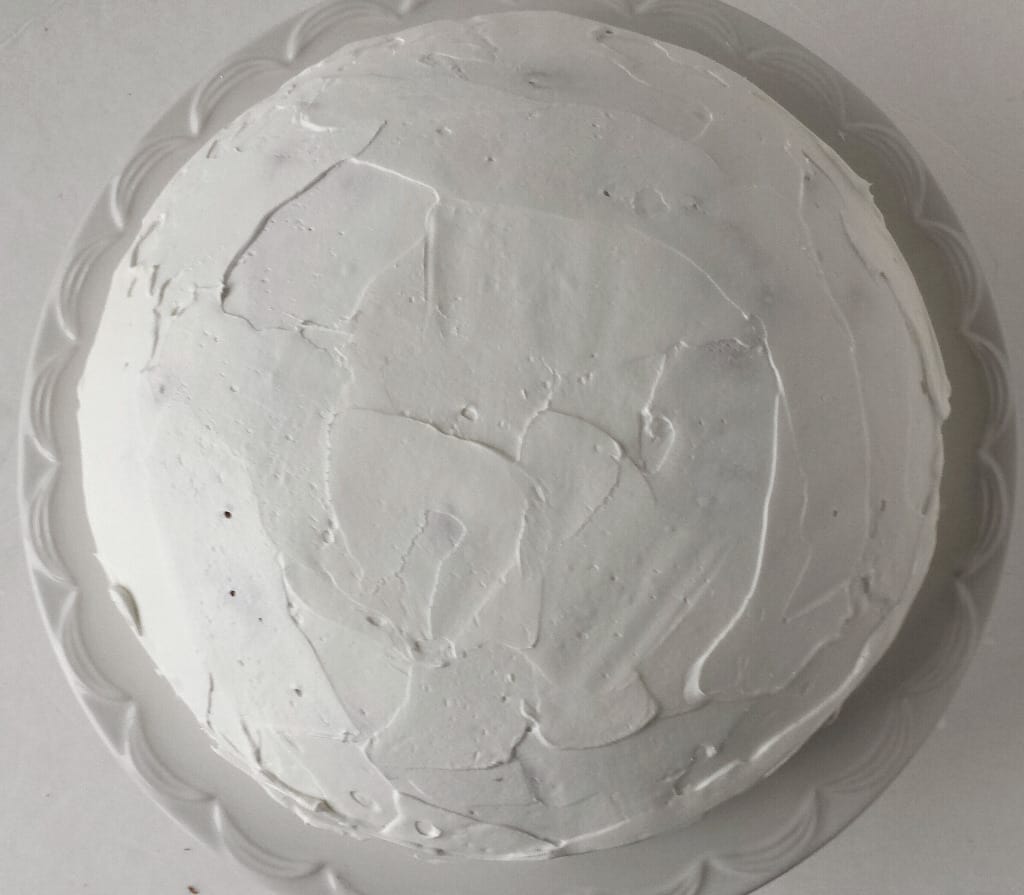
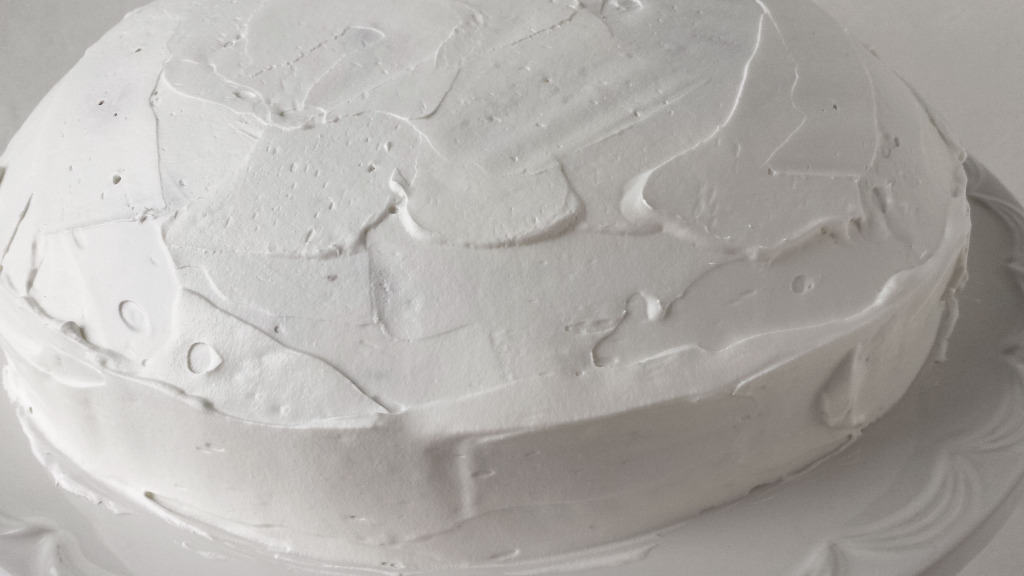
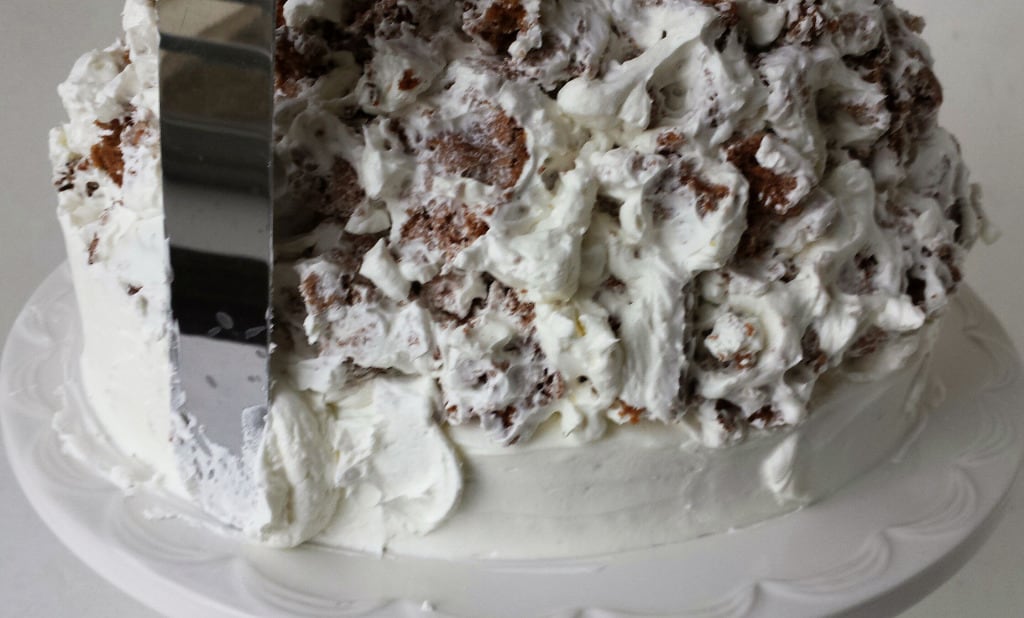
3. Place top layer on top of the cream with the bottom layer. Put 1 ½ cup of the cream and spread on top and sides of the cake.
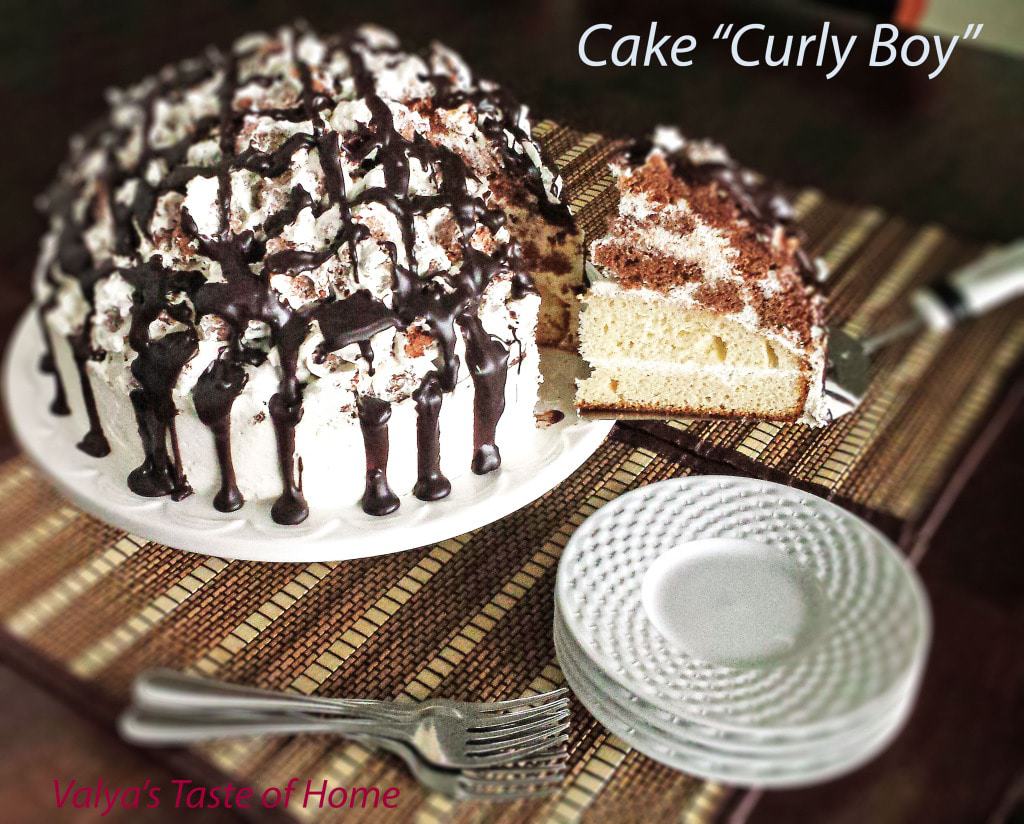
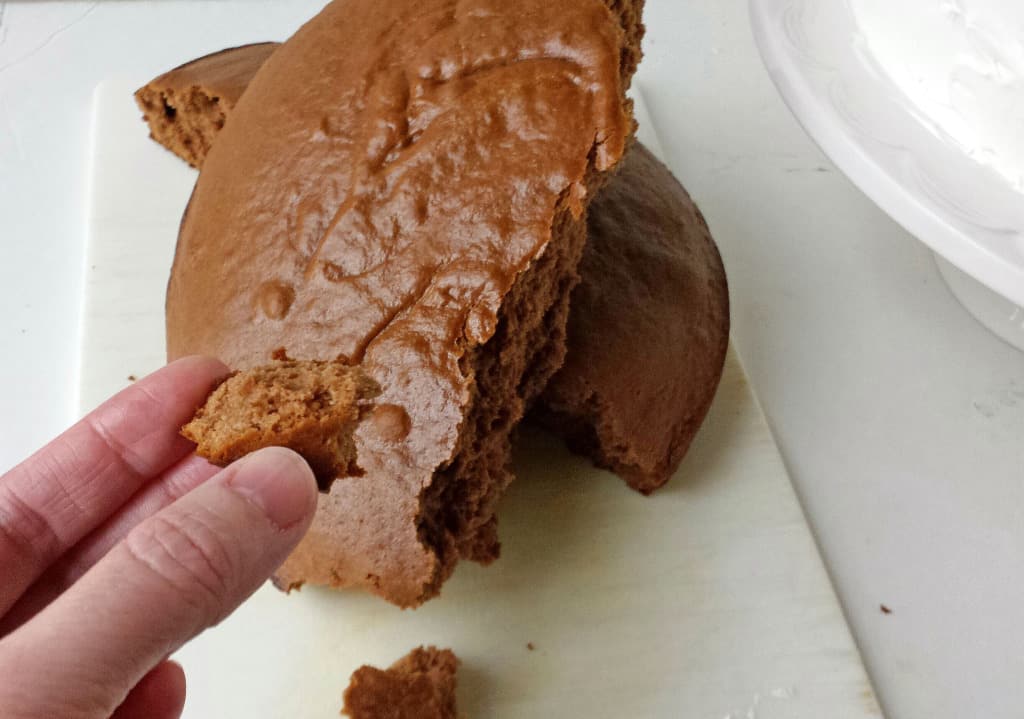
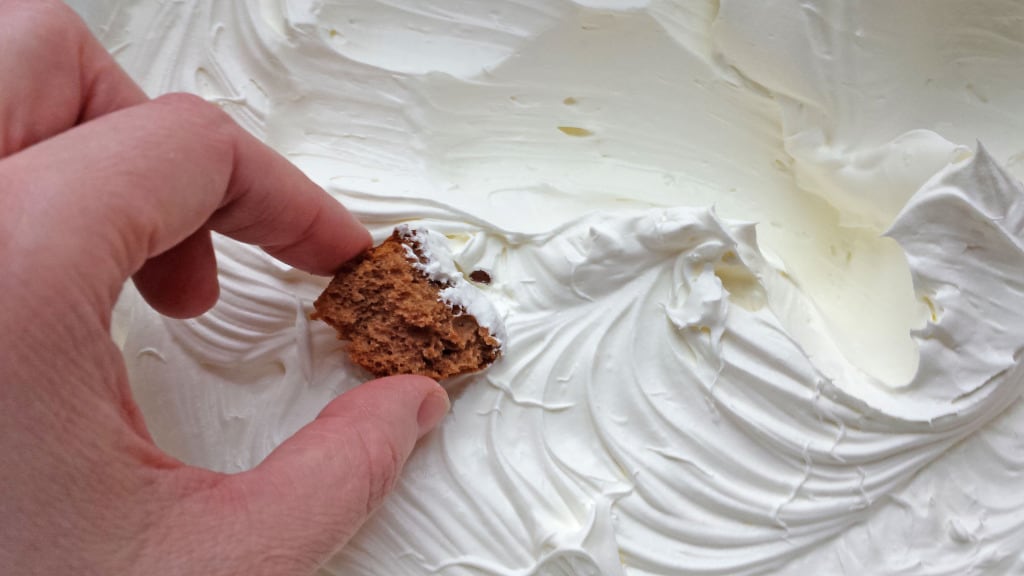
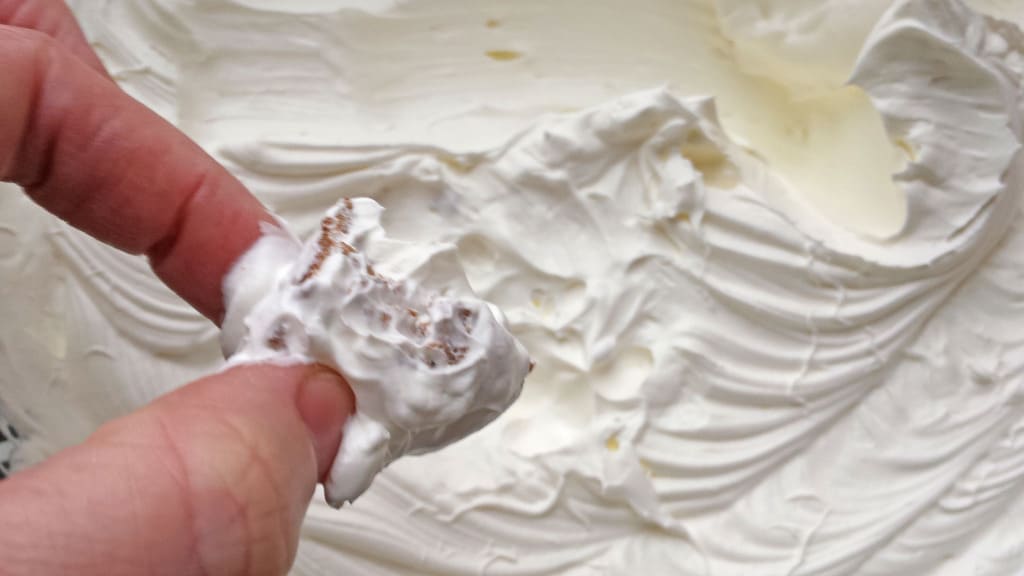
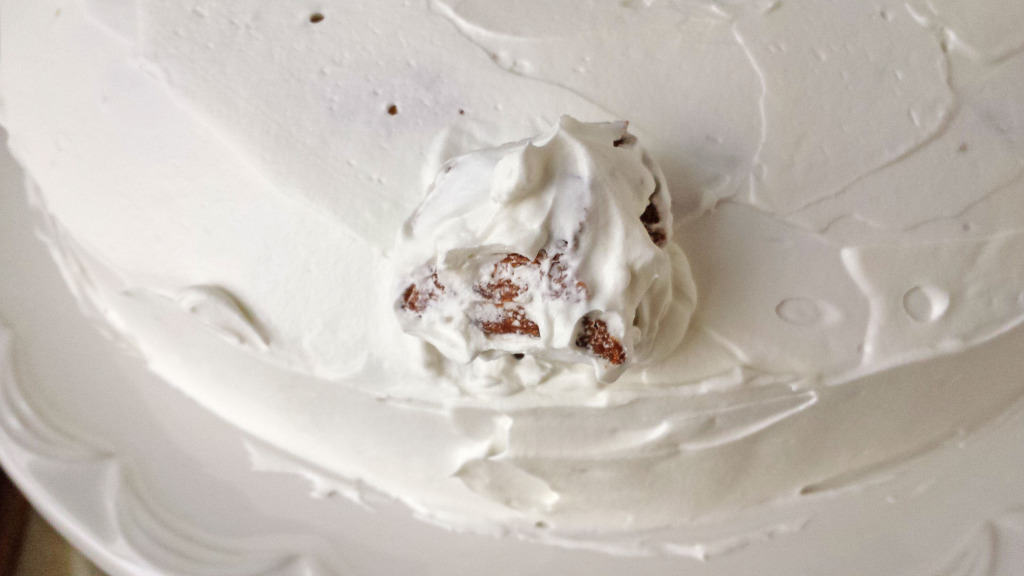
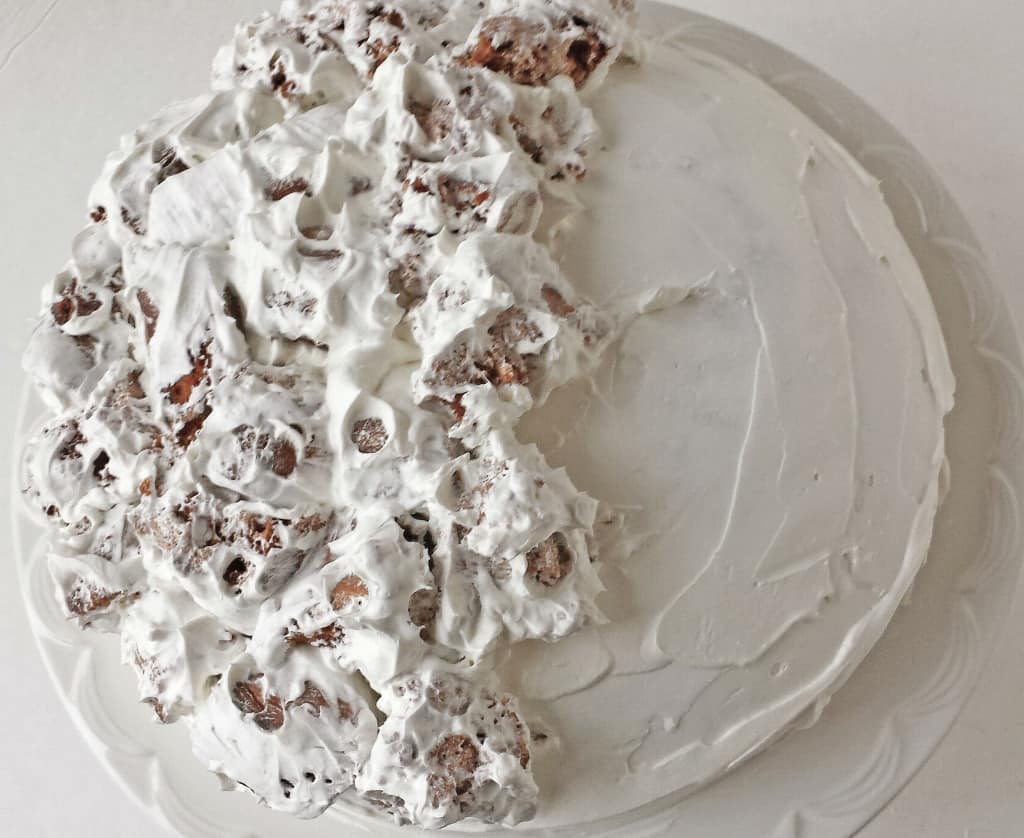
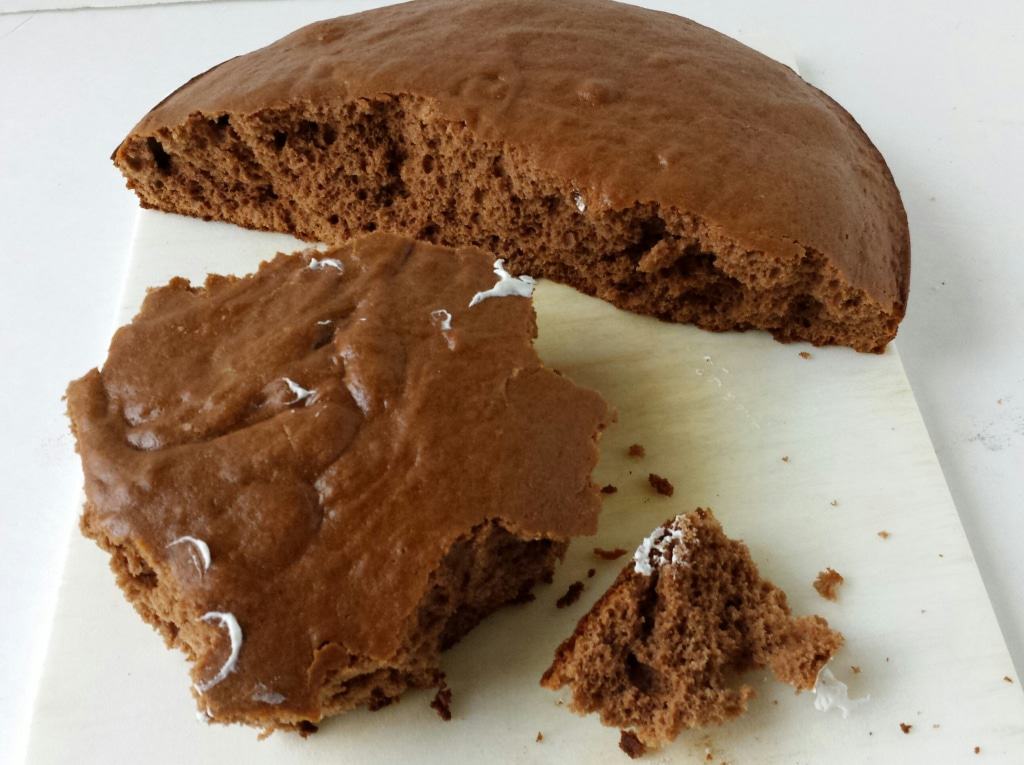
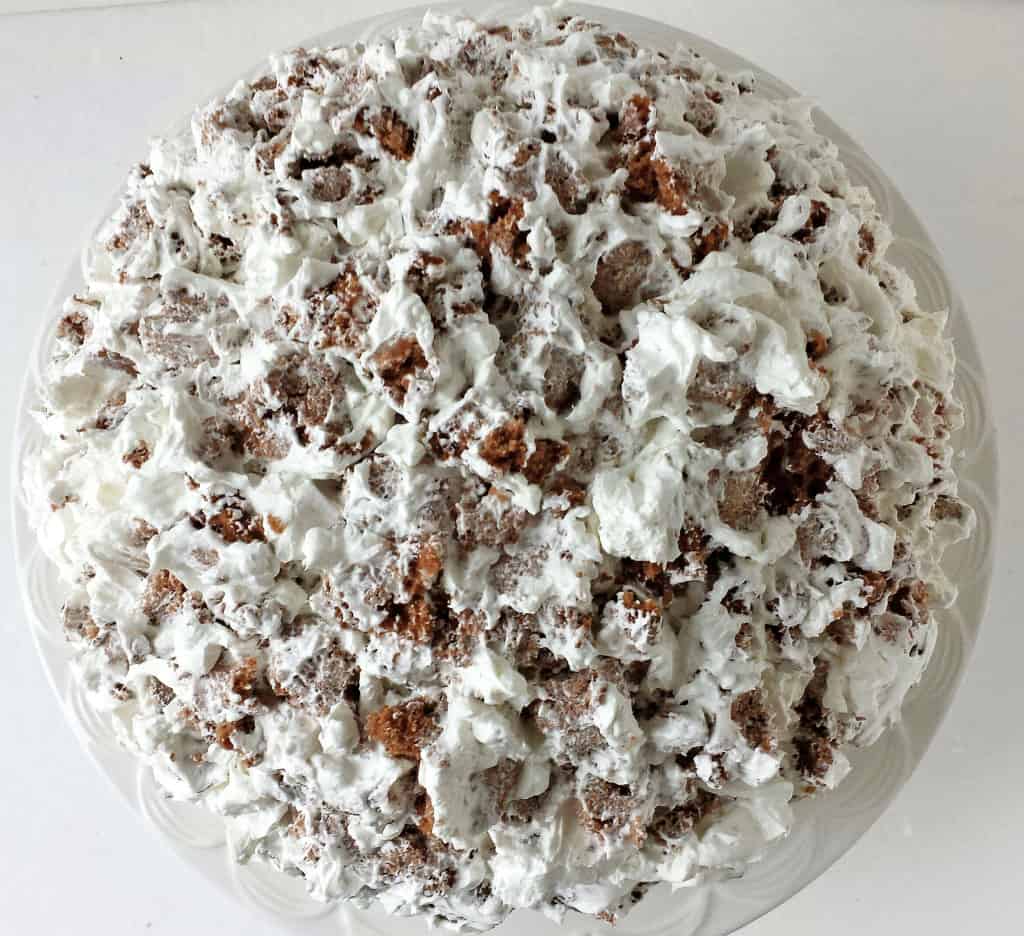
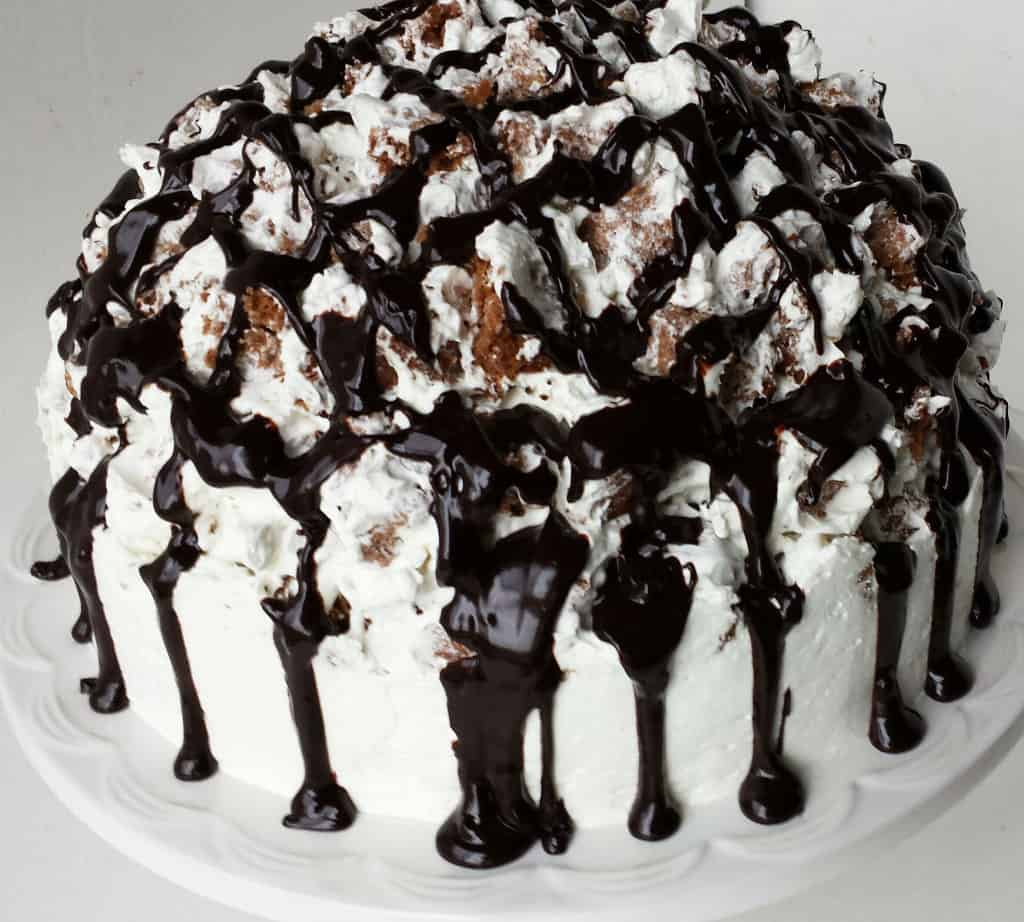
4. Break chunks of the brown cake. Coat it with the leftover cream and lay it on top of the cake.
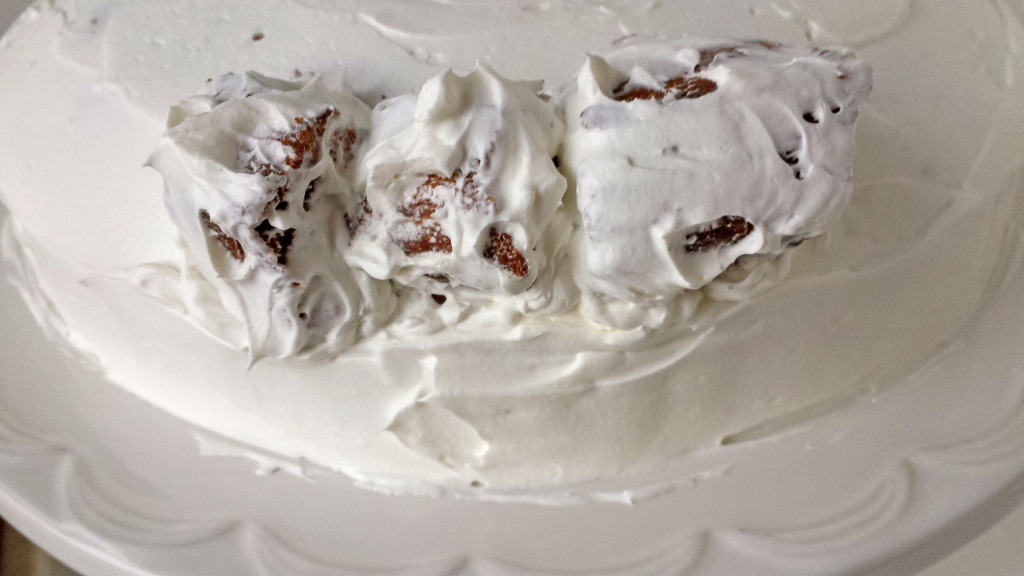
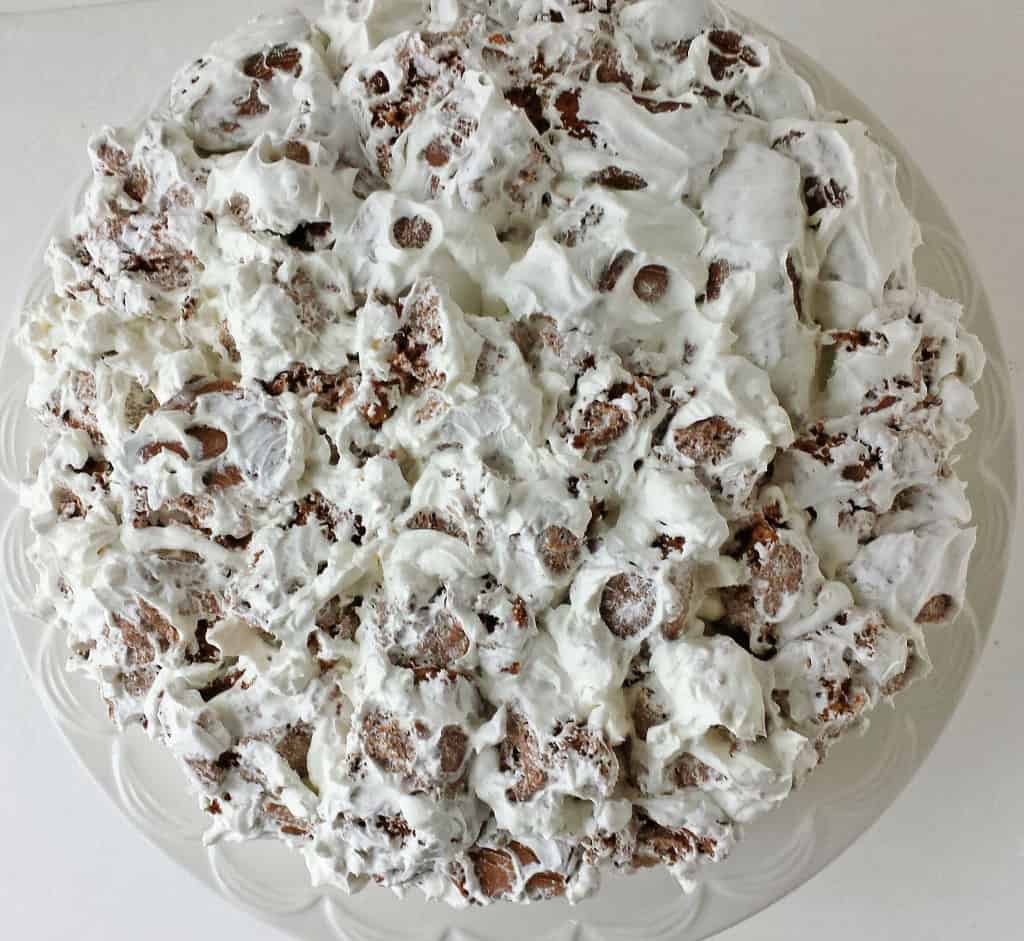
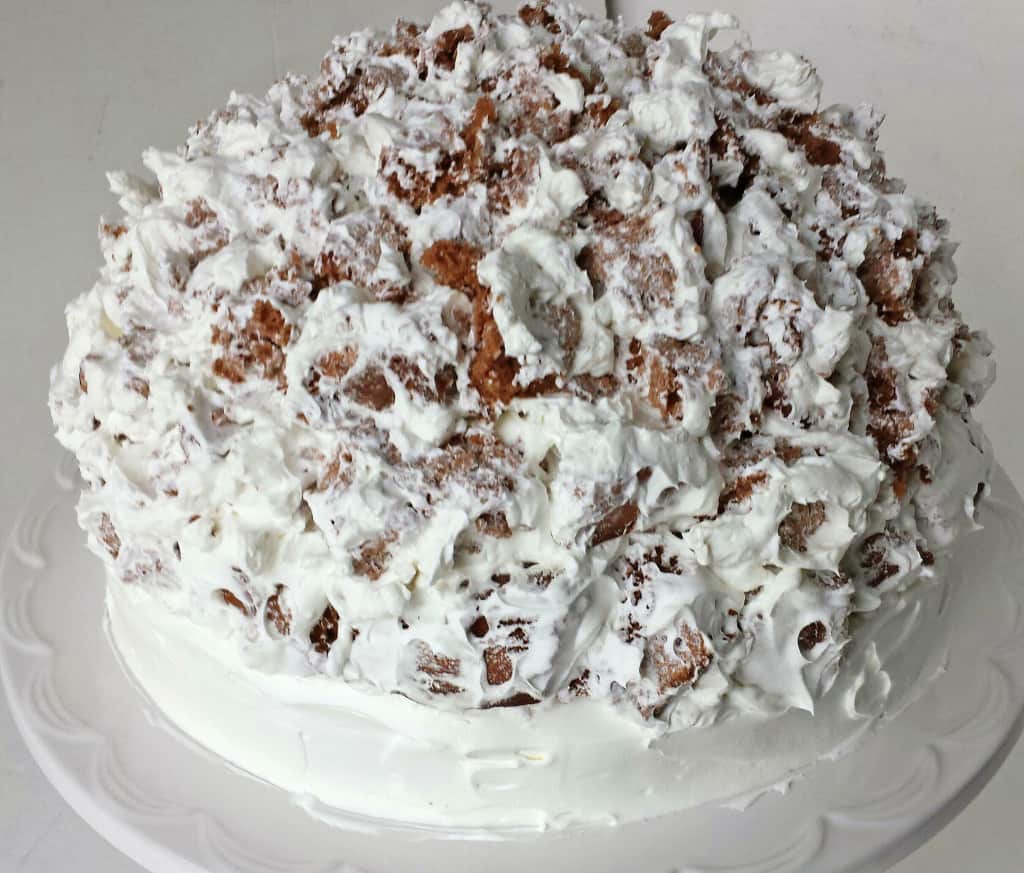
5. Keep breaking the chunks, coating with cream forming into a round curly head.
You should have a little cream leftover to cover the sides of the cake a little more.
How to make the chocolate glaze:
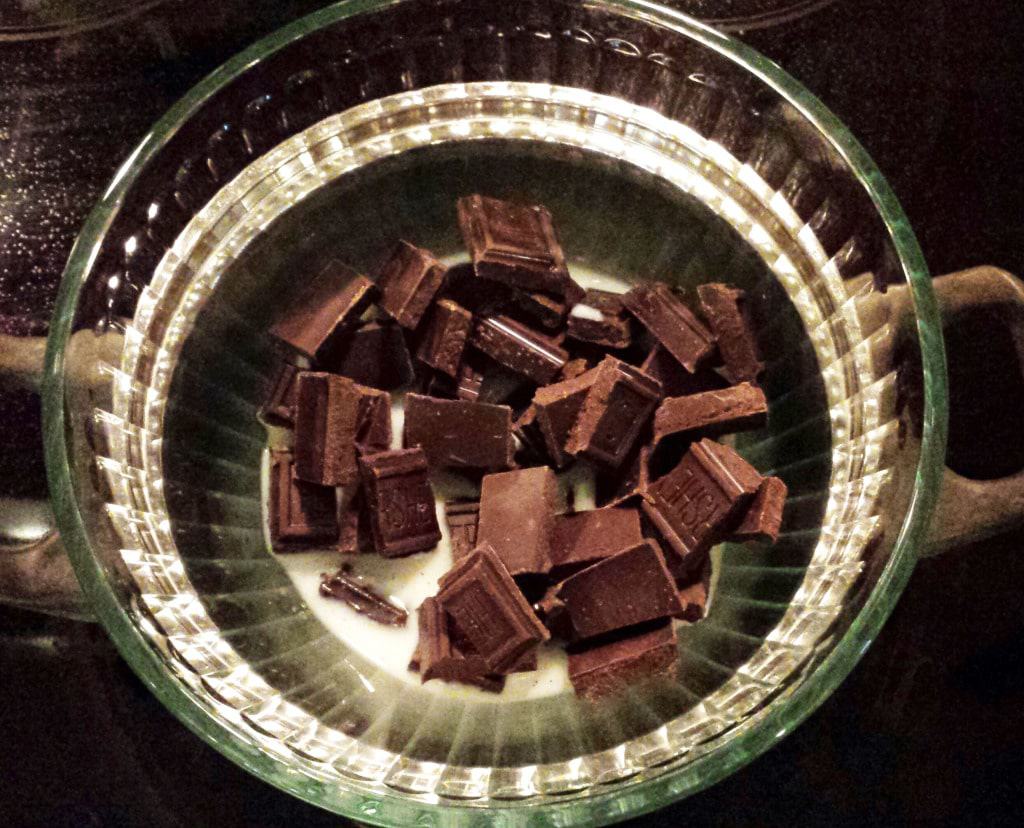
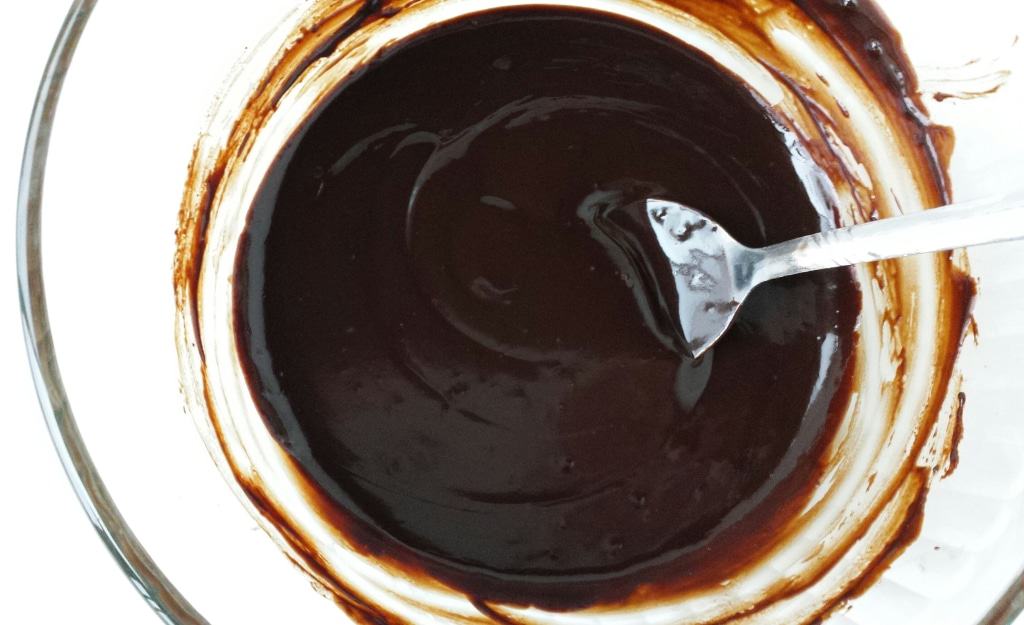
1. Into a small sauce pan add 2 cups of water and place it on the top cook stove. Break the chocolate into pieces and put them into a heat save bowl. Then add milk. Place the bowl on top of the sauce pan. After the water boils reduce heat and keep string the chocolate mixture until it’s all melted and smooth.
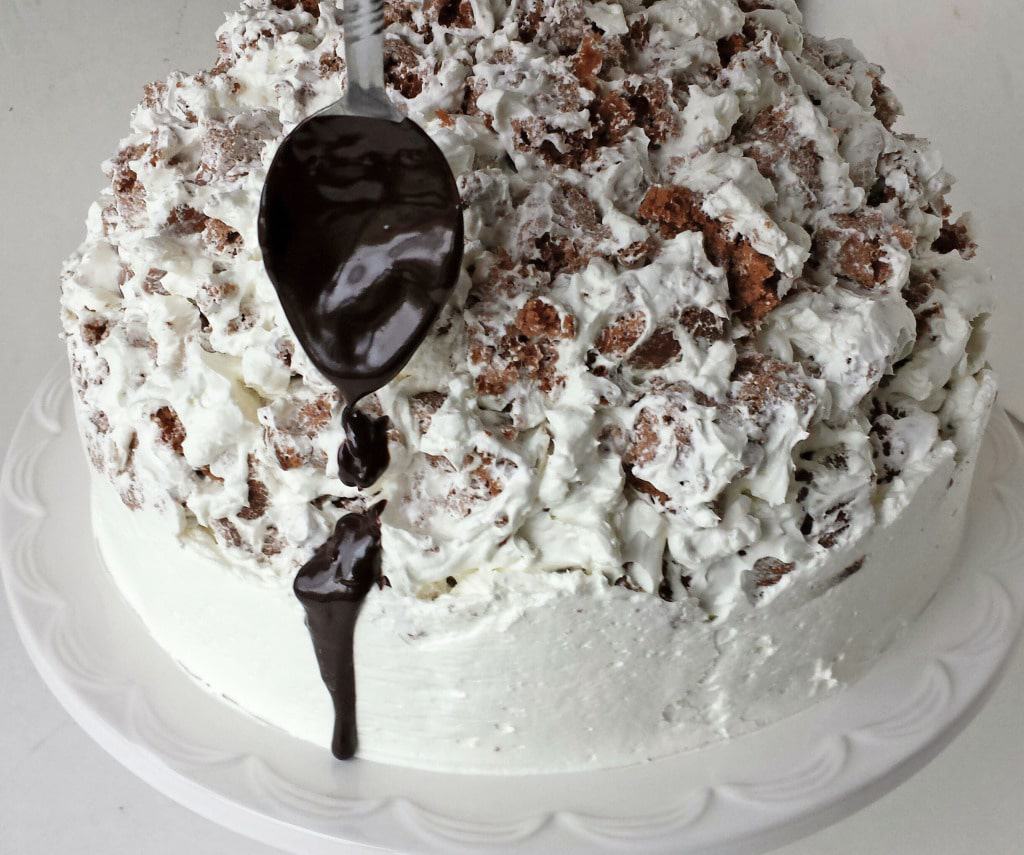
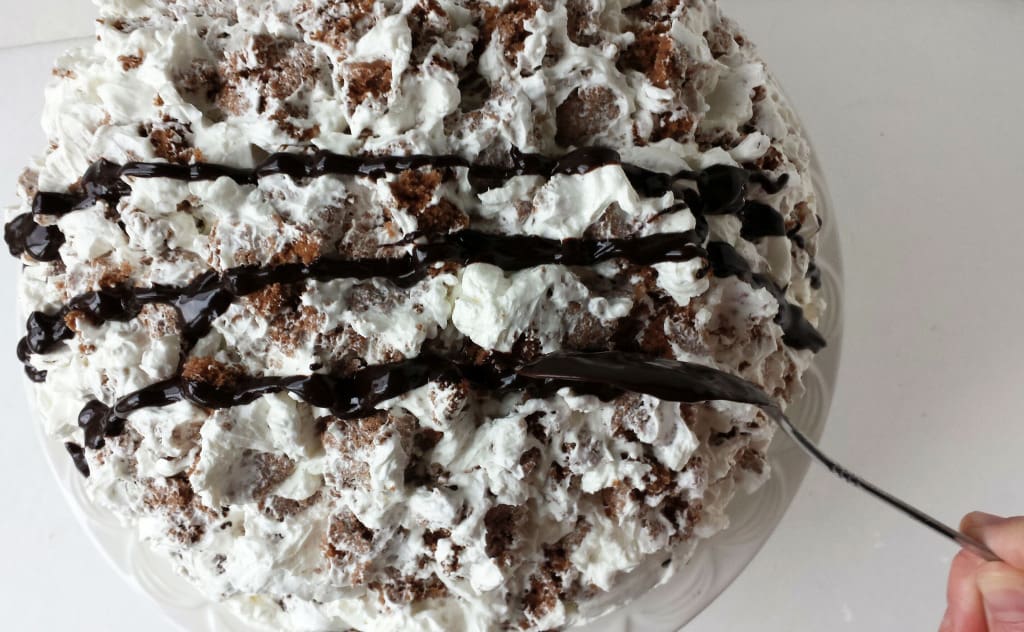
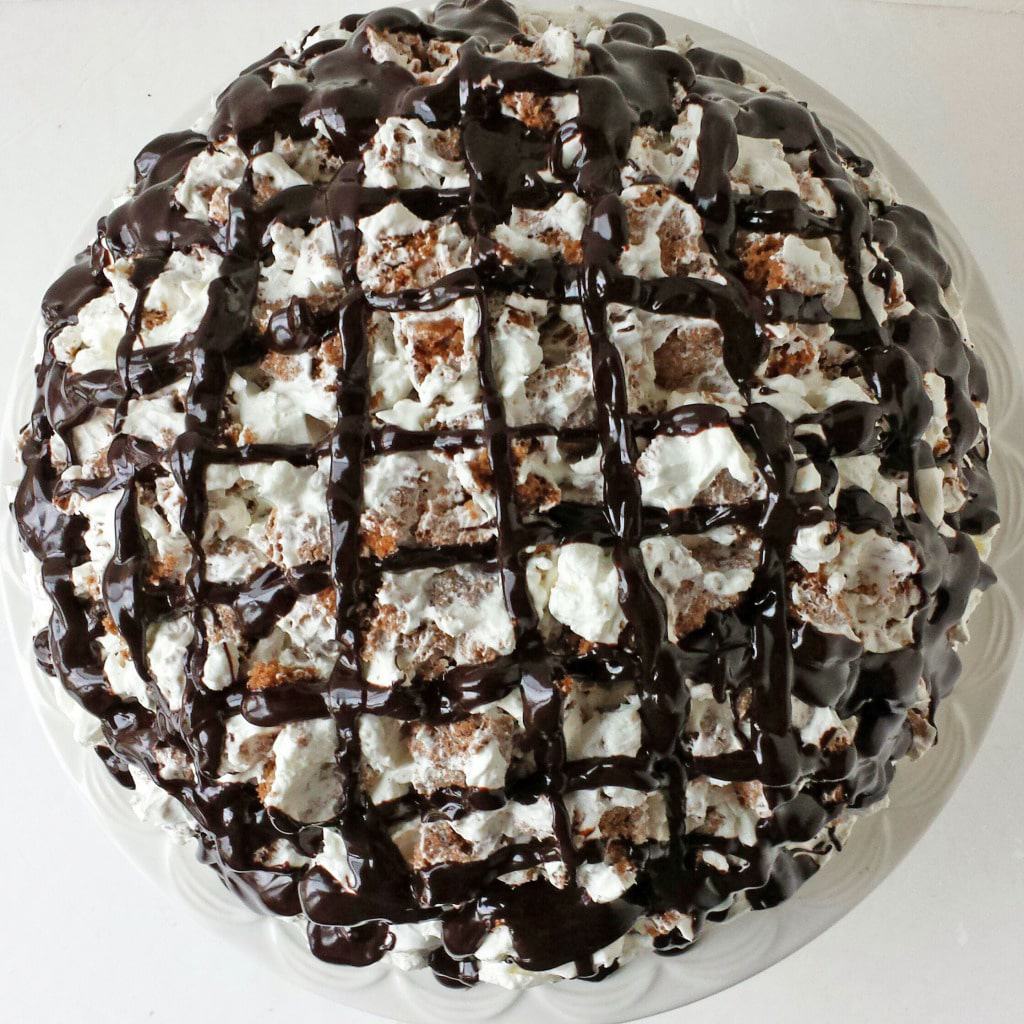
2. With the same spoon that you were string pour the chocolate glaze nice stripes pattern over the assembled cake.
Recipe Card
Cake "Curly Boy"
Ingredients
- Batter Ingredients:
- 4 – large eggs
- 2 cups – sugar
- 1 can – condensed milk
- 1 tub 16 oz. – sour cream
- 1 tbsp. – baking soda
- 1 tbsp. - vinegar
- 4 cups – flour
- 3 tbsp. – Hershey cocoa
- Cream Ingredients:
- 16 oz. – cool whip
- 1 tub 24oz. – sour cream
- ½ cup – powdered sugar
- Chocolate Glaze ingredients:
- 1 bar 6.8 oz. – chocolate
- 4 tbsp. – 1 % milk
Instructions
- In a small bowl combine sour cream, baking soda activated with vinegar. Mix it well with hand mixer for 2 minutes. Set aside and let it stand for 15 minutes. The mixture will rise.
- Preheat oven to 350 F. In a bowl of an electric mixer combine room temperature eggs with sugar. Beat on high for 10 minutes.
- Add condensed milk and let it beat for another 5 minutes.
- Reduce speed to medium then add the sour cream mixture and let it mix for 1 minute or until well combined (don’t over beat it because you don’t want the mixture to become very runny).
- Add sifted flour. Stir sifted flour just until combined.
- Pour little more than half of the batter into well-greased 9-inch pan. For the second batter add sifted Hershey cocoa powder mix well until well combined. Pour the cocoa batter into another 9-inch pan. Bake both batters at 350 degrees for 30 minutes.
- Remove from the oven. Take it out of the baking pans and let it cool completely.
- How to make cream:
- Beat sour cream and cool whip together for about 2 minutes. Add powdered sugar and beat it for another minute or until well combined. Set aside.
- How to assemble the cake:
- Cut the white cake horizontally in half (I cut it more towards of the top line, then your cake cut will be more in the center). Then I take about 2 feet string and cut it with a string (I always cut cakes this way, and never found any other ways to cut it this perfectly, no matter what things I tried).
- Place bottom layer onto a cake platter. Put 1 ½ cups of cream on the bottom layer, spread it out evenly.
- Place top layer on top of the cream with the bottom layer. Put 1 ½ cup of the cream and spread on top and sides of the cake.
- Break chunks of the brown cake. Coat it with the leftover cream and lay it on top of the cake.
- Keep breaking the chunks, coating with cream forming into a round curly head.
- You should have a little cream leftover to cover the sides of the cake a little more.
- How to make the chocolate glaze:
- Into a small sauce pan add 2 cups of water and place it on the top cook stove. Break the chocolate into pieces and put them into a heat save bowl. Then add milk. Place the bowl on top of the sauce pan. After the water boils reduce heat and keep string the chocolate mixture until it’s all melted and smooth.
- With the same spoon that you were string pour the chocolate glaze nice stripes pattern over the assembled cake. Refrigerate cake overnight. It’s best if the cake is refrigerated for at least 24 hrs. (that way the cake becomes very soft).
- Enjoy!
If you make this Cake "Curly Boy" Recipe please share a picture with me on Snapchat, Facebook, Instagram or Pinterest. Tag with #valyastasteofhome. I’d love to see your creations! ?






Vicku B. says
Hello! Is there a way to make the cream chocolate? Can I add a few tablespoons of cocoa powder to make it chocolate? Thank you!
Valya of Valya's Taste of Home says
Yes, that should be fine.
Vicki B. says
Hi! Does this use just regular condenced milk or sweetened condensed milk? Thank you!
Valya of Valya's Taste of Home says
Regular, uncooked condensed milk.
Alena says
Hello, I just want to make sure that 1 tablespoon of baking soda is correct here. Just seems more than usual. Thanks.
valya'stasteofhome.com says
Yes, it is correct. Some recipes call for 1 tsp. baking soda and 1 tsp. baking powder combo, and you don't need to use vinegar. In this case you only use baking soda and requires to be activated it with vinegar. I know, this is not an American cake recipe and can be confusing. I hope this helps.
olivia - Primavera Kitchen says
Wow this cake looks divine!! Thanks for this awesome photo tutorial 😉
valya'stasteofhome.com says
You are very welcome! Picture worth a thousand words. It help very much with cooking or baking, especially for beginners. I speak from experience. Thanks Olivia for stopping by and commenting! 🙂
tworaspberries says
this is SO pretty! the chocolate on top is just mouthwatering!
valya'stasteofhome.com says
It is. Thank you Michele! 🙂
Gayle @ Pumpkin 'N Spice says
This cake looks fantastic, Valya! I love the step by step pictures that you provided. And I'm sure it tastes incredible, too. Love this!
valya'stasteofhome.com says
Thank you Gayle! It tastes just as good! It was gone in one day! Every one loved it 🙂
Tatyana says
Valya, My 6-year old picky eater and I totally agree that this is a very beautiful and super yummy cake. For those who never made it, It may seem like a lot of steps, but its not and comes together very easy. Awesome pictures Valya you're becoming a Pro!!!! Keep up the great work!
valya'stasteofhome.com says
You right, it is very easy to make this cake. It's beautiful and tastes very good. This is a big cake and guess what?.....it's all gone! Thank you for your warm and encouraging words Tatyana! I really appreciate it! 🙂
chrisscheuer says
Beautiful and what a great tutorial. I can see why this is a winner!
valya'stasteofhome.com says
Thank you Chris! 🙂