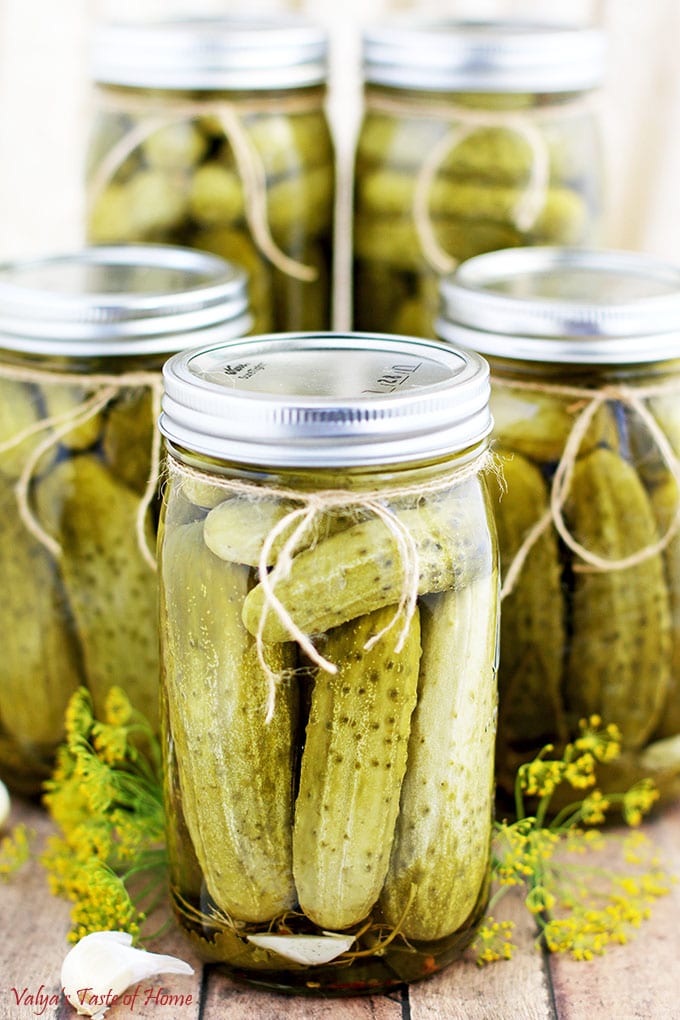
Super Easy Dill Pickles Recipe (Perfect for Beginners!)
This easy dill pickles recipe is perfect for anyone trying to pickle for the first time. You only need simple ingredients to make it for delicious results.
Servings 12 jars
Ingredients
- 1.25 gallons – cold water
- 7 oz. – sea salt
- 6 tbsp. – organic sugar
- 20 oz. – vinegar
- 20 lbs. – small cucumbers
- Horseradish leaves (fresh dill, head of garlic, crushed red pepper, peppercorn, and bay leaves)
- 12 quart size – canning jars
Instructions
How to Make Dill Pickling Syrup
- First, let's make our pickling syrup. Combine the water, sugar, and salt in a large pot or saucepan, then bring it to a boil while stirring constantly until the sugar and salt completely dissolves.
- As soon as it begins to boil, reduce the heat and continue to simmer for 5 minutes, then remove the pot from the stove and let the mixture cool.
How to Prepare Jars for Pickling Dills
- Next, let's prepare our jars and lids. If you're reusing old jars it would be a good idea to replace the lid as the wax seals can wear out over time. Also, ensure the ring must is rust-free, otherwise, it may not keep a tight seal.
- Wash the jars and lids in hot water and allow them to dry completely.
How to Assemble Dill Pickle
- After your jars are dry, add a small piece of horseradish leaf, 1 small branch of fresh dill (including the blossom end), 2 bay leaves, 2-3 garlic cloves, 20 peppercorns, and ⅛th teaspoon of crushed red pepper flakes to each one.
- Set your jars aside for a moment and thoroughly rinse the cucumbers, brushing them while rinsing to eliminate any dirt and grit if necessary.
- Next, pack the rinsed cucumbers into each jar as compactly as possible without denting or otherwise damaging them.
- After that, we need to add the white vinegar to the pot of cooled syrup we prepared earlier. Stir it well to make sure everything is thoroughly mixed.
- Fill each jar of pickles with the pickling syrup.
- And then cover each jar with a lid.
Canning Instructions for Dill Pickle Recipe
- Next up, we'll be doing a hot water bath for our dill pickle jars to make them shelf stable.
- Place 4 jars into a Stovetop Canner pot or other large boiling pot, then fill it with water until the water level reaches up to ¾ of the height of the jars.
- Ensure the lid of each jar is screwed on tightly, then turn the stove on high heat until the water starts boiling.
- As soon as the water starts to boil, reduce the heat to medium and allow it to cook for 7 minutes (you should see the bubbles rising from the bottom to the top of each jar).
- Put on canning gloves or use a canning utensil to remove the jar for the pot. Screw the lid pretty tight using your hands with a canning glove. Doing it this way will allow you to feel when the lid is screwed on correctly, and not sideways.
How to Allow Dill Pickle Jars to Cool Properly
- Next, we'll flip all our jars upside down and let them cool completely in this position before moving them. I let them sit like this overnight, or for about 12 hours.
- Drain and refill the water in your boiling pot, then repeat the canning process until all of the jars have been boiled and left to sit upside down.
- Once all the jars are properly cooled, place them right side up in the fridge and allow them to sit for 3 days to 2 weeks. The longer you let them sit, the more flavor the pickles will absorb from the herbs.
- Your delicious dill pickles are now ready to gift or enjoy!